I drive a BMW. I totally get over-engineering… Makes me SMH every time I work on it. My son’s Mercedes takes first prize for over-engineering though.
Aww, shucks. I’m sorry I missed out on this back and forth, lol. I was wiped out from doing snow removal yesterday.
I did realize that the bolts would need to be isolated along the length and not just at the head in order to completely insulate them from the aluminum. I brainstormed a few ways of doing that (fat glob of silicone caulk on each bolt before installing; a sleeve made out of thin silicone tubing and over-sizing the holes, etc). But ultimately, I realized that it’s all a bit overkill for this application.
I may still do stainless roofing washers (with the EPDM rubber underneath) and a bit of paint or silicone on the bolt, just because I like overbuilding stuff.
The isolating mounts do raise a different point, though. I remember @squidskc using them for some parts of the trailer he built and almost wrecked last winter (sorry, bud!). Curious if/where I should be implementing them on this build?
Nothing for nothing, but my regular ole bolts have been stuck thru my aluminum bed for years without causing any grief. Mismatched metals might cause problems, but it will be a decade or so down the road.
2 Likes
I was replying to @Ikii regarding his toolbox which is thinner and might be more of a long term problem if SH got to it. I should have been more specific but I did reply to his comment. Quotes would have been easier.
I agree with @Innocentbystander that it would take forever to be a problem for the bed.
If I were doing the same project I’d use the vibration dampers under every machine, but nothing else.
4 Likes
Yeah, I figured out your comment wasn’t really directed at me, but it seemed like a good jumping off point for me to chime in, lol.
Duly noted. Which dampeners would you recommend for this application? I guess I’ll need something with rather long studs to go through the floor.
You can get them with a hole in it. Then use your own bolts. Check eBay. Sometimes it takes a little searching but you can buy them in 25 and 50 packs for same cost.
You can get them in thicker versions too or double up or whatever.
1 Like
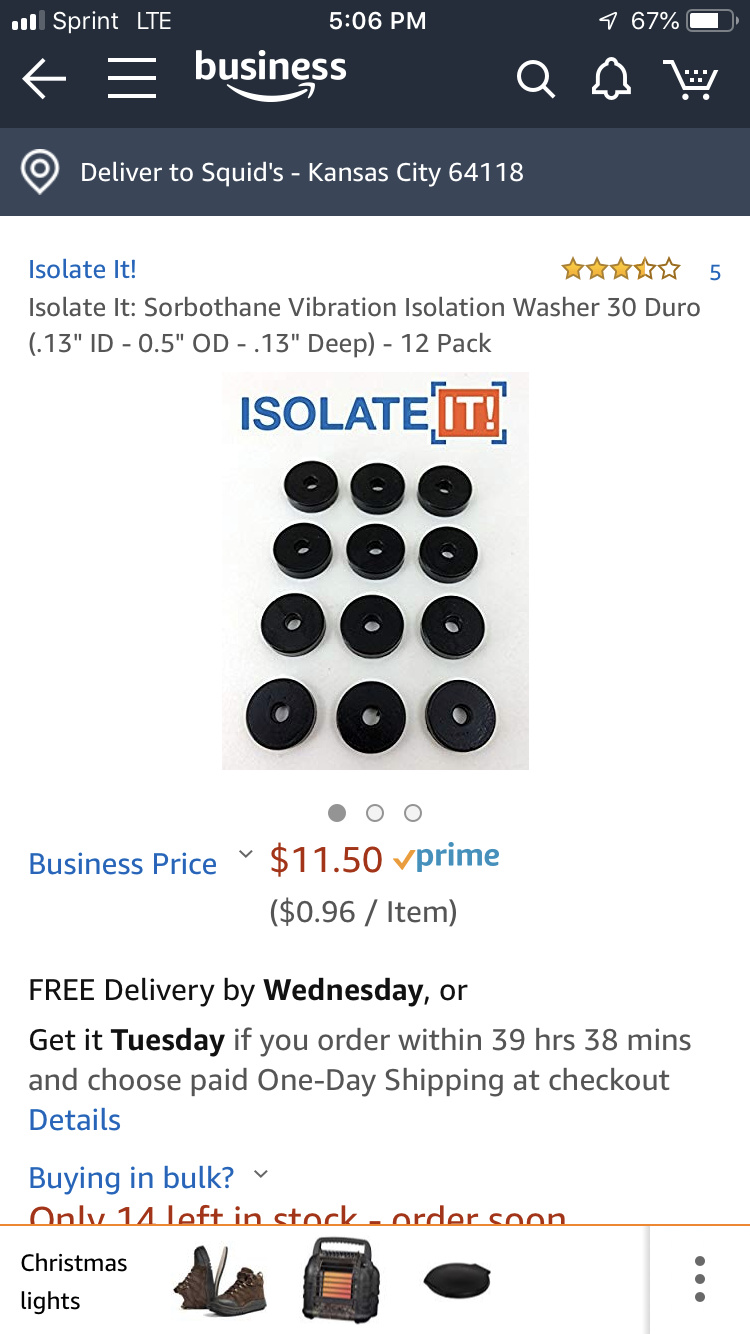
Just ordered these:
Also got some vinyl floor lining (thought it might be good for sound reduction and a little vibration dampening under everything else getting mounted):
Oh, and you can never have too much lighting:
2 Likes
I have a couple of the LED’s hooked to my reverse lights. Really makes it easier to see behind me.
1 Like
Exactly what I was planning on doing with a couple of them. 2 will become fog lights, 2 will be bed lights, and the last 2 will probably get mounted to the sides of the headache rack for nighttime snowblowing.
1 Like
Getting back to bed layout, this is what I’m thinking so far:
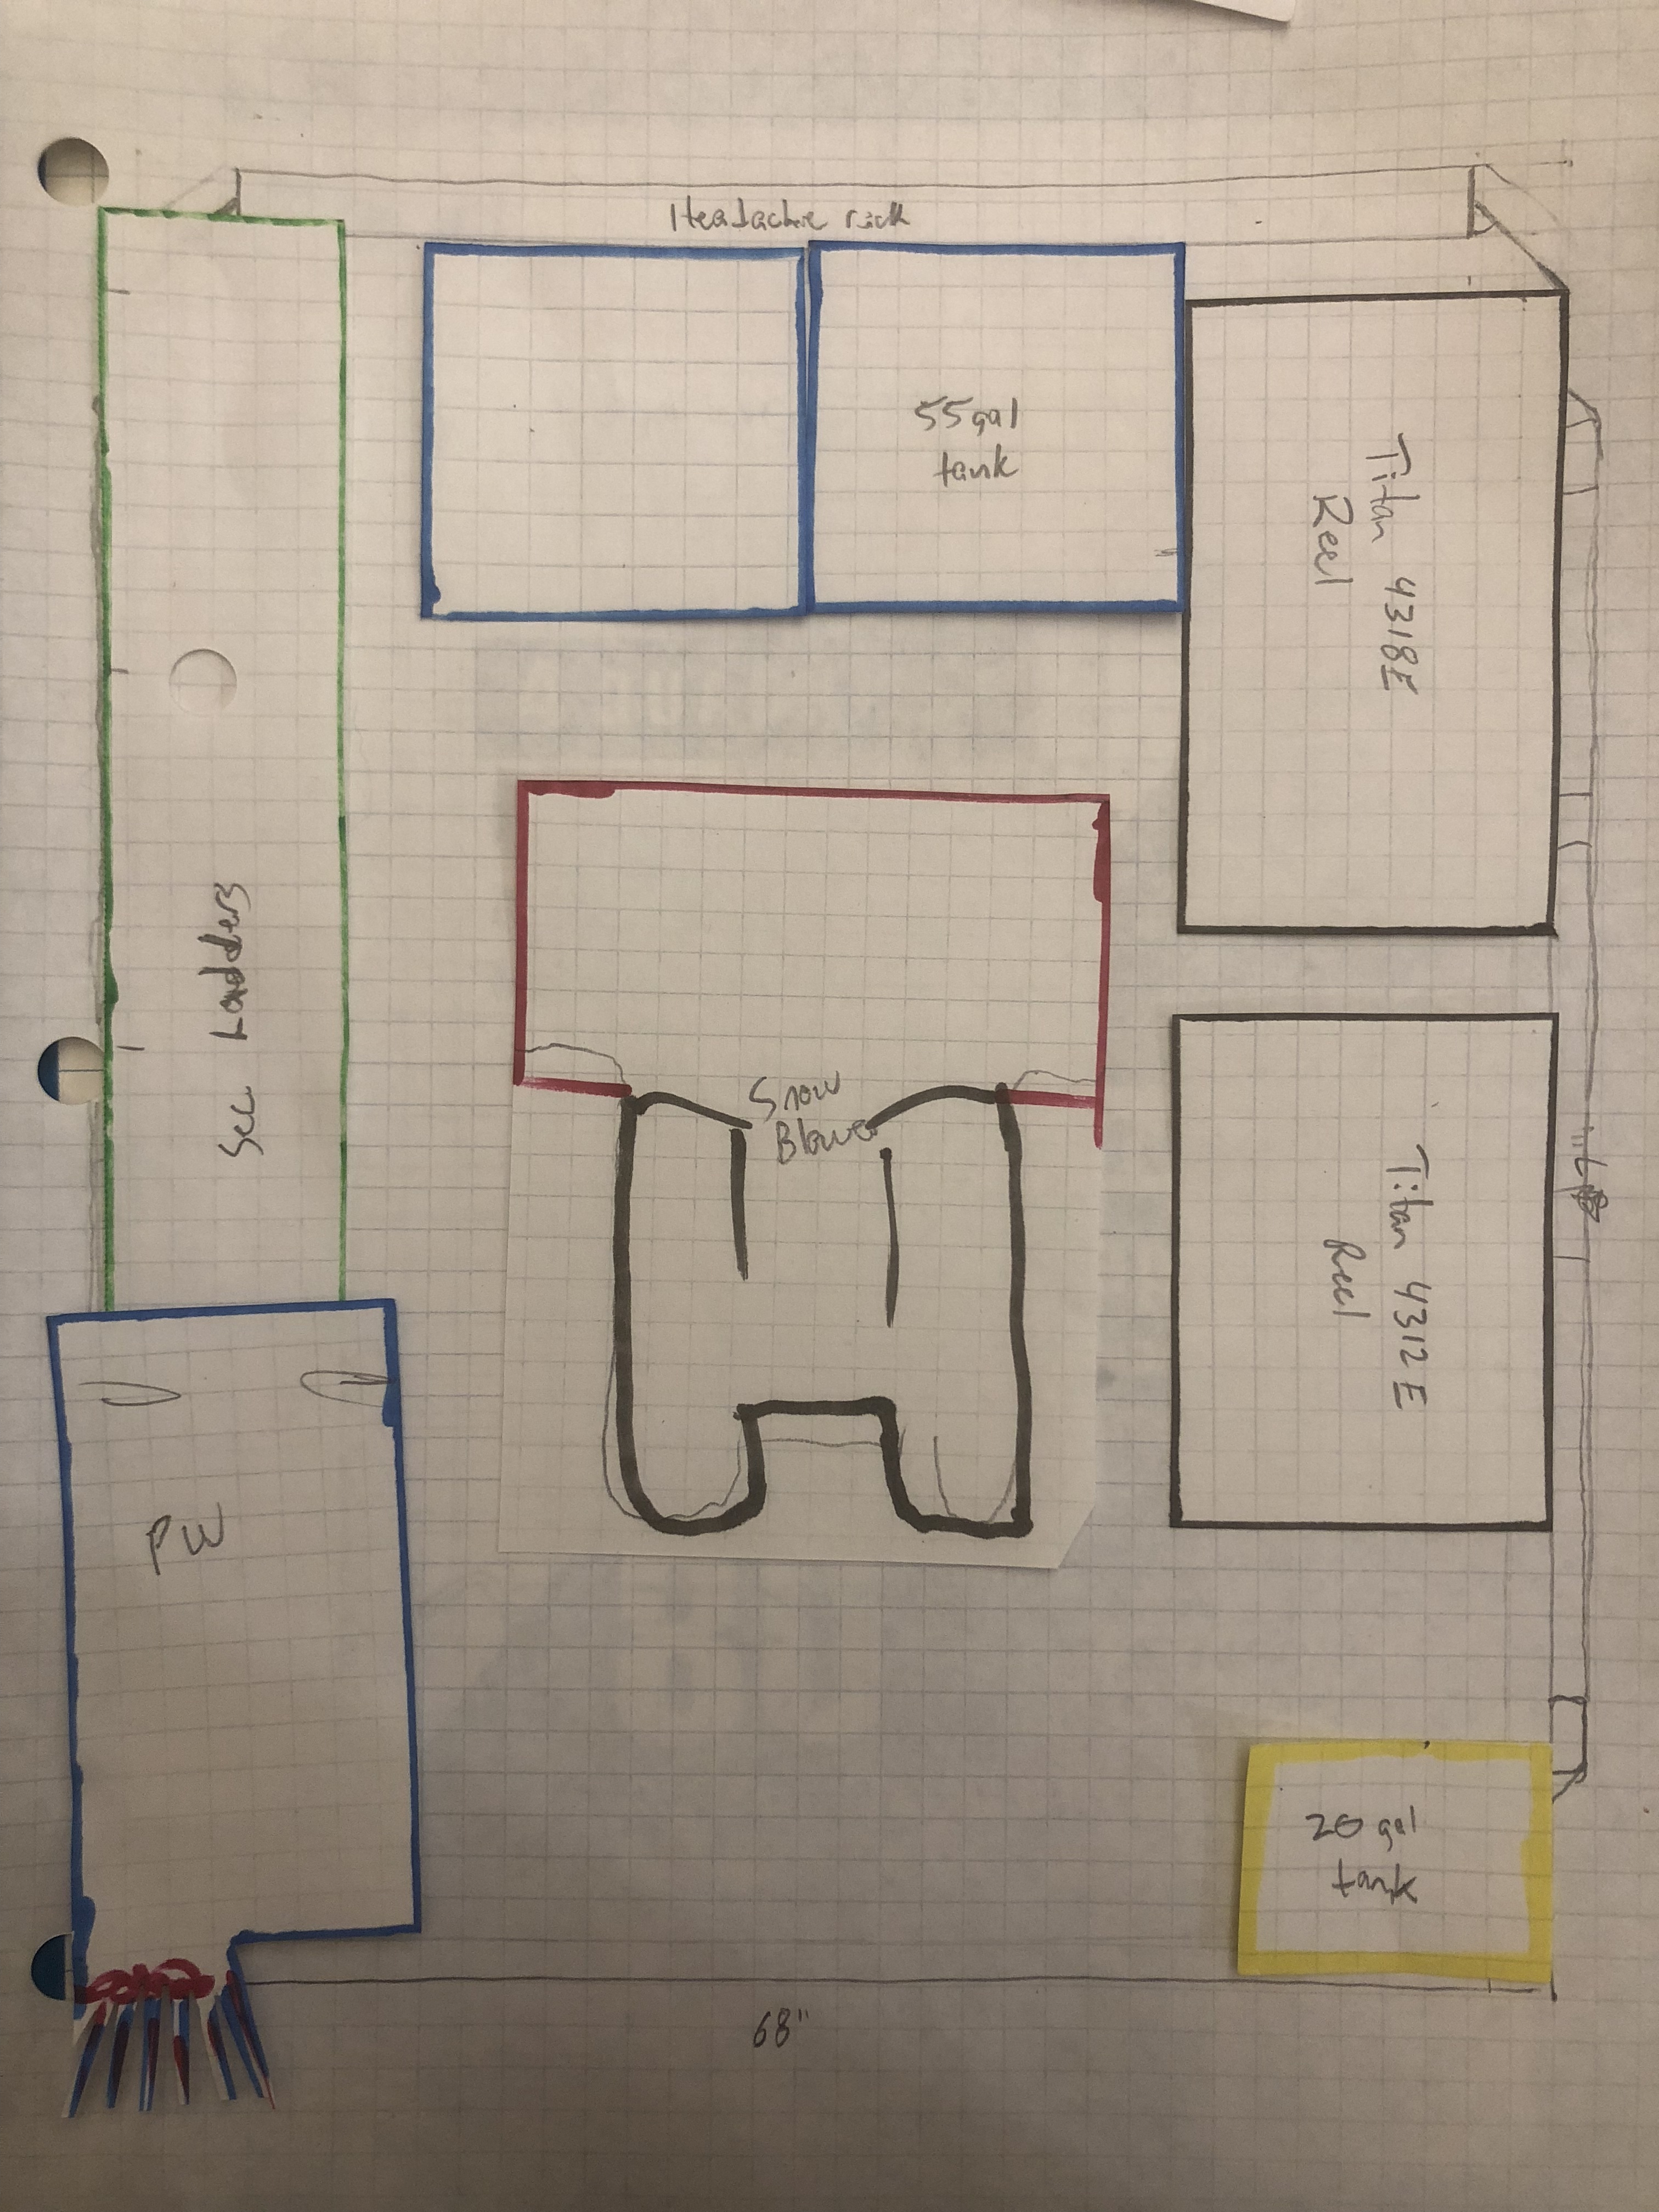
There will be a tool box or two under the long sectional ladders, raising them above the pw.
I’m going to ask the fabricator about the possibility of cutting out the floor where the tanks are and sinking them 8” or so. I’ve already figured out how I would work around the plumbing issues involved with that idea.
Some random thoughts on my setup (just trying to get this stuff down in writing, but if anyone has observations/suggestions, I’m open to them):
-
I plan on having a 3-way valve between my buffer, pure water, and machine, so I can do a pure water rinse with the washer as the need arises. This will also require a 3-way on the bypass line. I would flush the tap water out of the machine into the buffer tank and then switch the bypass over to the pure tank.
-
I’d like to keep my 2 DI tanks on board if I can find the space for them. I have two; they’re about 9” round and a couple feet tall.
-
float valve going in the pure water tank for unattended refilling.
-
I think I’ve hit the jackpot on underbody boxes.
This seller on ebay has accepted an offer of $175 for a pair of boxes.
They have 24” and 30” versions of those boxes. I fully expect them to be built cheap and thin. I’ll reinforce them a bit, won’t load them with anything too heavy, and will be happy if I can get a year or two of service.
3 Likes
Great news on installing the bed: a friend of mine has agreed to help with the install. He’s a great fabricator, a former BMW master mechanic, and one of the smartest guys I know. From looking at some of his own projects, I can tell he’s the type that thinks of everything.
Even better, it looks like he’ll be able to work with me this Friday on the install 
4 Likes
That is awesome. I was dreading swinging thru Missouri to pick up @squid then head to Vermont to help install it 
8 Likes
I’m a little scared to think that you’re probably only half-joking ![]()
Glad to not put you through that, lol. Though I think you would love running my snowblower ![]()
I had a consult with my friend last night, and dropped the bed off at his shop.
He feels a simple steel sub-frame is the way to go. Wood will require ongoing tightening and is liable to squeak up a storm on these back roads in VT. Steel should be lighter than oak, too. I am going to suggest putting a strip of 1x2 oak between the frame and flatbed, to keep the aluminum off the steel and give a tiny bit of dampening.
He came up with a rather brilliant solution to the fuel filler neck. He took a caliper to the pipes going into the tank, and I’m going to source fuel-rated hoses with Internal Diameters matching the 3 pipes. We’ll cut them off, and clamp the hoses onto the outside of the pipes. We’ll reuse the fuel filler assembly including part of the plastic surround. So basically we’re just splicing in extensions to the existing pipes.
If anyone knows where I might be able to find fuel hoses locally with the following ID’s, I’d be quite grateful:
- 22.5mm
- 14.5mm
4.5mm(think I’m gonna use my 3/16” ID wfp hose. Bright green, polyurethane, and on-hand)
Oh, he also liked the idea of recessing the tanks into the bed. Shouldn’t be much extra work from the sounds of it. And I have a feeling it is going to pay off in fuel savings alone. Those tanks would create quite a bit of added drag at their full height. I also like the idea of lowering the center of gravity a bit.
I plan on taking as many pictures as possible (and maybe even some video) during the install process. Hopefully this can be a bit of a tutorial for anyone else attempting a flatbed install.
3 Likes
I drove 10 hours to drink coffee with Bob at pressuretek and drove back home an hour later. I’d go to VT to help you. I may have mis read on the 3/16 hose. Don’t run fuel thru any hose that isn’t fuel line. It will break down the hose and you will have gunk in your fuel pump, injectors etc. I got all my fuel hose “extensions” at NAPA. Don’t know if you have those. All the other auto parts stores didn’t carry what I needed. Junk yard is always viable option if you have them.
6 Likes
I’m guessing the 4.5mm pipe is just some sort of breather tube for the evap system. Polyurethane is supposed to be compatible with fuels. If they have 3/16” fuel-rated tubing at Napa, I’ll definitely get it.
Well, rather ironically NAPA only had the 3/16” hose. The other sizes I’m going to check for at the other auto parts stores
I’m in rural, still farms around NAPA doesn’t carry car wash, only obscure parts and lots of gear oil territory.
1 Like
We should have a PWRA meet-up and build Truck Norris together!
5 Likes
I’m striking out on finding these other size hoses. I’ve got a truck supply place that I’m gonna call as soon as they open on Friday. Really hoping they’ve got what I need.
