Getting the filler neck right will be a challenge all the way round
When I was building ambulances, we always had to customize the fuel fillers because they ran through different manufacturers ambulance bodies. You’d be surprised how different they all were as far as a clear path through the body and around the wheel wells.
Try these guys out. It may not be local but they have plenty to choose from and universal mounts as well. Email them and they may know what would work for your model if they’ve done it before. Hope it helps!
Are https://www.fillernecksupply.com/ to have drain holes in the bottom? I’m pretty sure you’ve thought of it already.
BTW, great build so far! I’m anxious to see it done.
1 Like
It appears McMaster Carr has the right size fuel hoses to go with the original plan of just cutting and splicing the fuel filler assembly. I’ll still check out the truck supplier tomorrow morning. I’m thinking we may end up zip-tying the filler to the side of the bed until those parts come in.
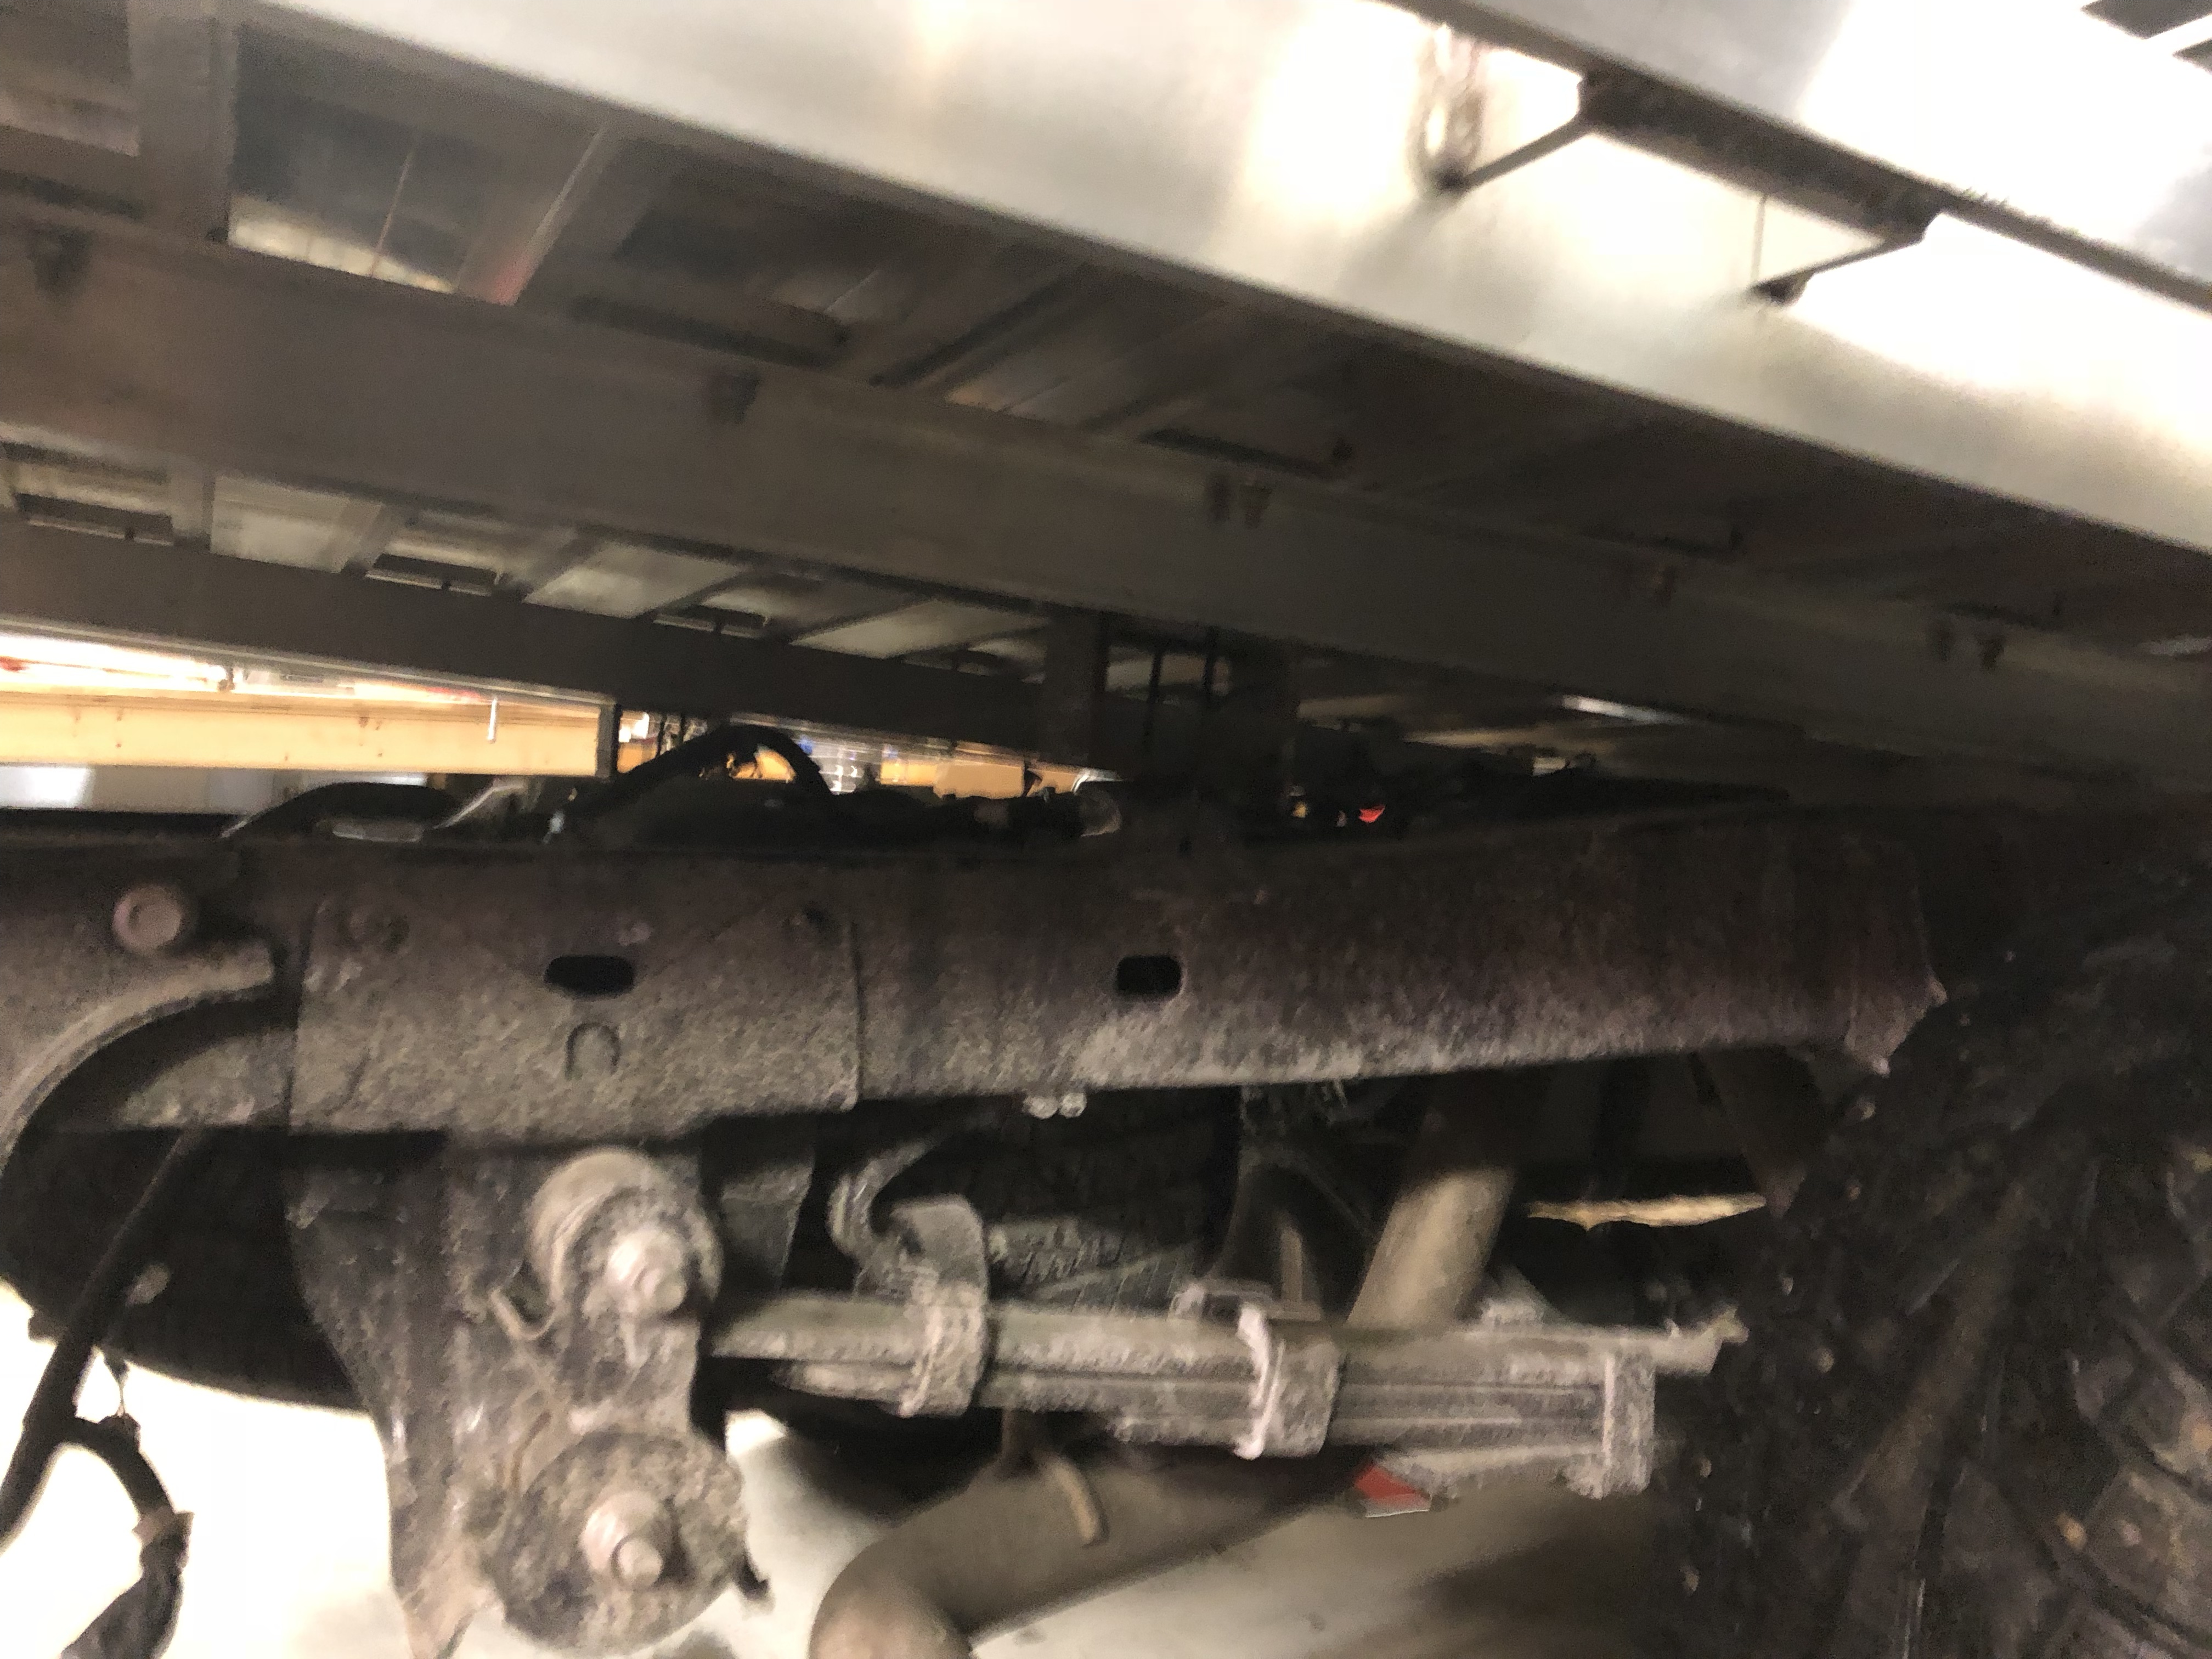
I’ll definitely have drains on the bottoms of the tanks. I haven’t decided yet whether I want to run all my plumbing under the bed. On one hand it would make for a much cleaner looking install and keep as much floor space open as possible. On the other hand, it would be harder to service and more prone to damage from road debris (I’d probably rig up some coroplast belly-pans for basic protection). If I do things right, it should be very low maintenance, and I’ll keep as many couplers and fittings above the bed as possible.
I’m also thinking of doing 1” rigid insulation around all the tanks. I heat my pure water in the winter with 120v heating element, and keeping in the heat for longer would be a big plus.
I also like the idea of keeping UV and heat out of my bleach tank in the summer. That, I could realistically accomplish with some foil bubble wrap insulation. I’ll leave a slit exposed as a sight gauge, and mount an LED light under the tank for visibility.
I think that doing the build this time of year is an advantage because I’m putting a lot of thought into winterizing. I’ve contemplated insulating all of the exposed lines and running electric pipe wrap. Then building some temporary boxes from rigid insulation to enclose the reels and machine, with more heat tape/plates integrated. This type of setup would be with the goal of keeping everything freeze safe down to ~0°, so I don’t have to fully winterize until we’re past December and there’s no realistic hope of last minute housewashes.
The WFP setup, I would prefer to never winterize; I get the odd window cleaning job sometimes in the middle of January or February. Also, regular antifreeze could foul my pure water lines and cause spotting issues. I’ll have to blow everything out and hope for the best. Or, carefully insulate everything and use heat tape/plates to keep it serviceable.
Up till now, I’ve just brought my wfp reel and pump inside for the winter. That’ll be a trickier process with a stacked hose reel and the pump mounted in an underbody box.
4 Likes
Texting late at night leads to incoherent editing. Lol.
Mcmaster is great but they always seemed very proud of their products the way they price them. By all means use the original setup if you can extend it. It’s the easiest and cheapest way.
Now I’m just stirring the soup and dreaming but if your plumbing is underneath you might be able to build a heat exchanger using the exhaust and heat the water as you drive. A little circulator pump and an in cab temp gauge or even a temp switch to control the pump. That would be a hot setup. No pun intended.
2 Likes
Funny you bring up heat exchangers. My complete fantasy build would be similar to a truck mounted PTO carpet cleaning rig. I would do a split shaft pto on the rear axle, which would drive my pressure pump and any other motorized equipment on board.
I would do a high pressure water-water heat exchanger for the pressure washer, running off the coolant heat. That would be boosted further with a traditional hotbox, which could be sized smaller than usual because of the added heat rise from the exchanger.
But it’s complete fantasy. The split shaft pto’s are expensive, and not well suited for small trucks. And it would doubtless void my drivetrain warranty.
I have a pto on my Isuzu NPR that use to run a pump for spraying lawn fert. I have no idea the rpm it spins at and how I would mount the washer as its mounted under the body of the truck. There may be enough room to mount a pump… hmmm now you got me thinking
3 Likes
Let’s build it in theory. That’s how it starts.
If you wanna start a new thread for it, be my guest. I’m sure someone with the right connections and knowhow could make it work for their rig. There are a number of fullsize trucks from GM & Ford that have factory PTO plates on the transmission. That’d be a simpler build than dealing with a split shaft.
The dead simplest solution would be buying a used Butler system carpet cleaning van, and swapping out the pump and other odds n’ ends. Those vans use a driveshaft that extends from the engine bay, directly between the front seats. They come with nice stainless tanks, shelving, etc. The vacuum pump could be swapped or reconfigured to do reclaim. Not sure if the heat exchanger would handle the pressure; most systems only get up to 1500psi max. But the exchangers might be overbuilt.
I’d meet you in Ohio.
1 Like
For the man who thinks he has everything… send him a McMaster catalog. It’s bigger than a New York City phone book
1 Like
I’m in. I’ve only got one commercial job left and I’m off until March 1st.


16 Likes
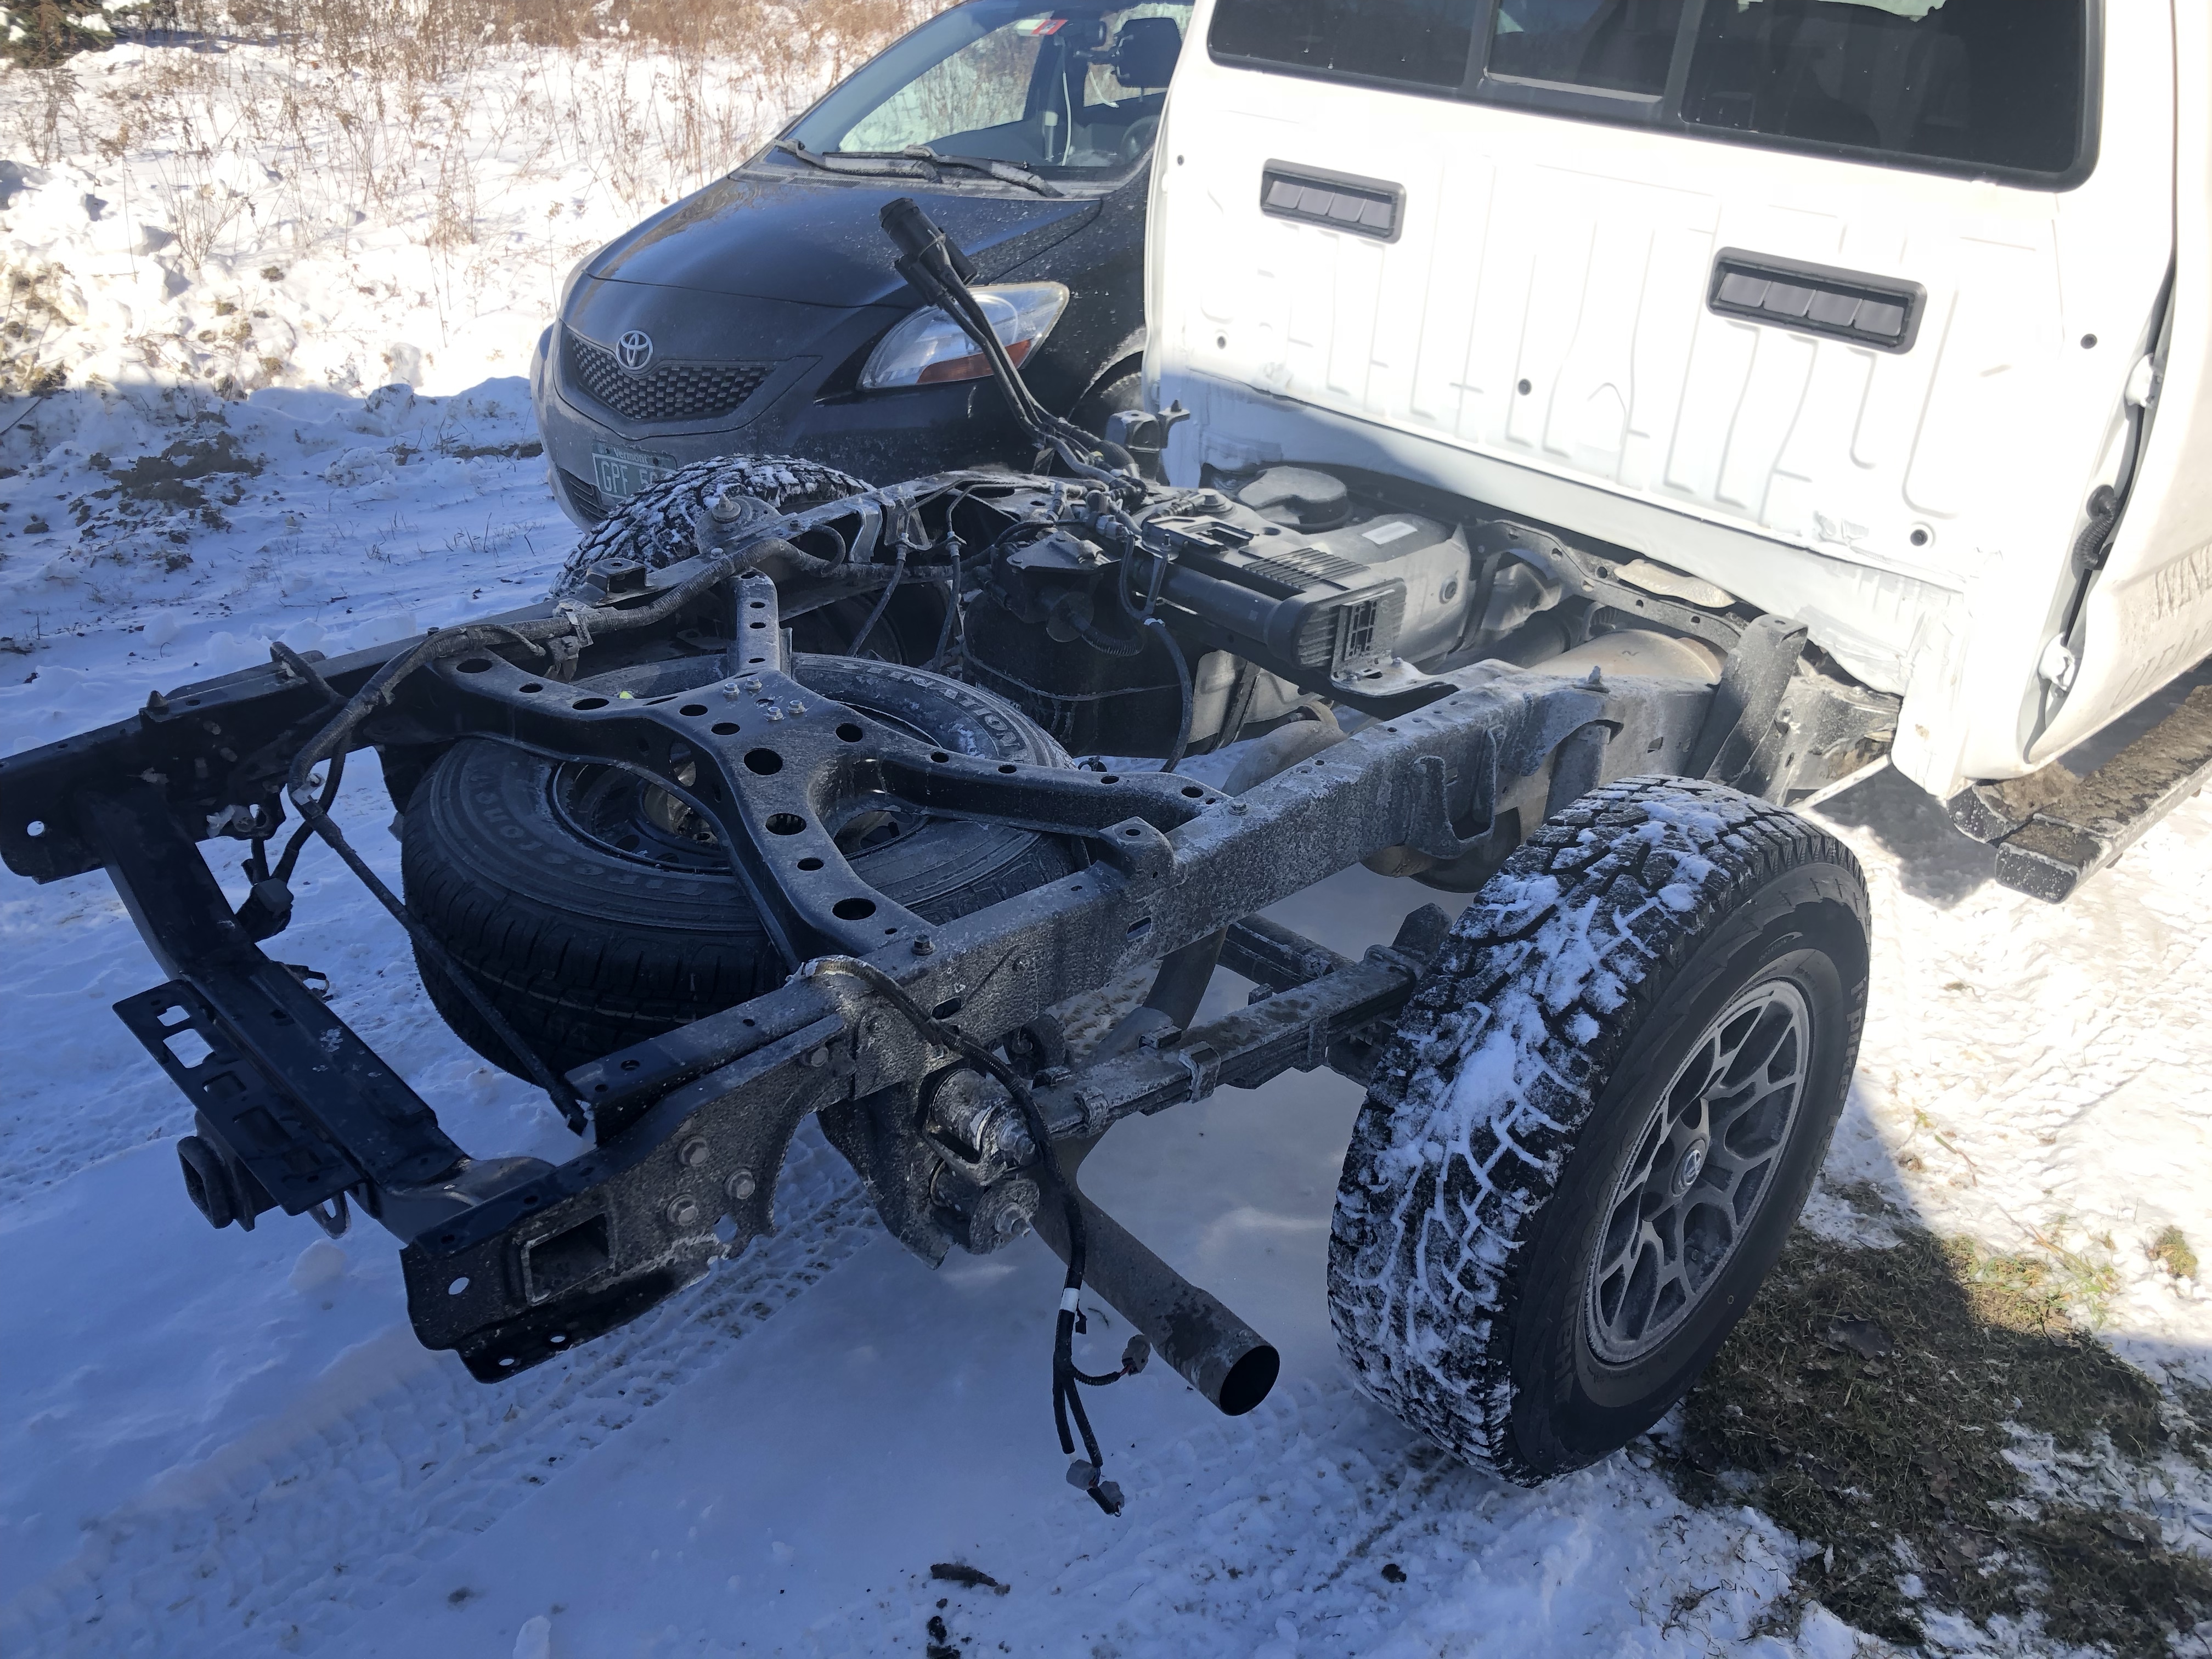
Was it easy getting the bed off?
Yessir
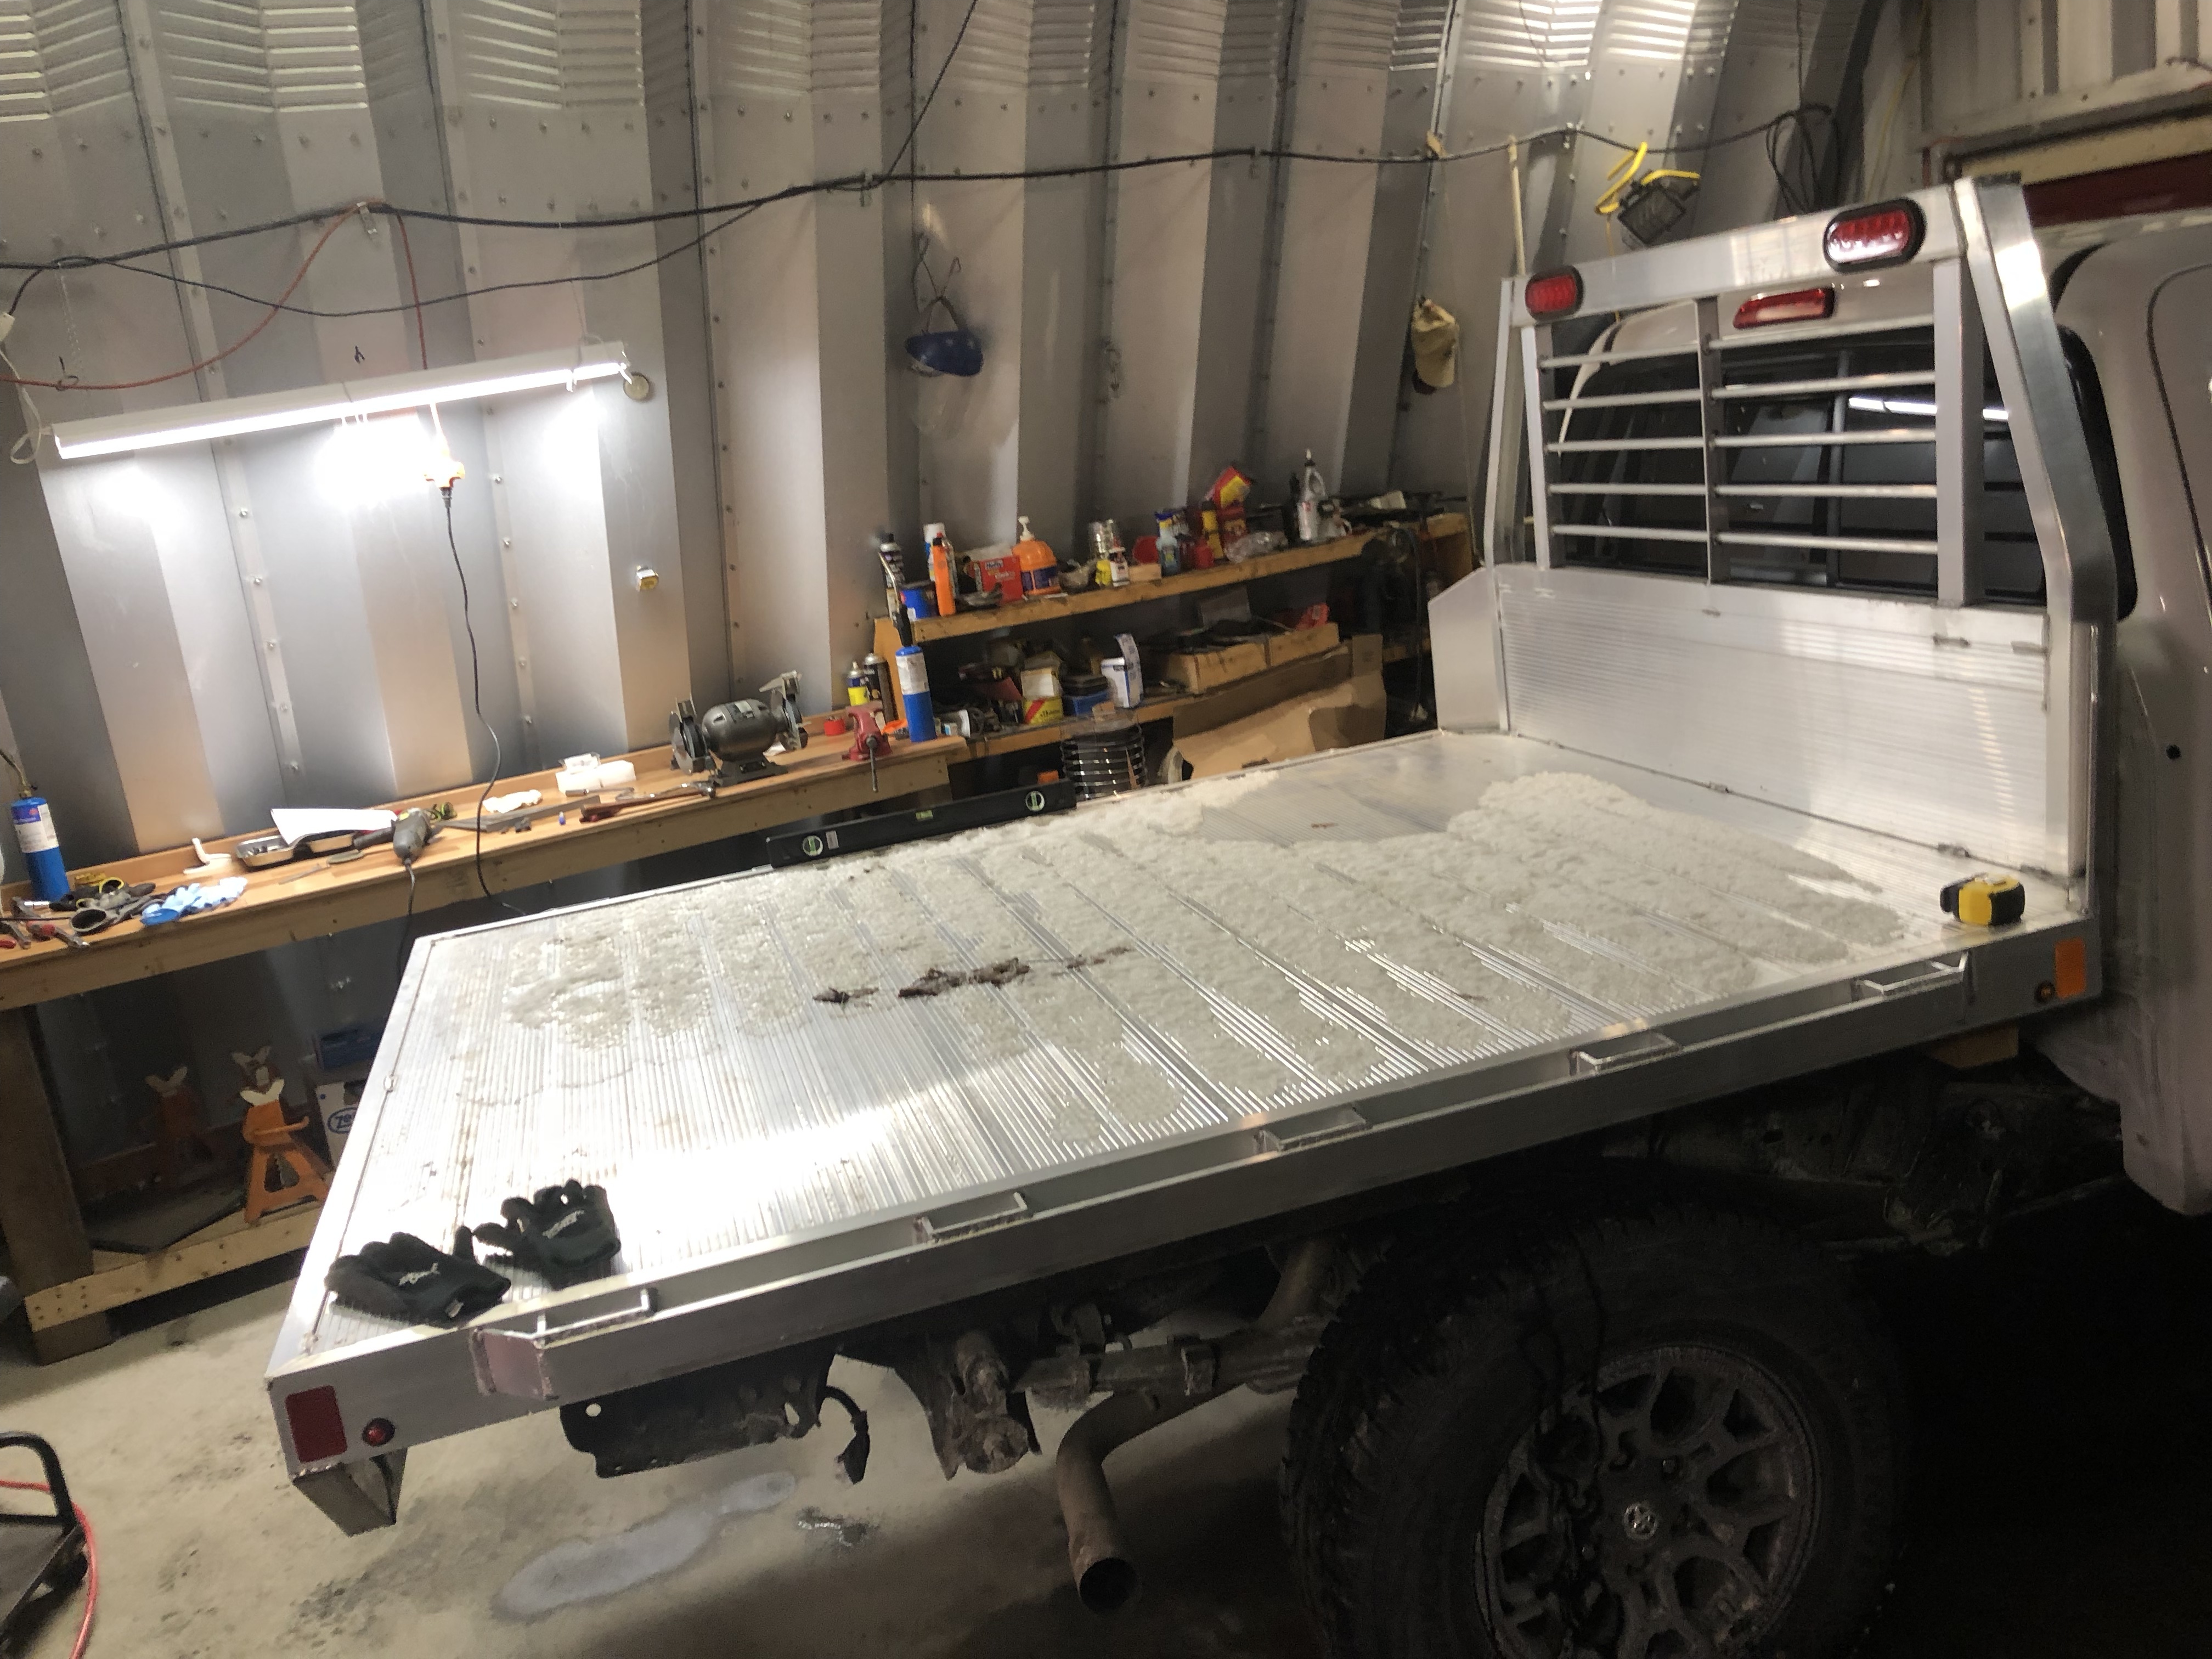
Thanks for the pics and updates. I’m looking forward to the “final product”.
6 Likes
Looking good. This thread will be a treasure trove of information for anyone looking to do a similar build in the future. Thanks for documenting
5 Likes
Yeah this thread is awesome. I just came across this while searching for service beds:
https://kansascity.craigslist.org/ctd/d/2014-toyota-tacoma-regcab-4x4/6755146170.html
4 Likes
That is looking good. Find the right socket or box wrench for the air bag bolts. Never trust anything put together with an adjustable wrench. Bolts that are hard to get to and you don’t expect to take out ever, or for awhile anyway, tack with the welder so they don’t back off. They can easily be cut or ground off later. For big holes, instead of drilling, burn a small hole with the torch and clean them up with a step bit, much quicker and saves bits. What are the screw thingys in the tires. Some kind of traction system? Never seen that before. Good work.
5 Likes
Thanks for the tips.
Those are studded snow tires. Good for icy conditions.