Call or email Russ Johnson at Southside Equipment. Tell him you want to upgrade the GX390 to gear driven 5.5. The pump i received was HP5535UR, with an unloader.
Things are working great with it. Here is a play by play.
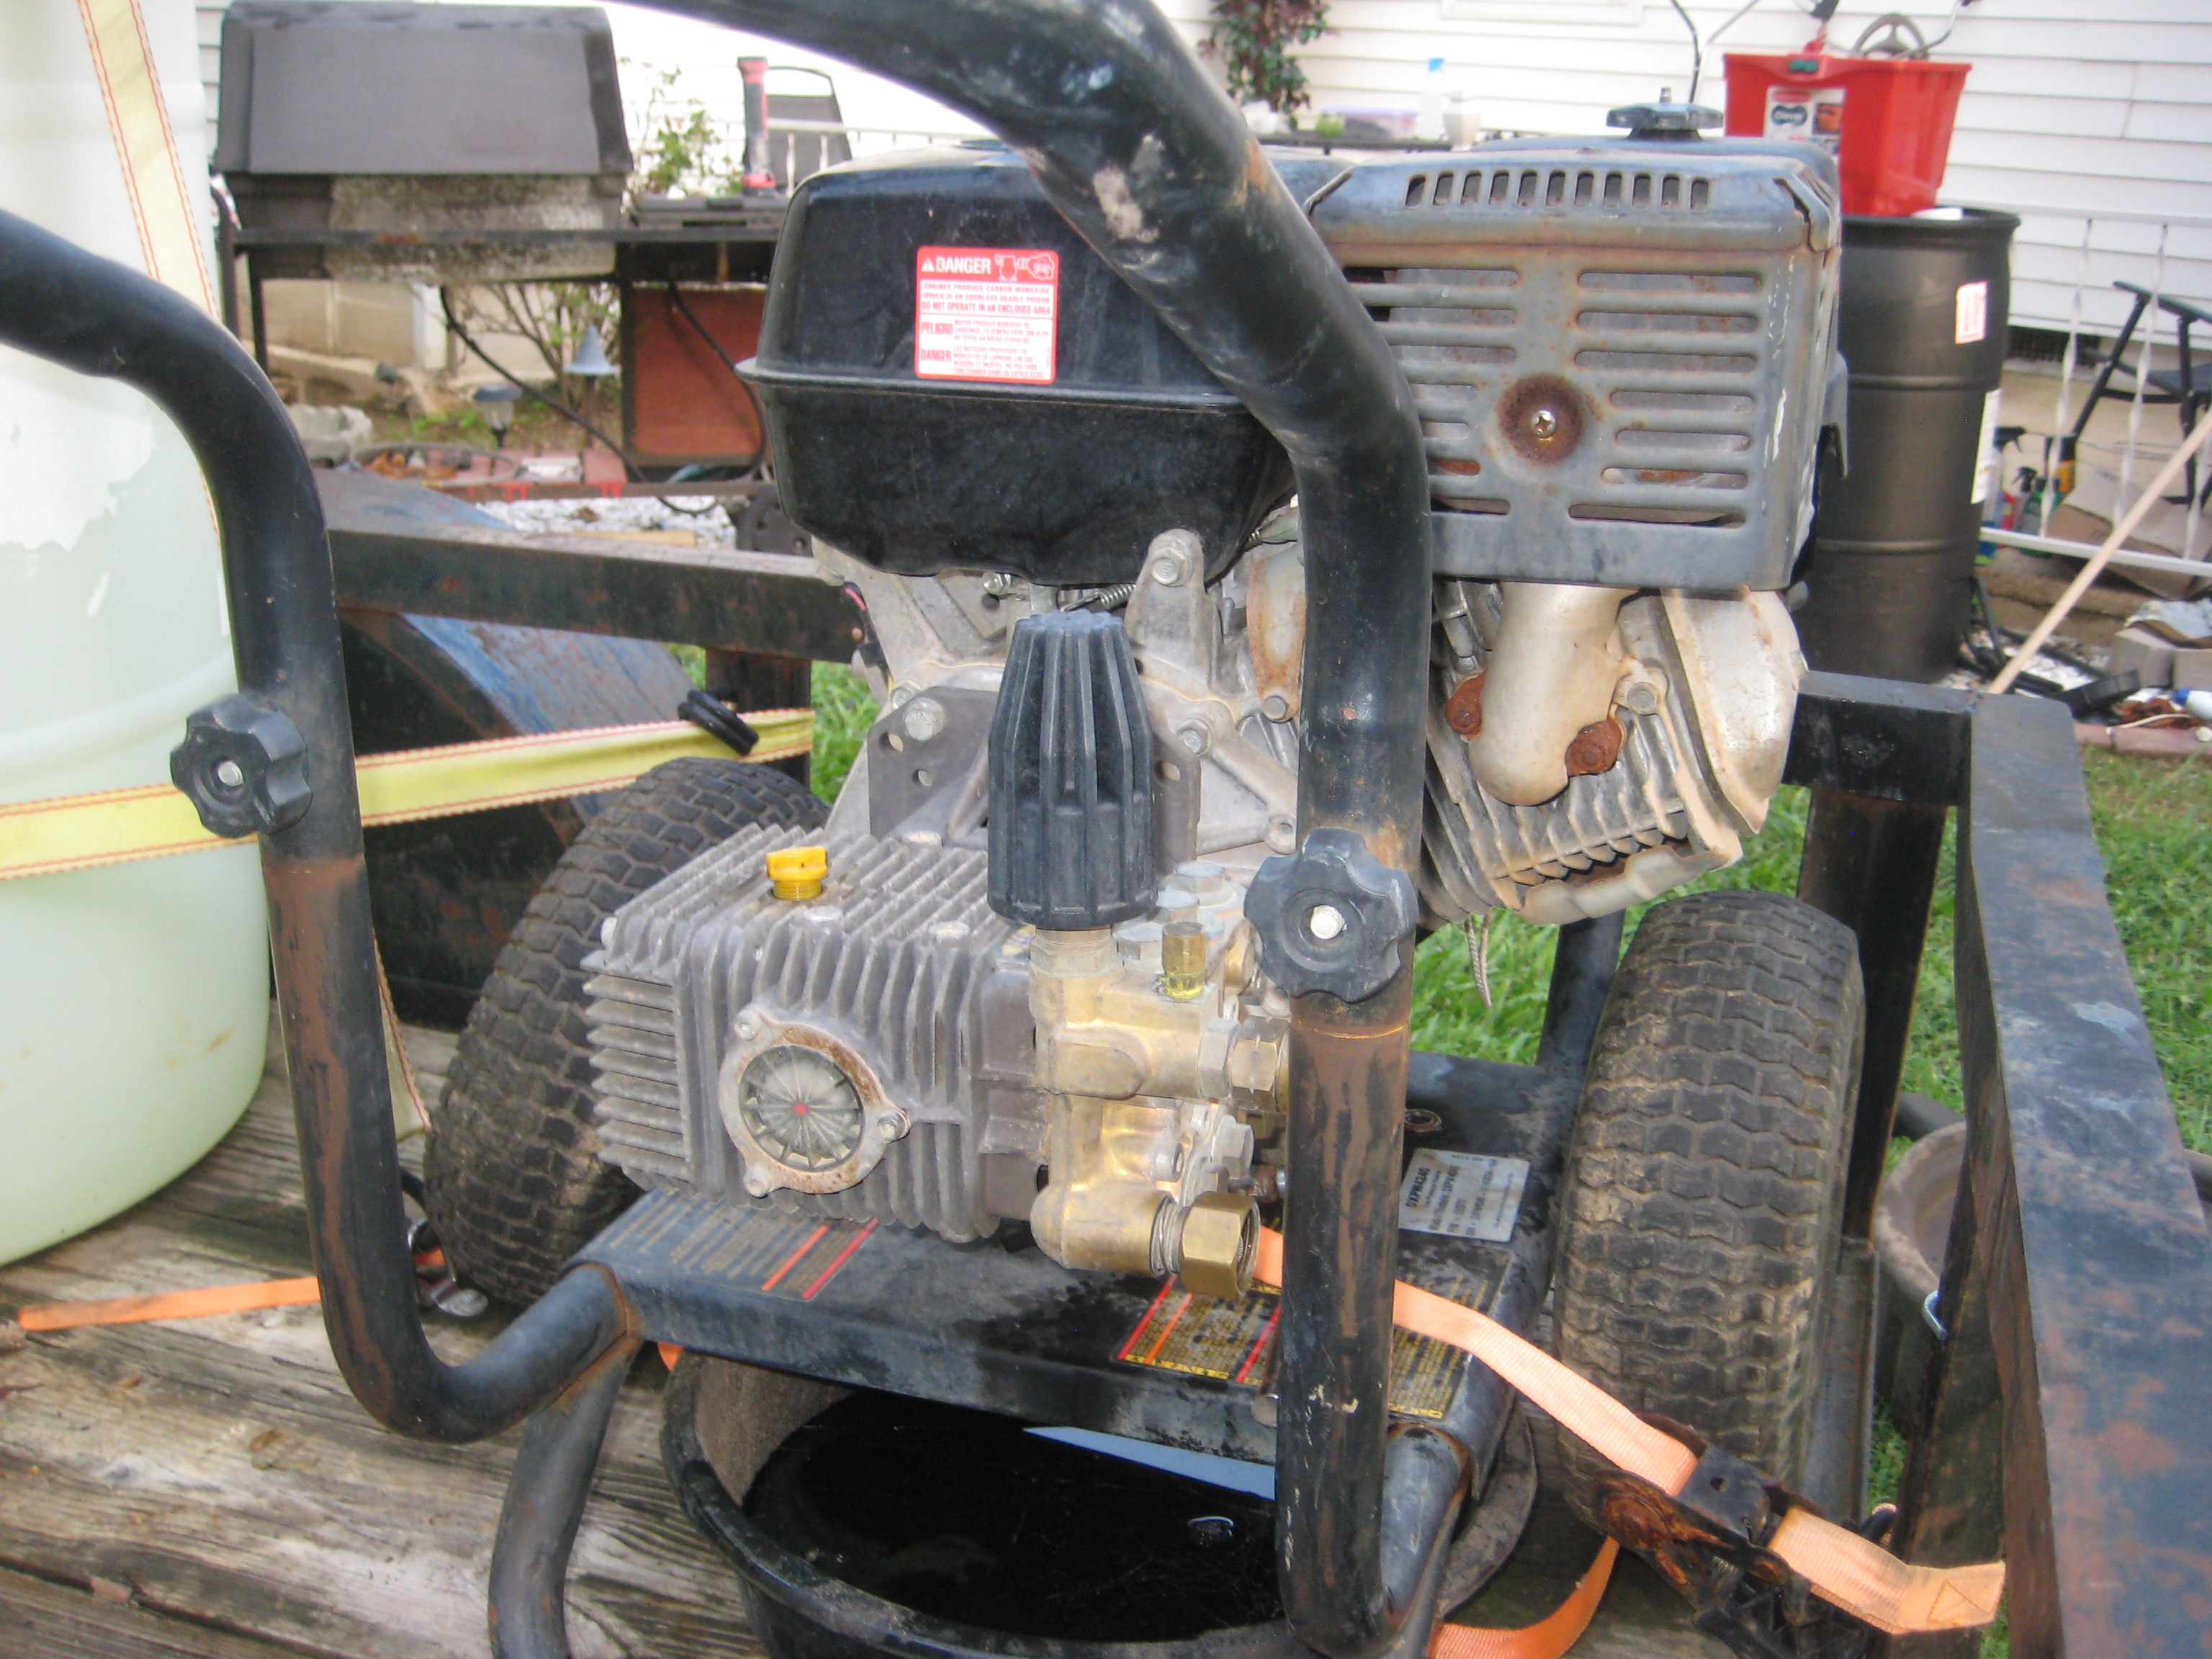
It was a lot larger than the original pump, and more than i was expecting. I still had my pressure washer on the cart that came with it, but no way it would work with this pump. So first thing i did was remove the wheels and frame.
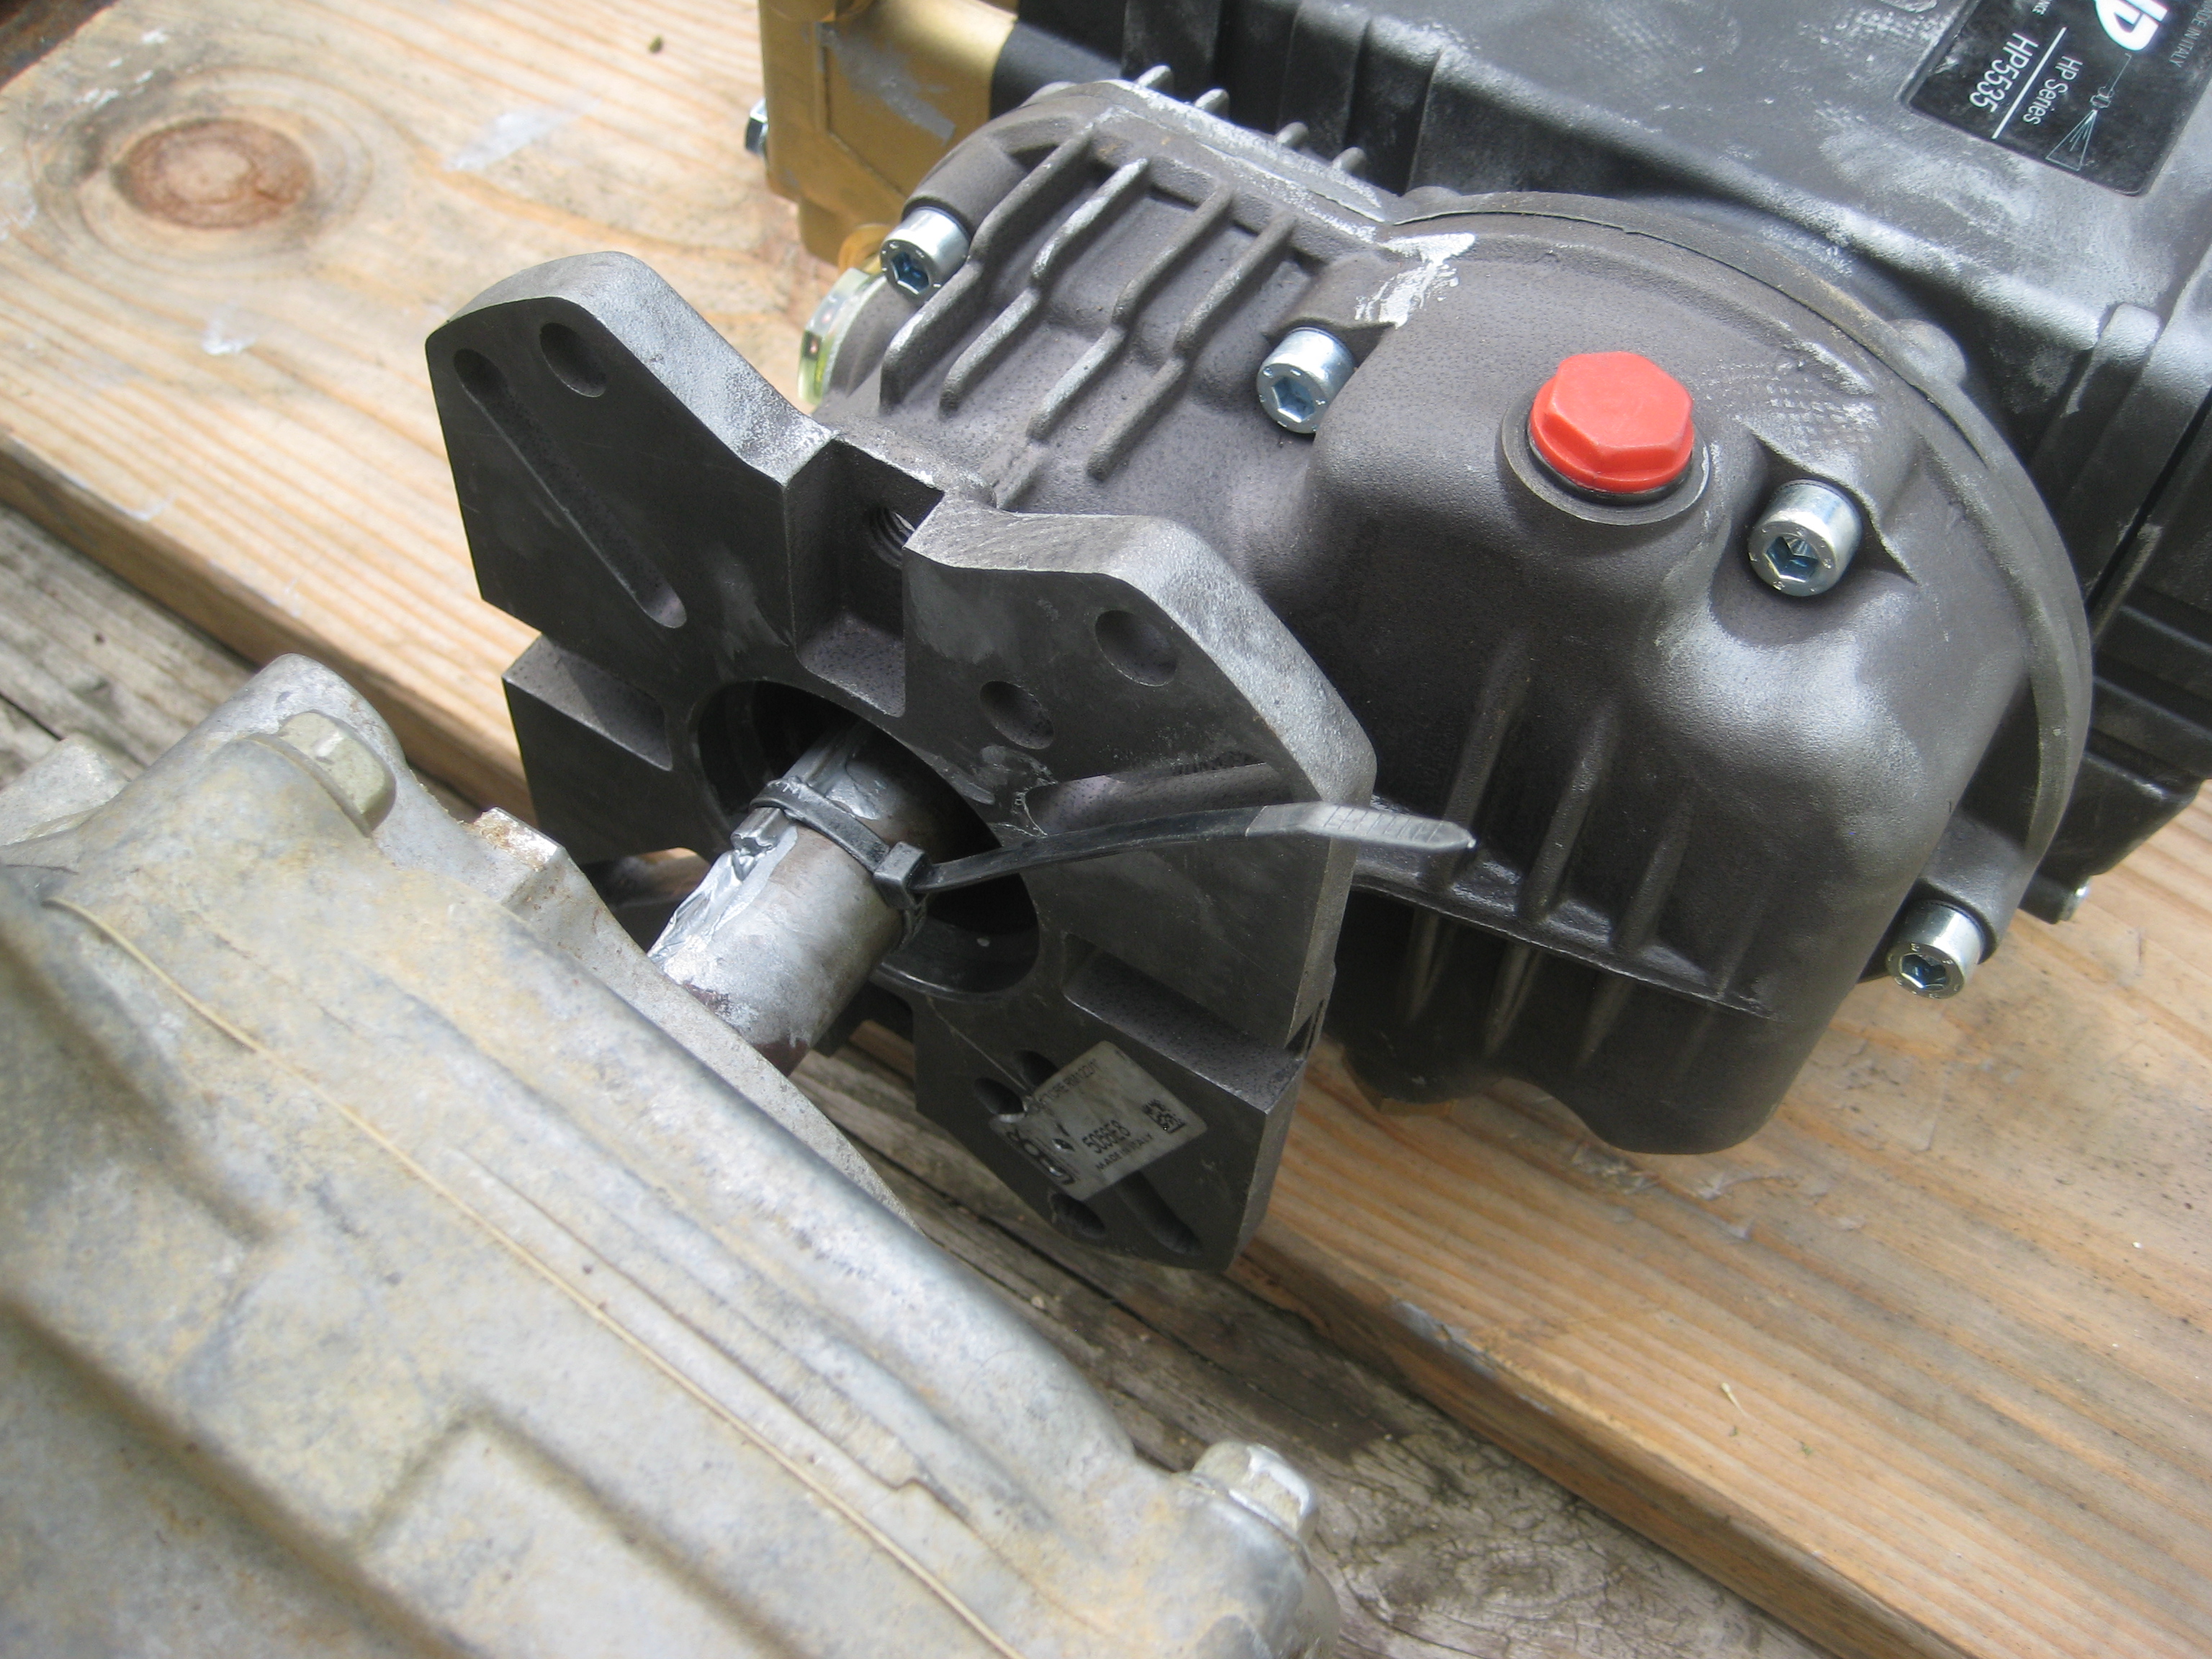
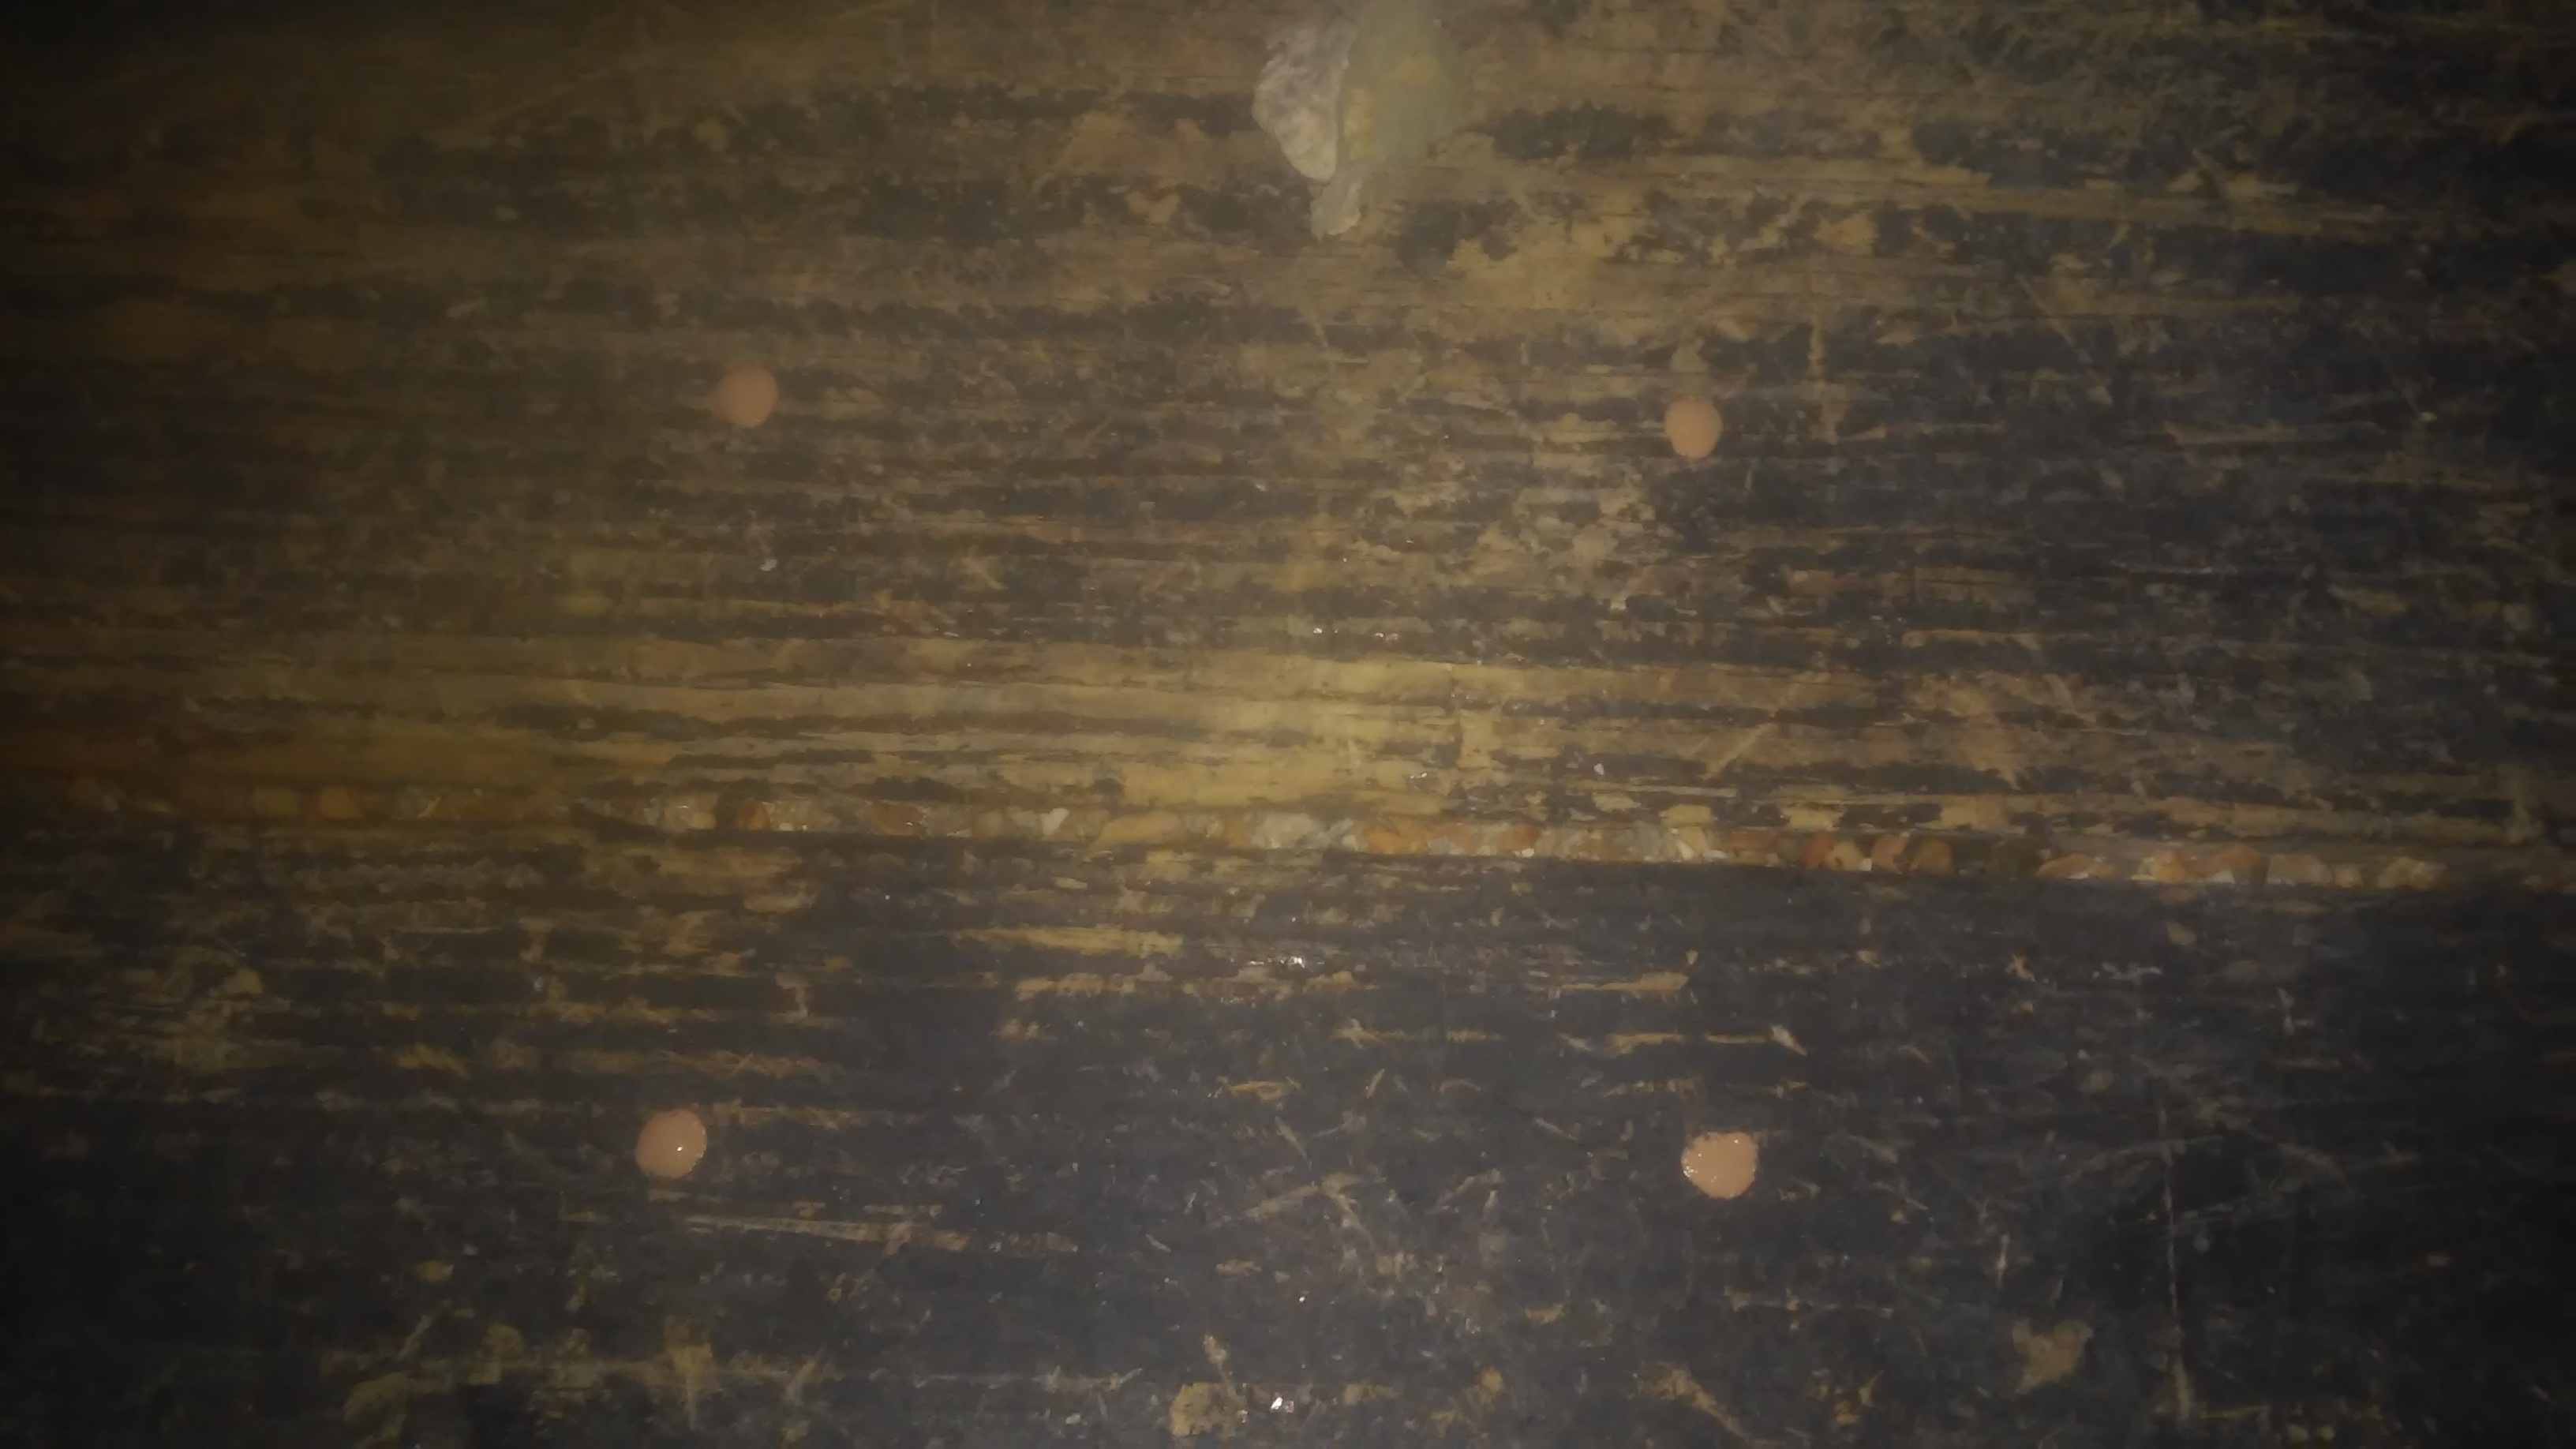
After that, it’s pretty much as easy as everyone says. 4 bolts to remove the old pump, then 4 bolts to put the new one on. Here is a picture of the crankshaft after i removed the old pump. It was rusty, so i cleaned it up with a little PB blaster, then, following the advice of @Innocentbystander, I smeared a bunch of grey anti seize ($5 bucks from Advance Auto) on the keyway and key,

There’s not much i can say about screwing it on, except here is one tip that helped me get it together, as it is rather heavy and awkward to do by yourself.
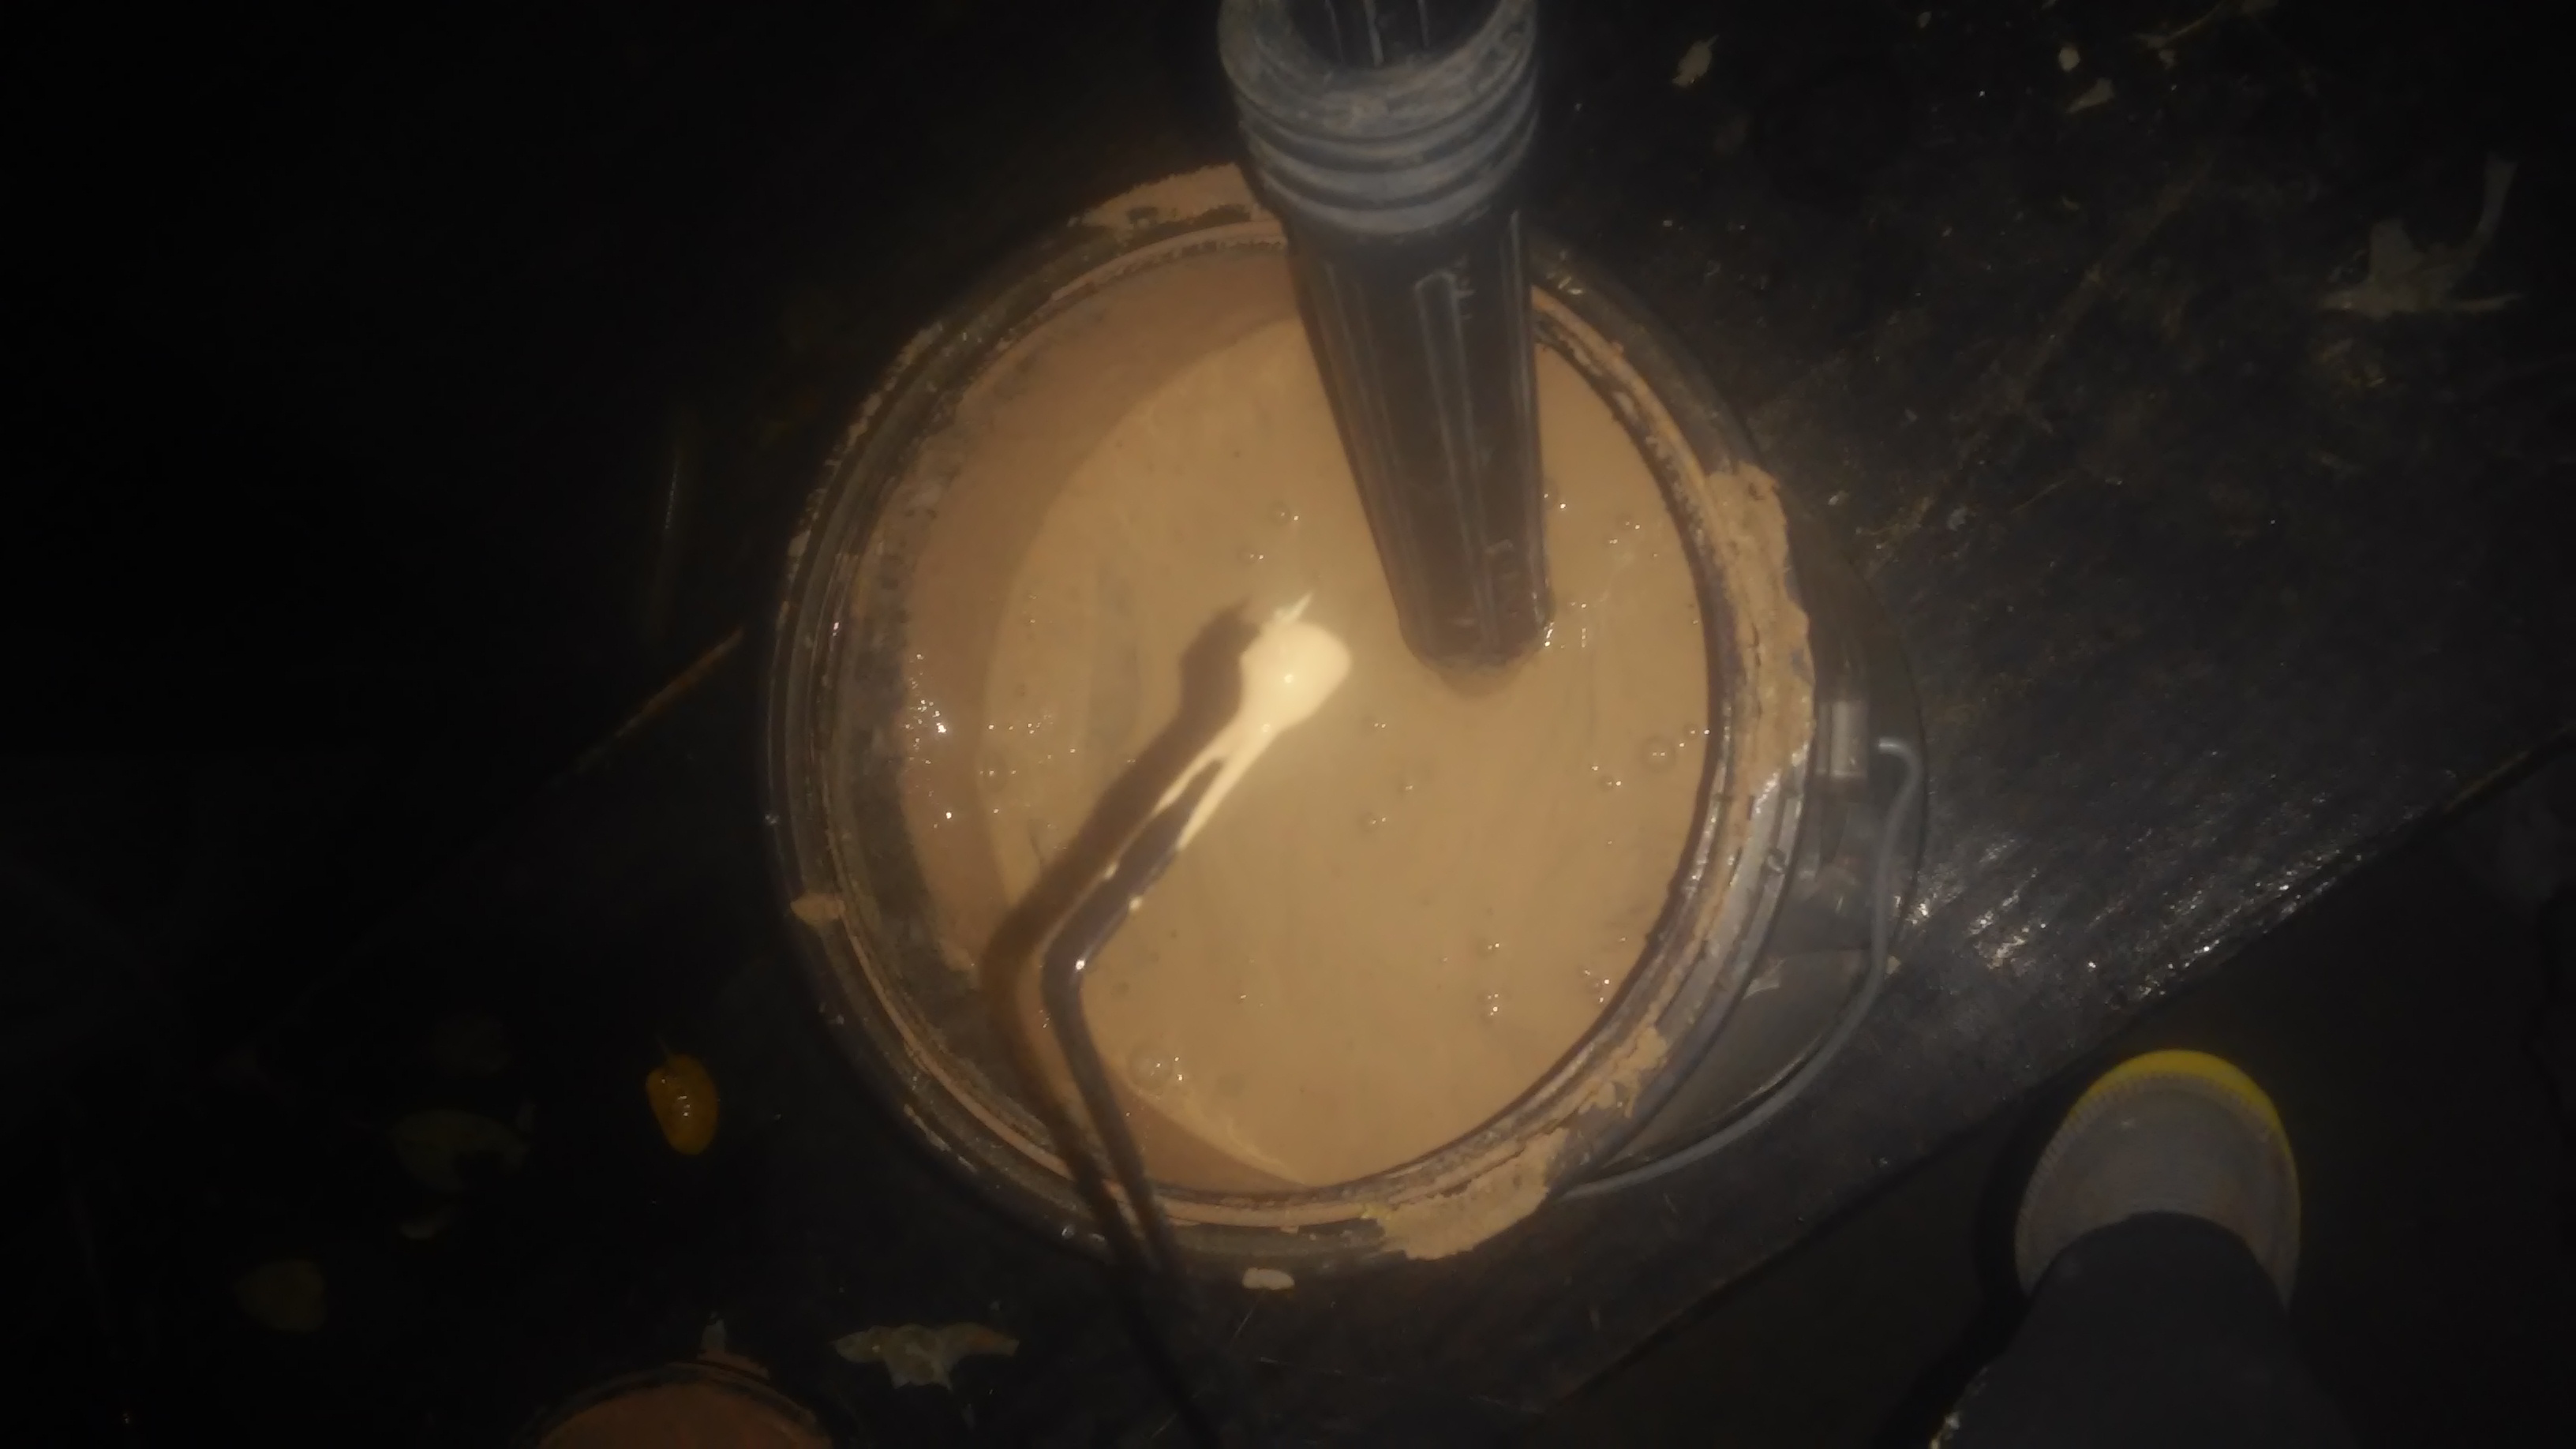
You just slide the new pump over the crankshaft, but there is a little key that sits in the keyway which needs to be properly aligned, and flush in the slot. This was very difficult to do, because the key is loose, and by the time i rotated the engine about where i thought the slot was, and then tried to lift the pump up, it kept knocking the key out, or never even getting close to where it should be. It’s made more difficult because you cant easily see the key as you are trying to slide the heavy pump over the crankshaft.
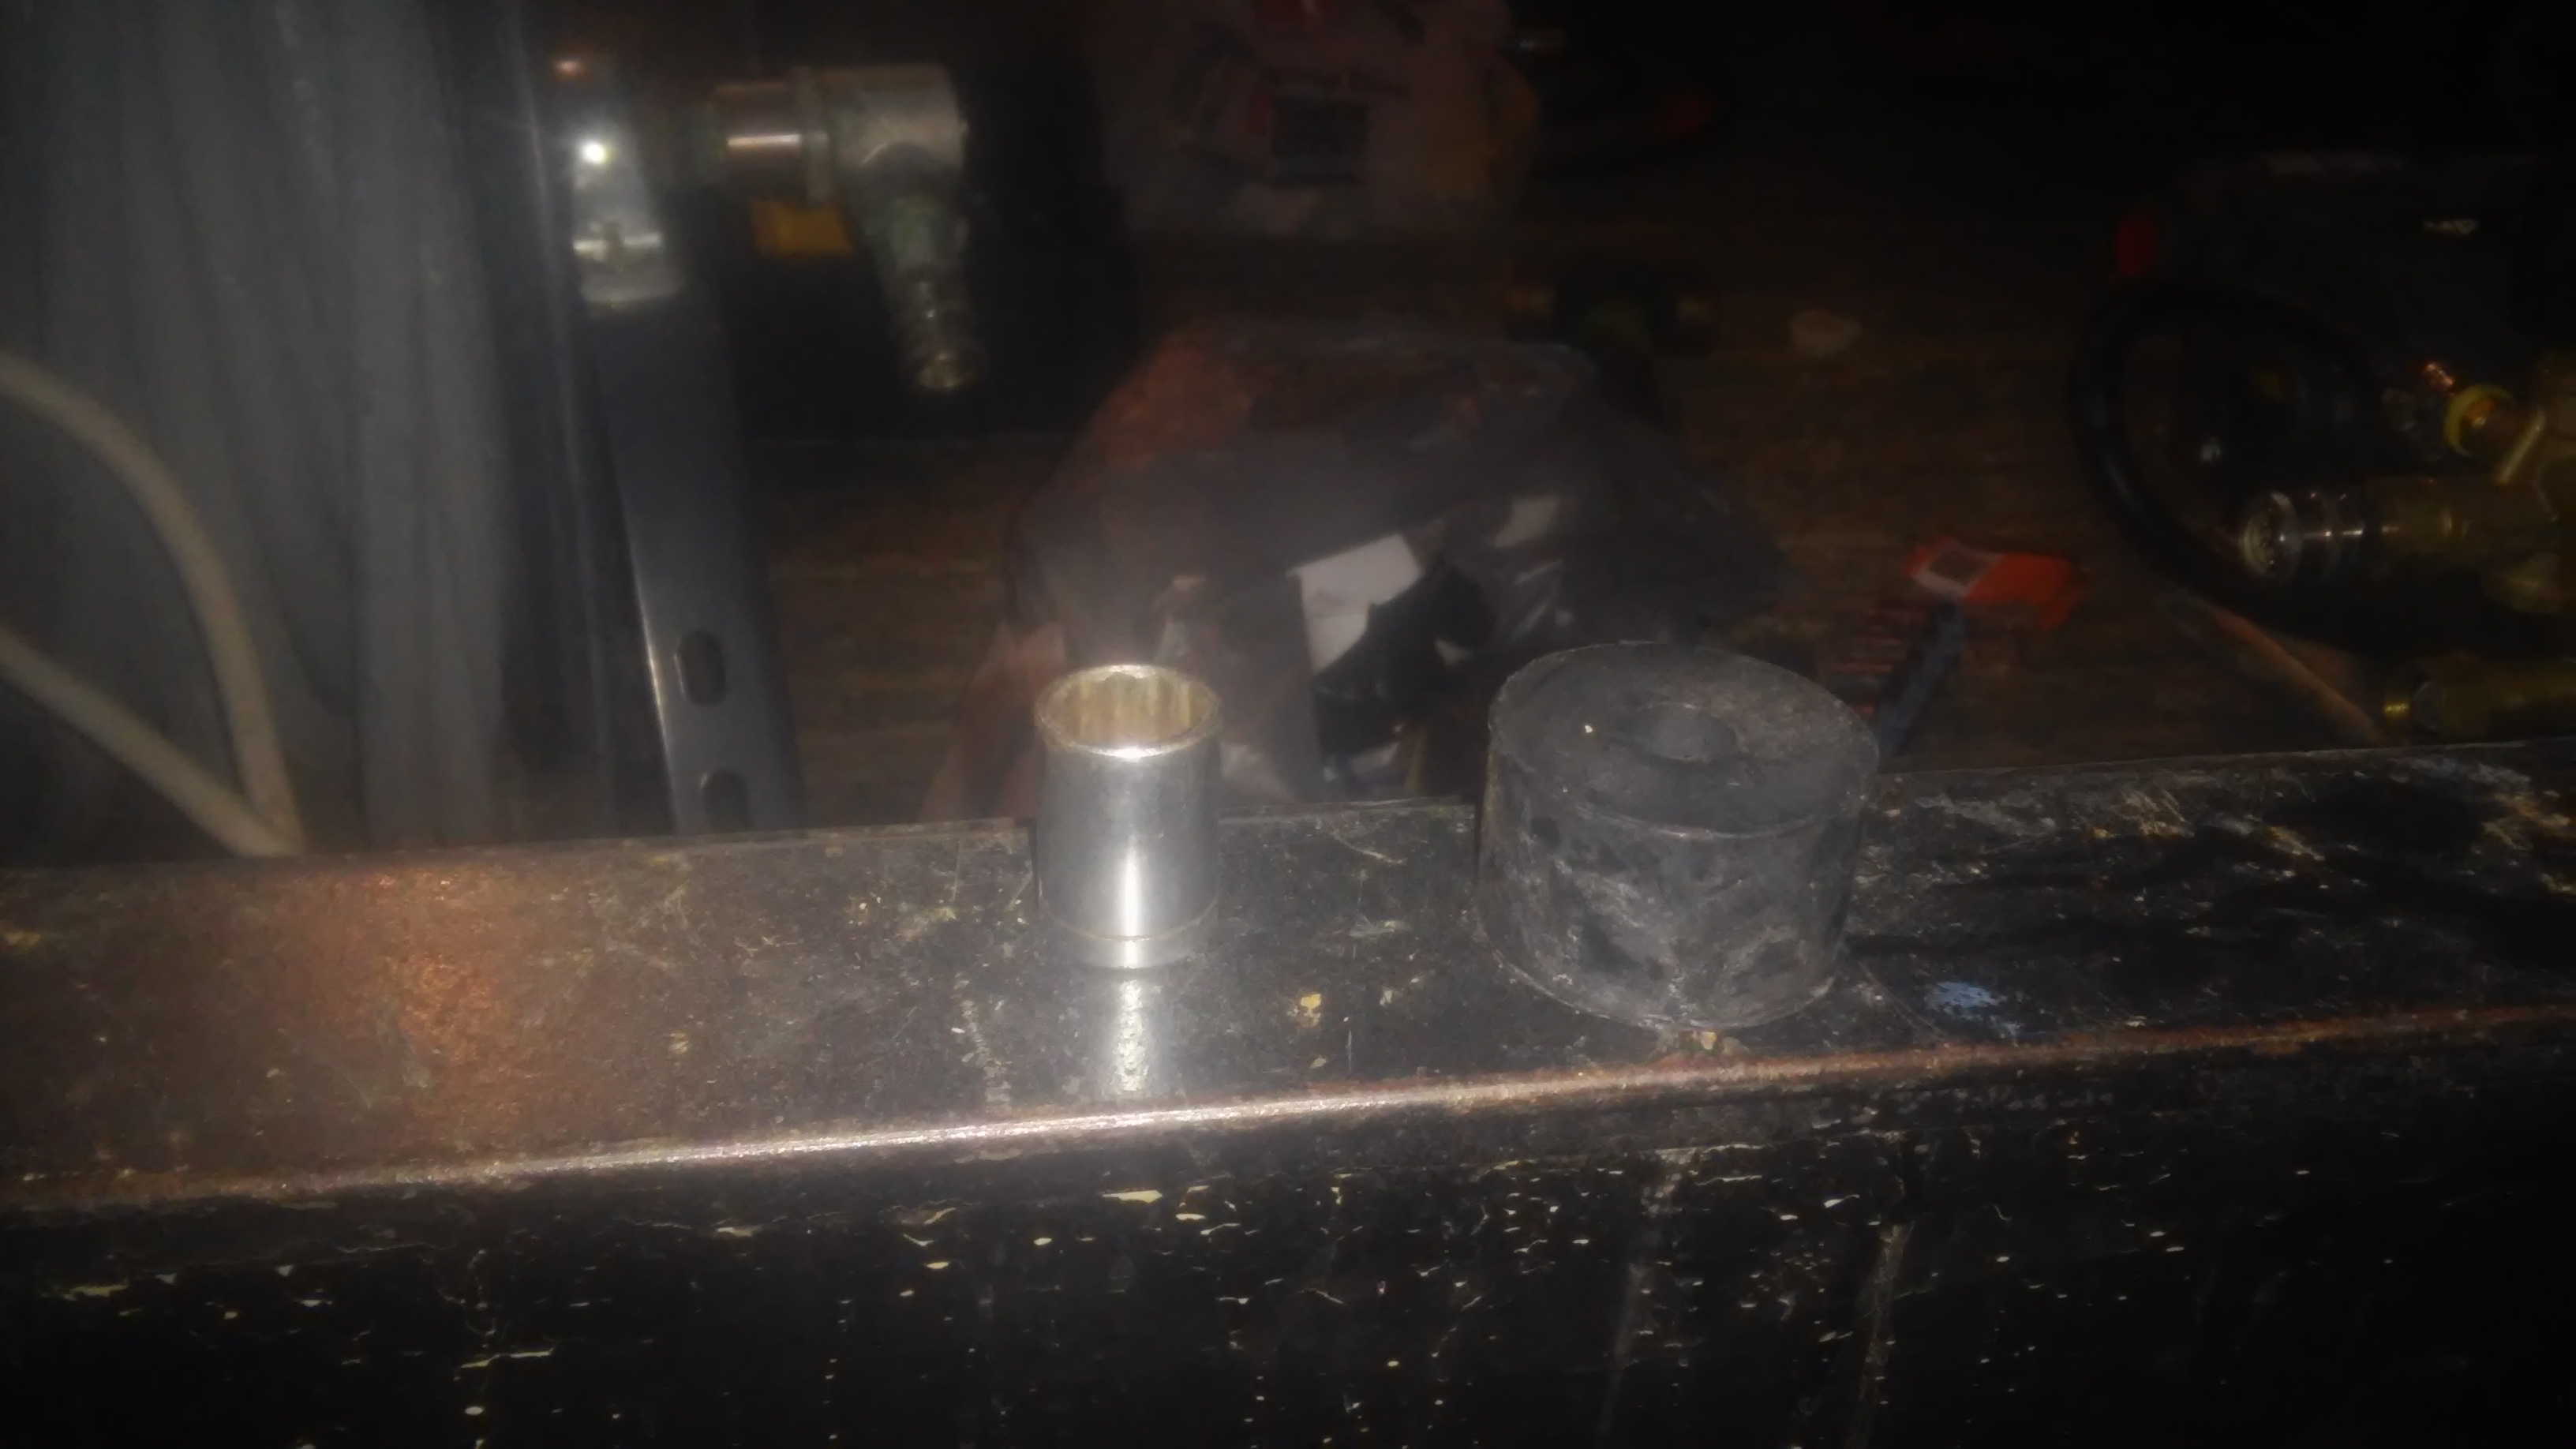
There might be a better way to do it, but I finally had the idea to take a ziptie and secure the key into the indention… once i did that, i had it on and secured in probably less than a minute. Just get it started, which you will easily be able to feel, and clip off the ziptie right before you slide it all the way flush. Here’s a close up of that (click image for the full version).
After that, that was it. I was pretty nervous firing it up for the first time, as there were no gaskets or anything… just 4 bolts and a new really heavy and big pump assembly. It pulled a little differently, and sounded a little differently when the gears spun up, but everything worked great. I’ve used it for several 10 hour days, and have had no issues whatsoever.
Ok, now here are some challenges i ran into when i mounted it to the trailer. First of all, i always struggle with getting the holes lined up with the engine. I know you can make a template, but its tricky to lift the engine up by yourself to trace one. I also couldn’t easily get a pencil or nail into the holes to scratch a mark, because of the tight quarters. Finally, I had the idea to take a zip tie and bend it 90 degrees, then I dunked the clip end into some thick paint and got a nice glob on the end.
Next i fed it into the engine mount holes, and dabbed the wood.
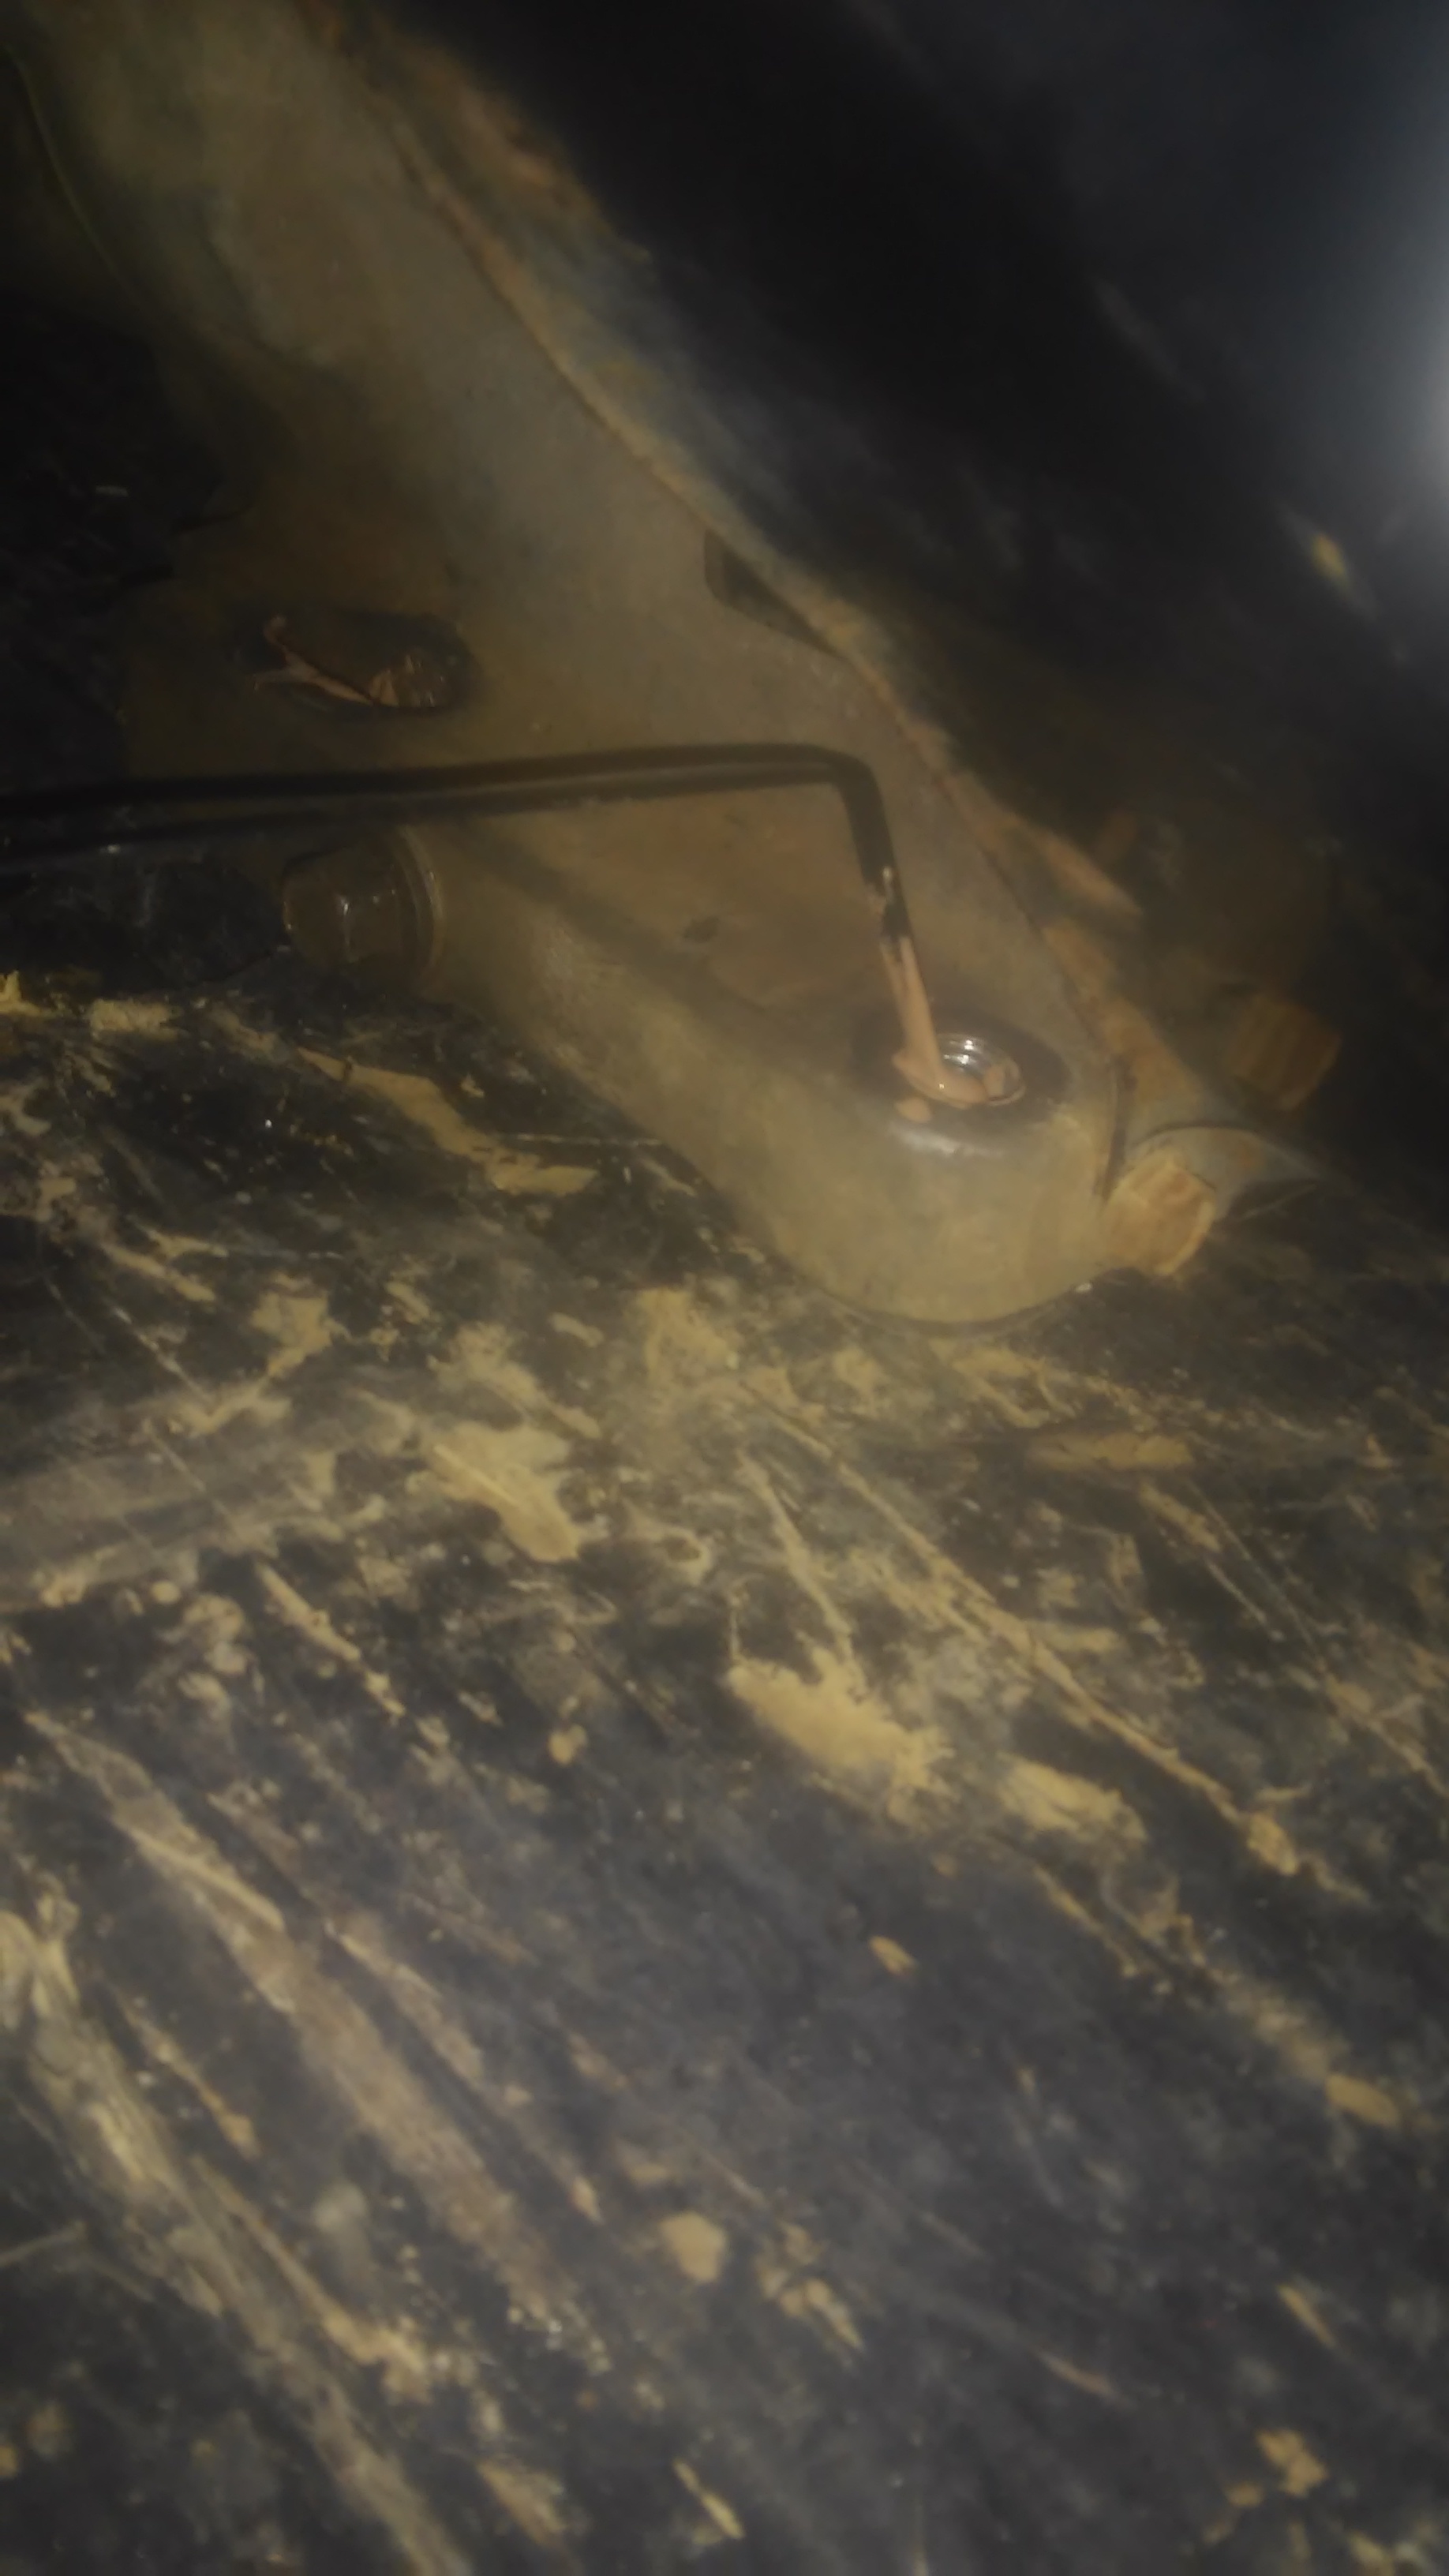
It surprisingly left a clear mark for each spot, and when i drilled them, they all lined up nicely.
I just went straight to the wood, using rubber feet in between. No idea if you should have something else between the rubber feet and the wood, but that’s what i did. I went to a local Napa shop and asked if they had anything that might work… they found these rubber feet that worked perfectly. You can find something similar at Oreilly’s, but i prefer the Napa ones, as they are thicker and more sturdy. They were less than $1 apiece. Tomorrow i will edit in the Napa part number.
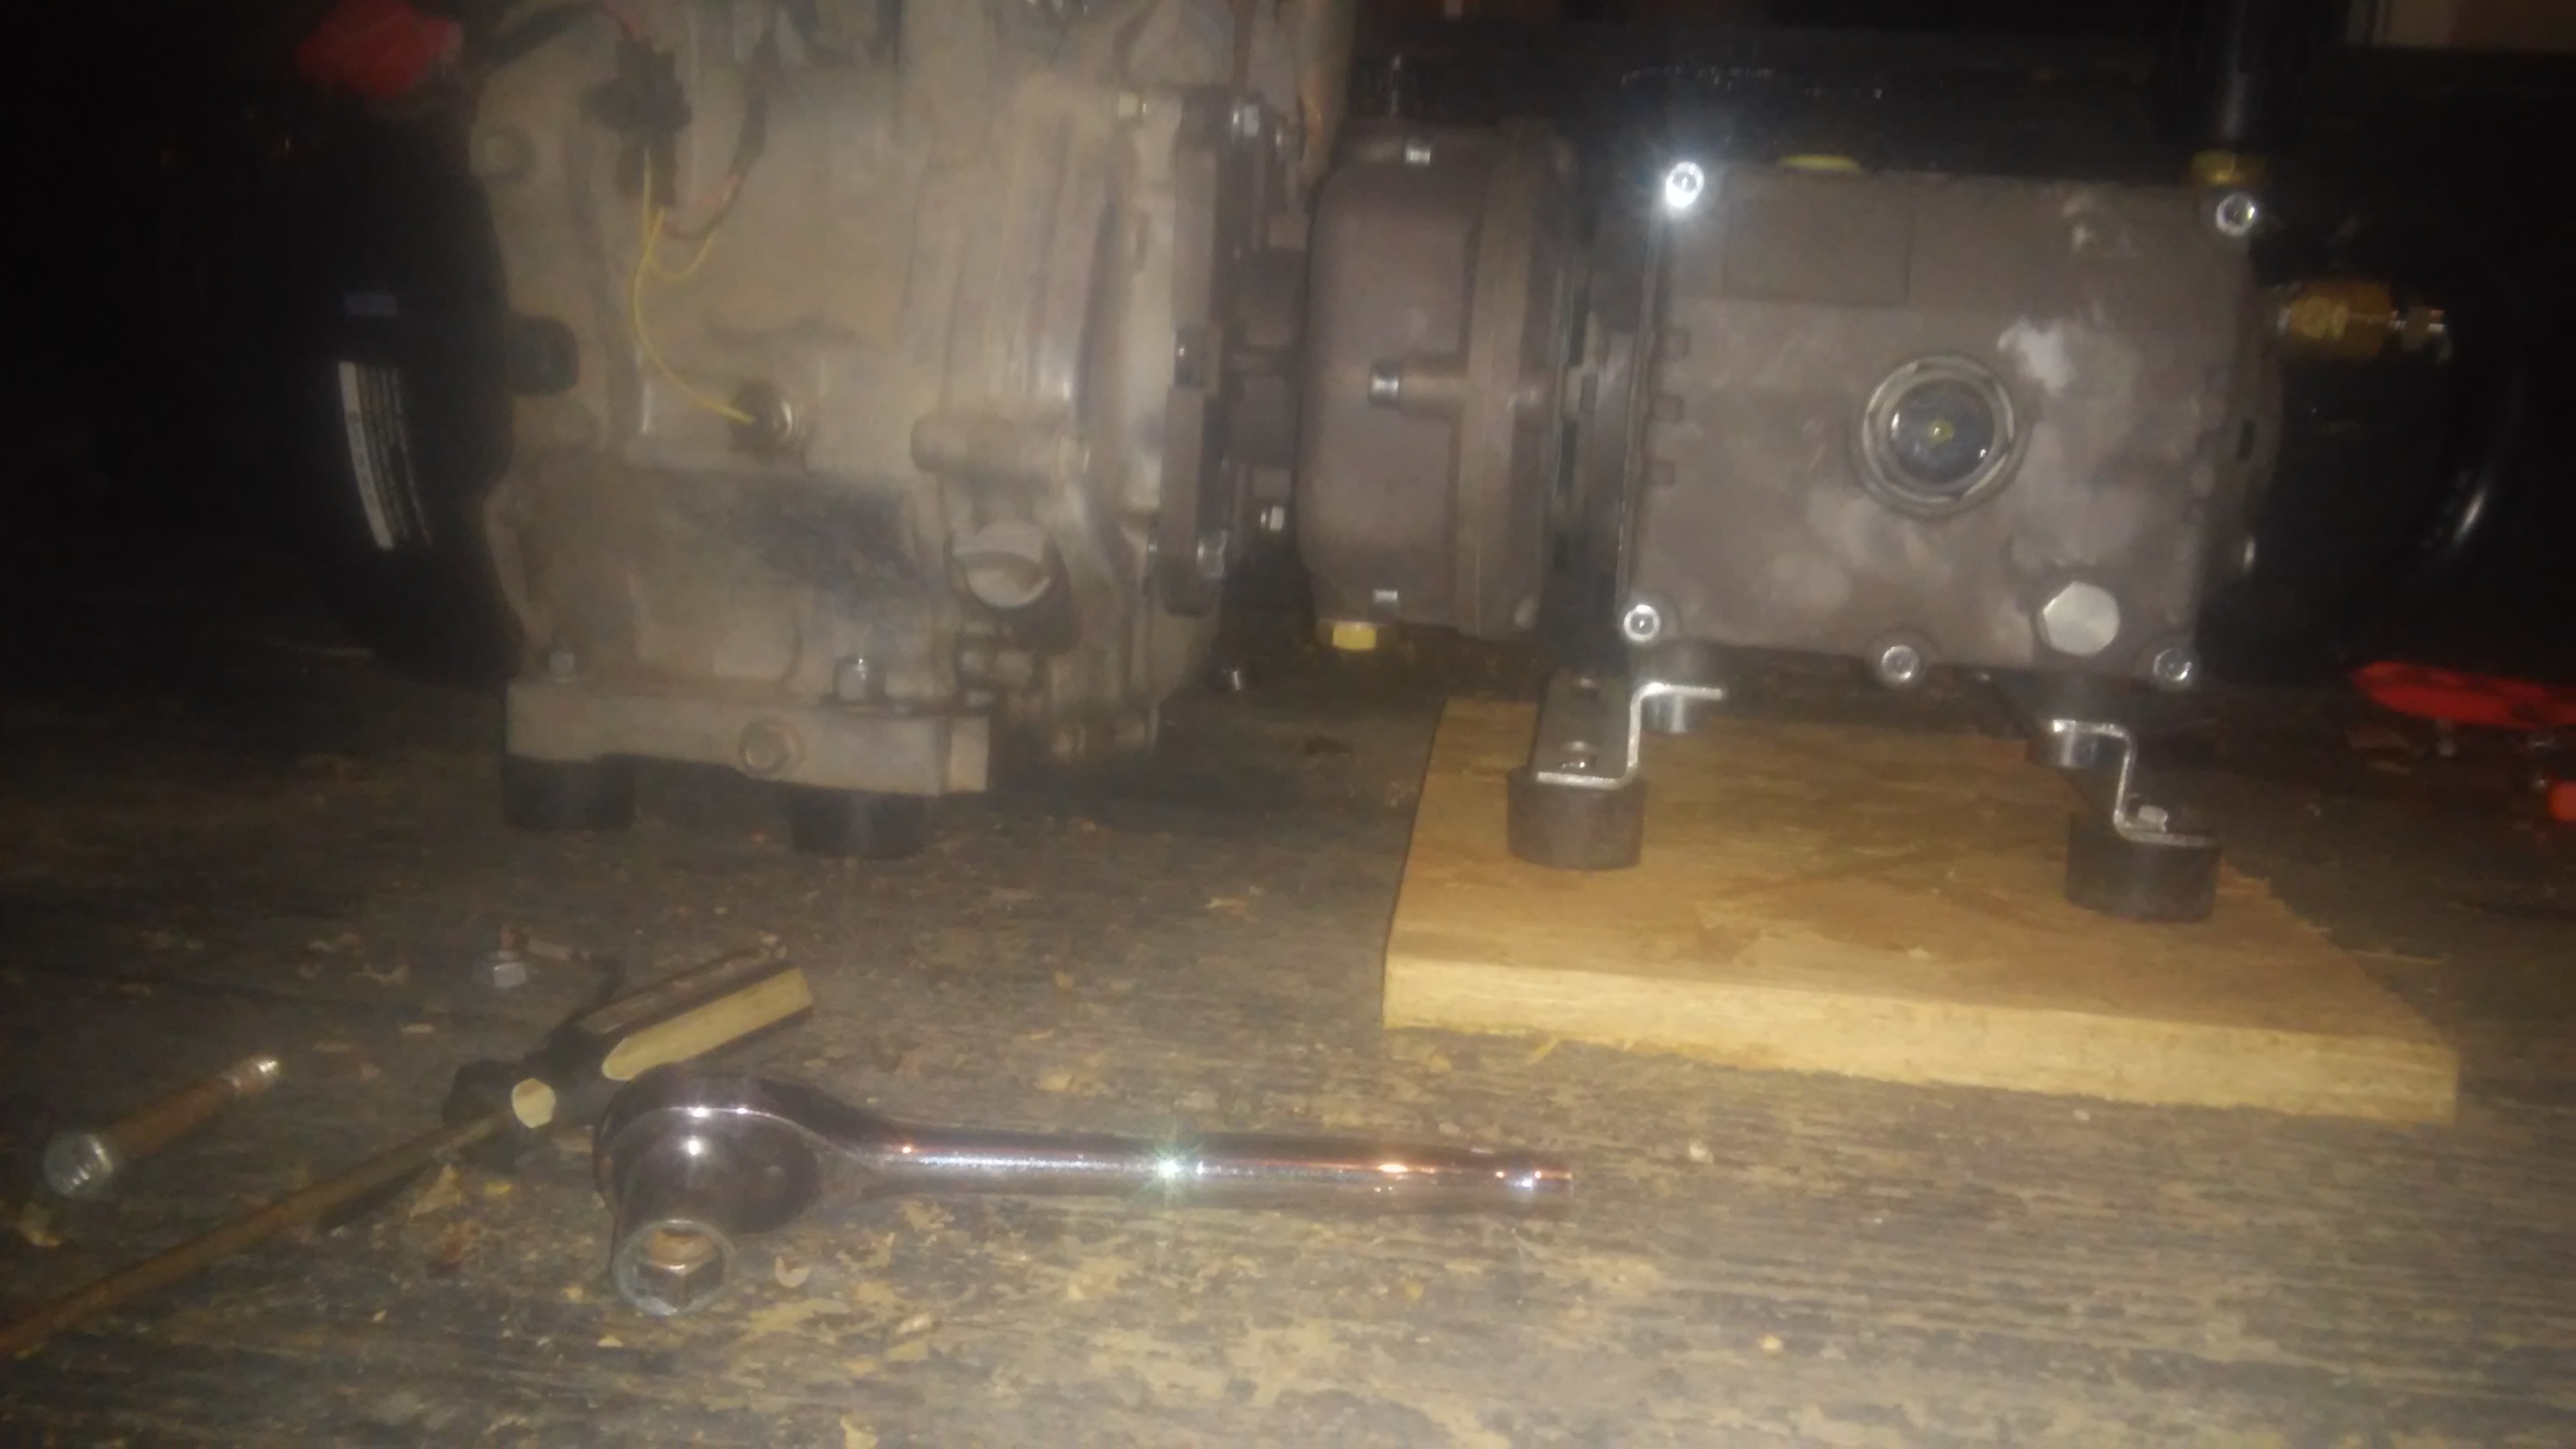
The biggest challenge i found, was that there is a pretty good height difference between the engine and pump mounting brackets. You can see here that it took two rubber feet stacked up to get it somewhat even.
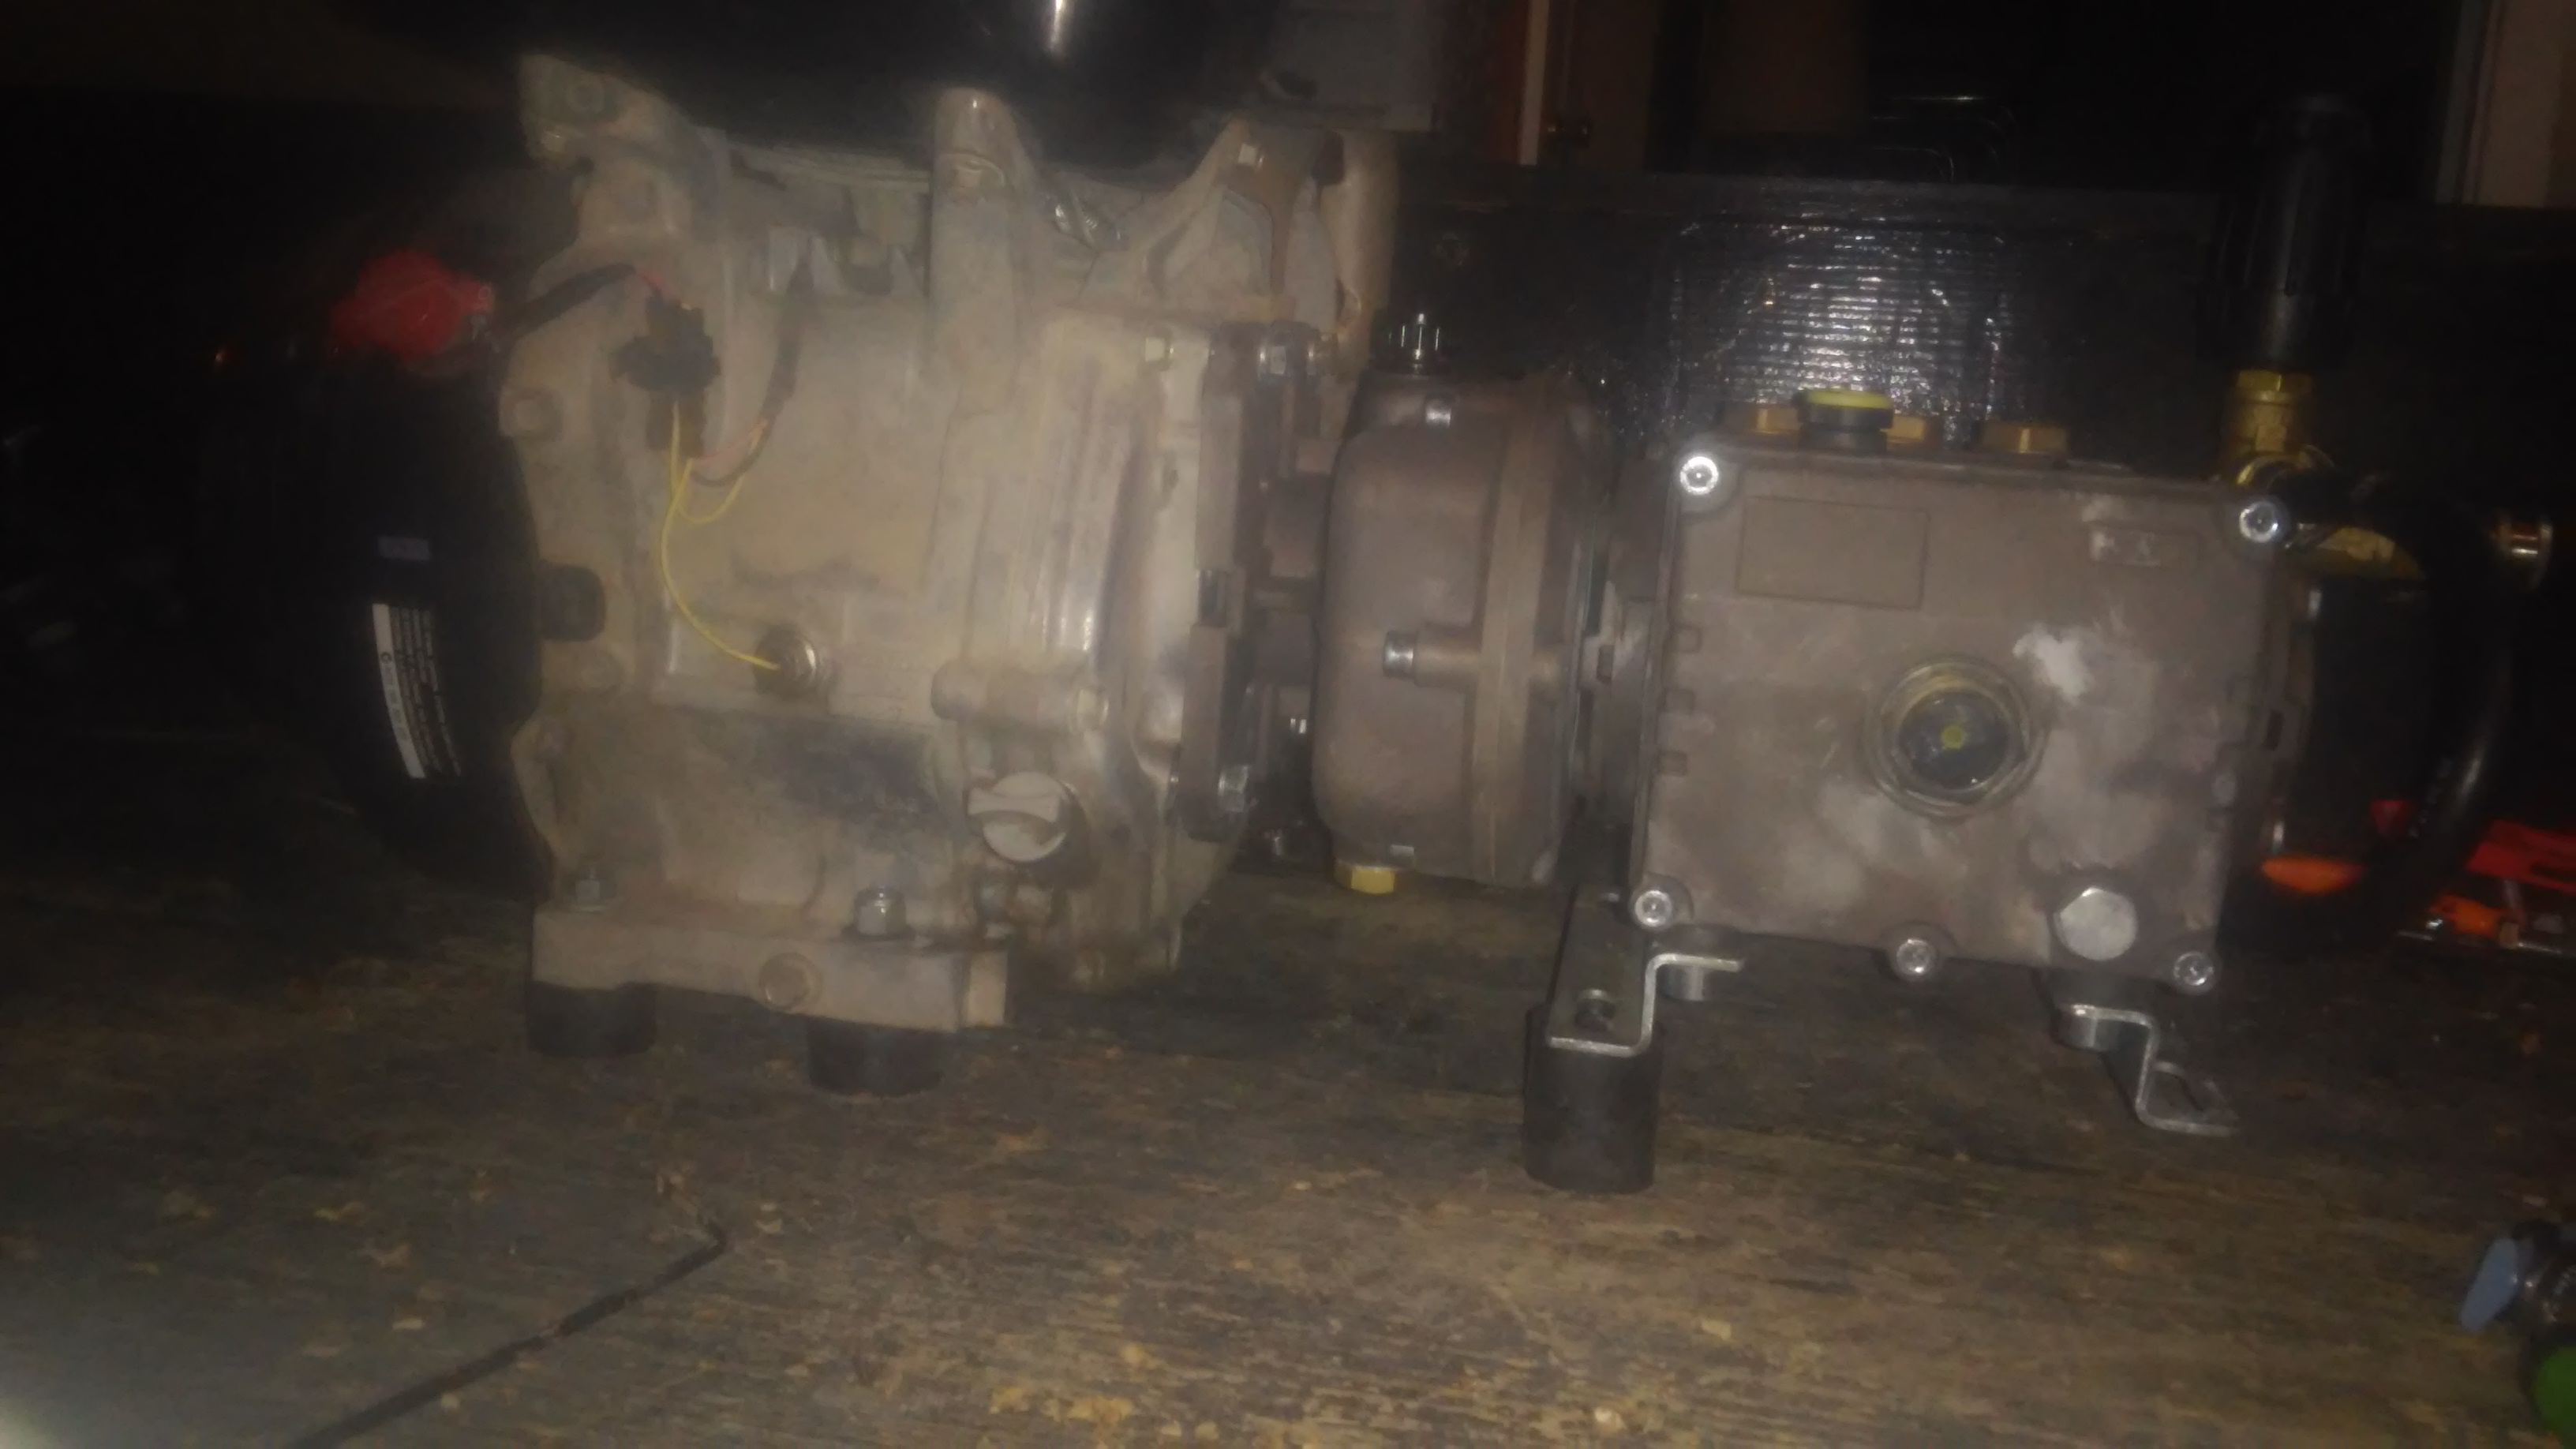
Instead of doing that, i grabbed a piece of 3/4" OSB that i had lying around, and then 1 rubber foot seemed to do the trick. OSB might not be the best choice, but its what i had handy.
Well, there you have it. Hope this helps anyone that is curious about the process.
Feel free to suggest any changes that might need to be made, or advice on how to do anything better.
