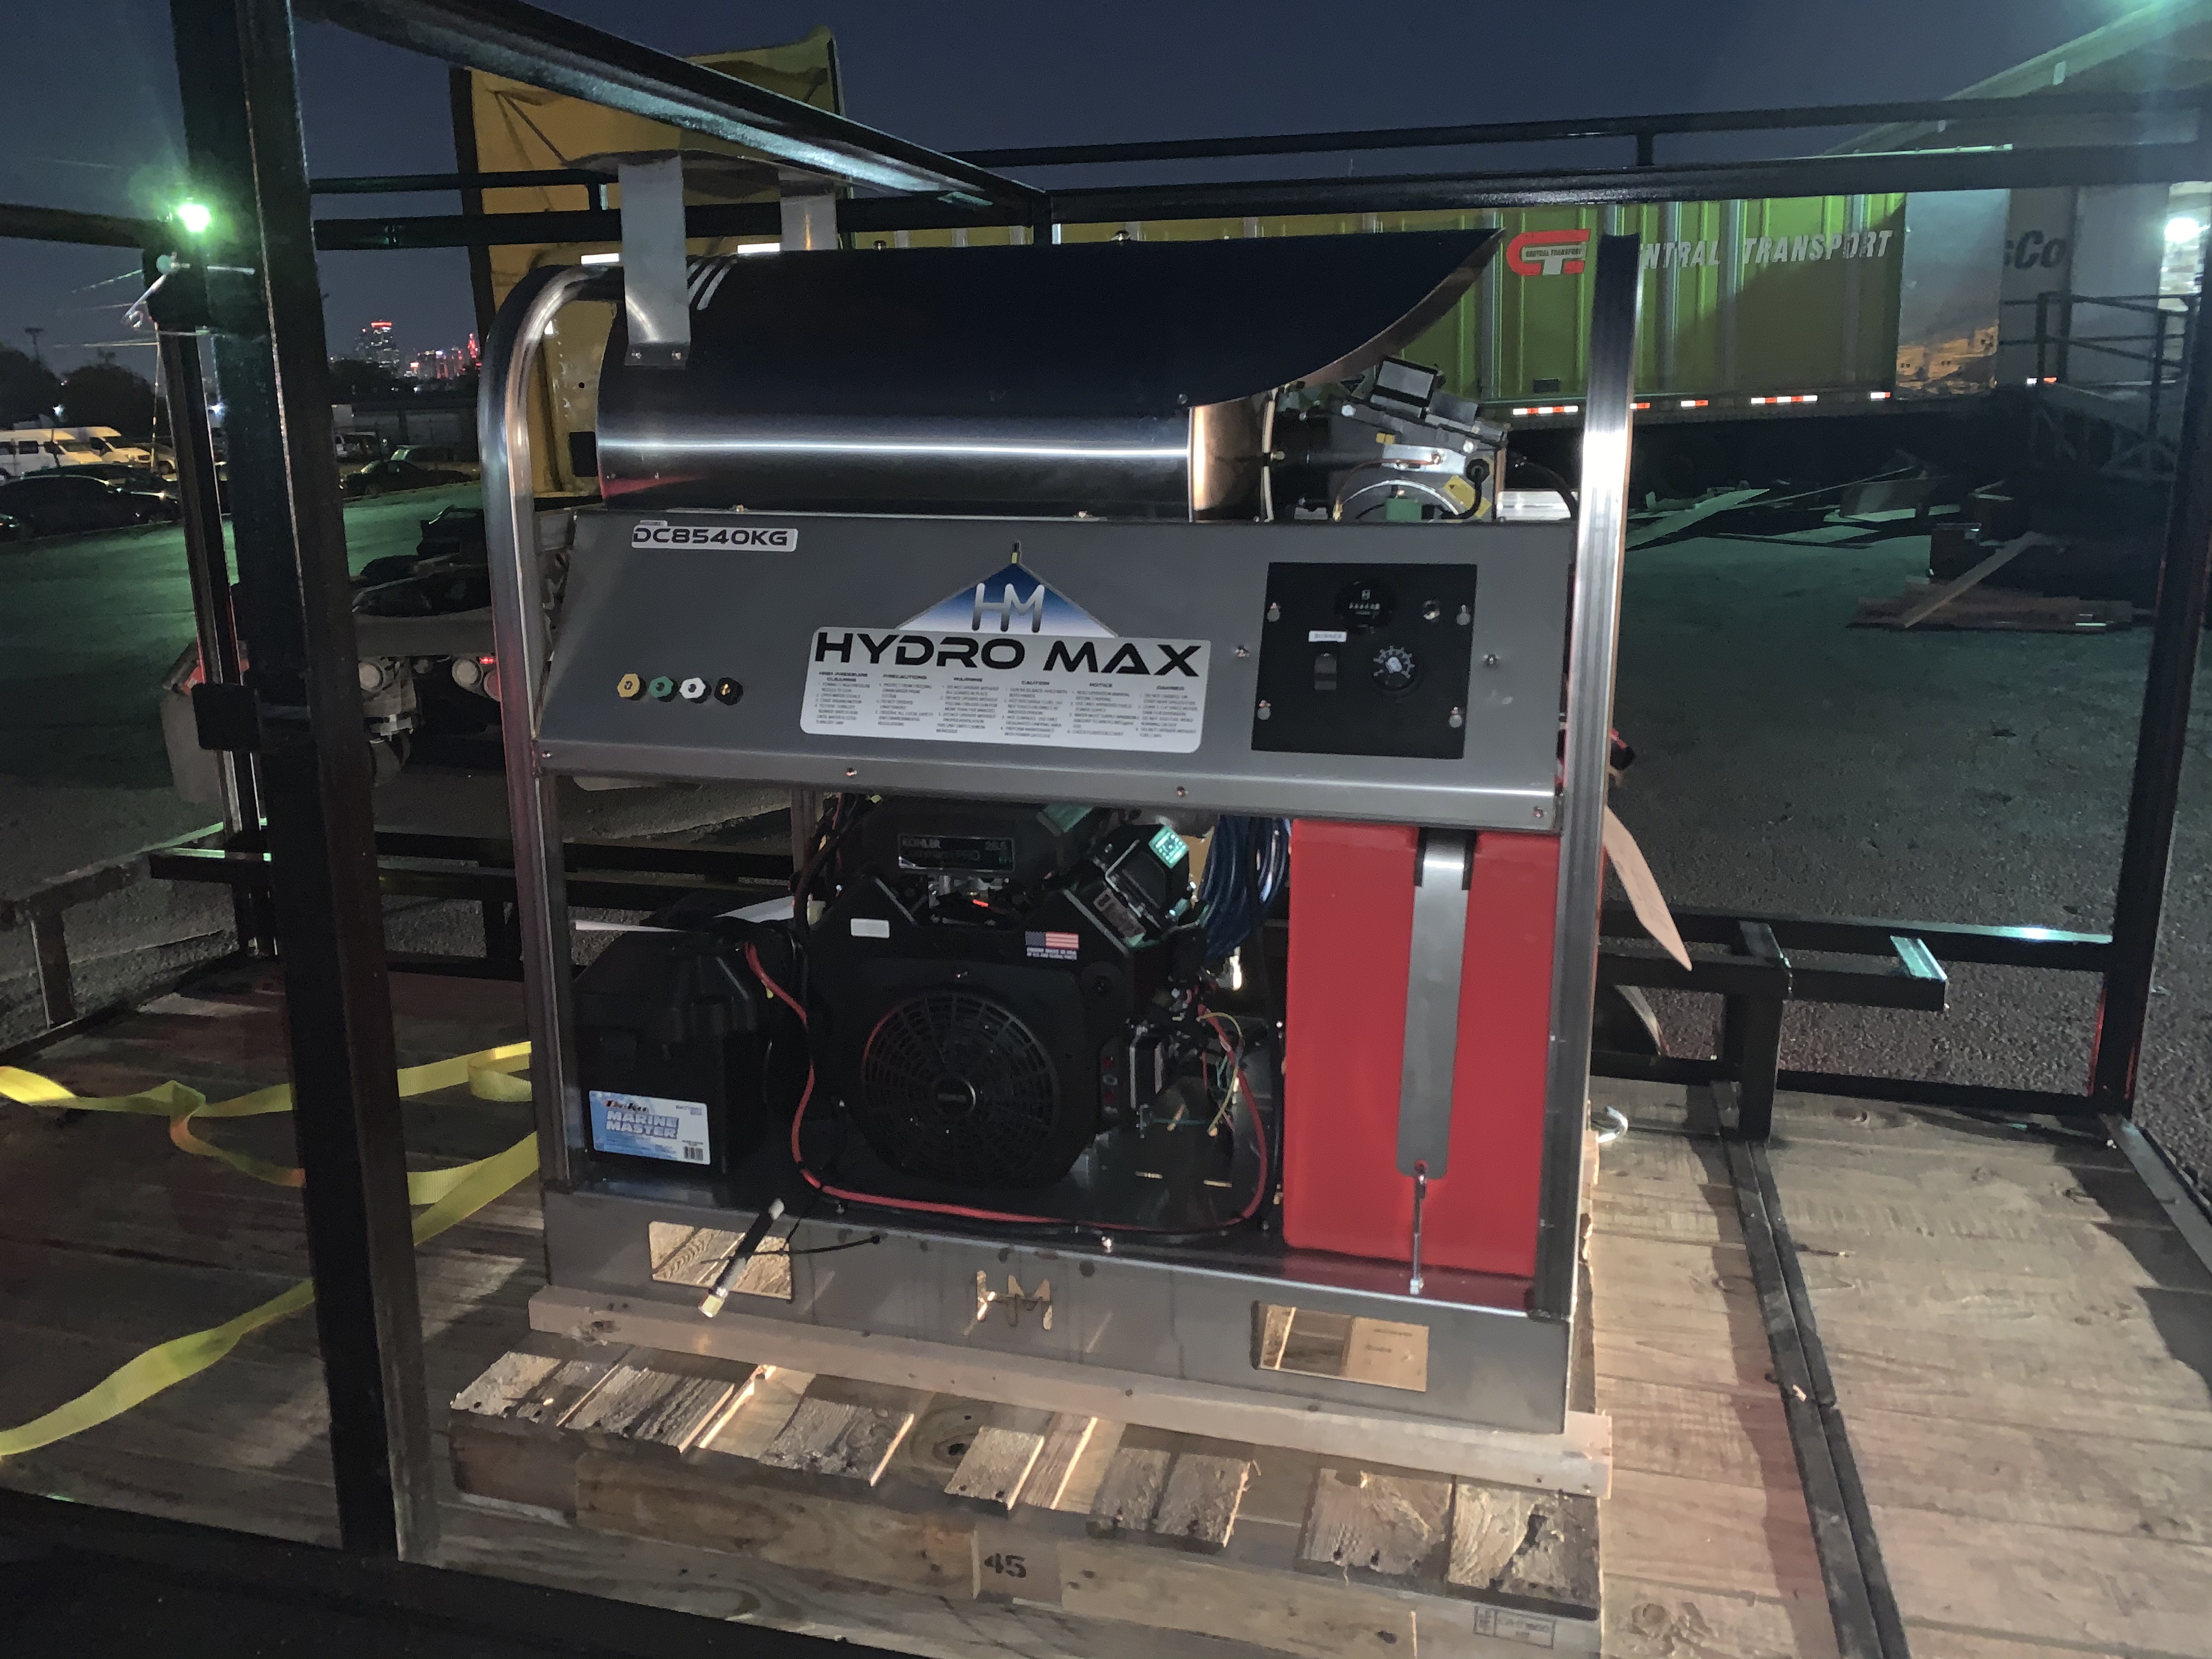
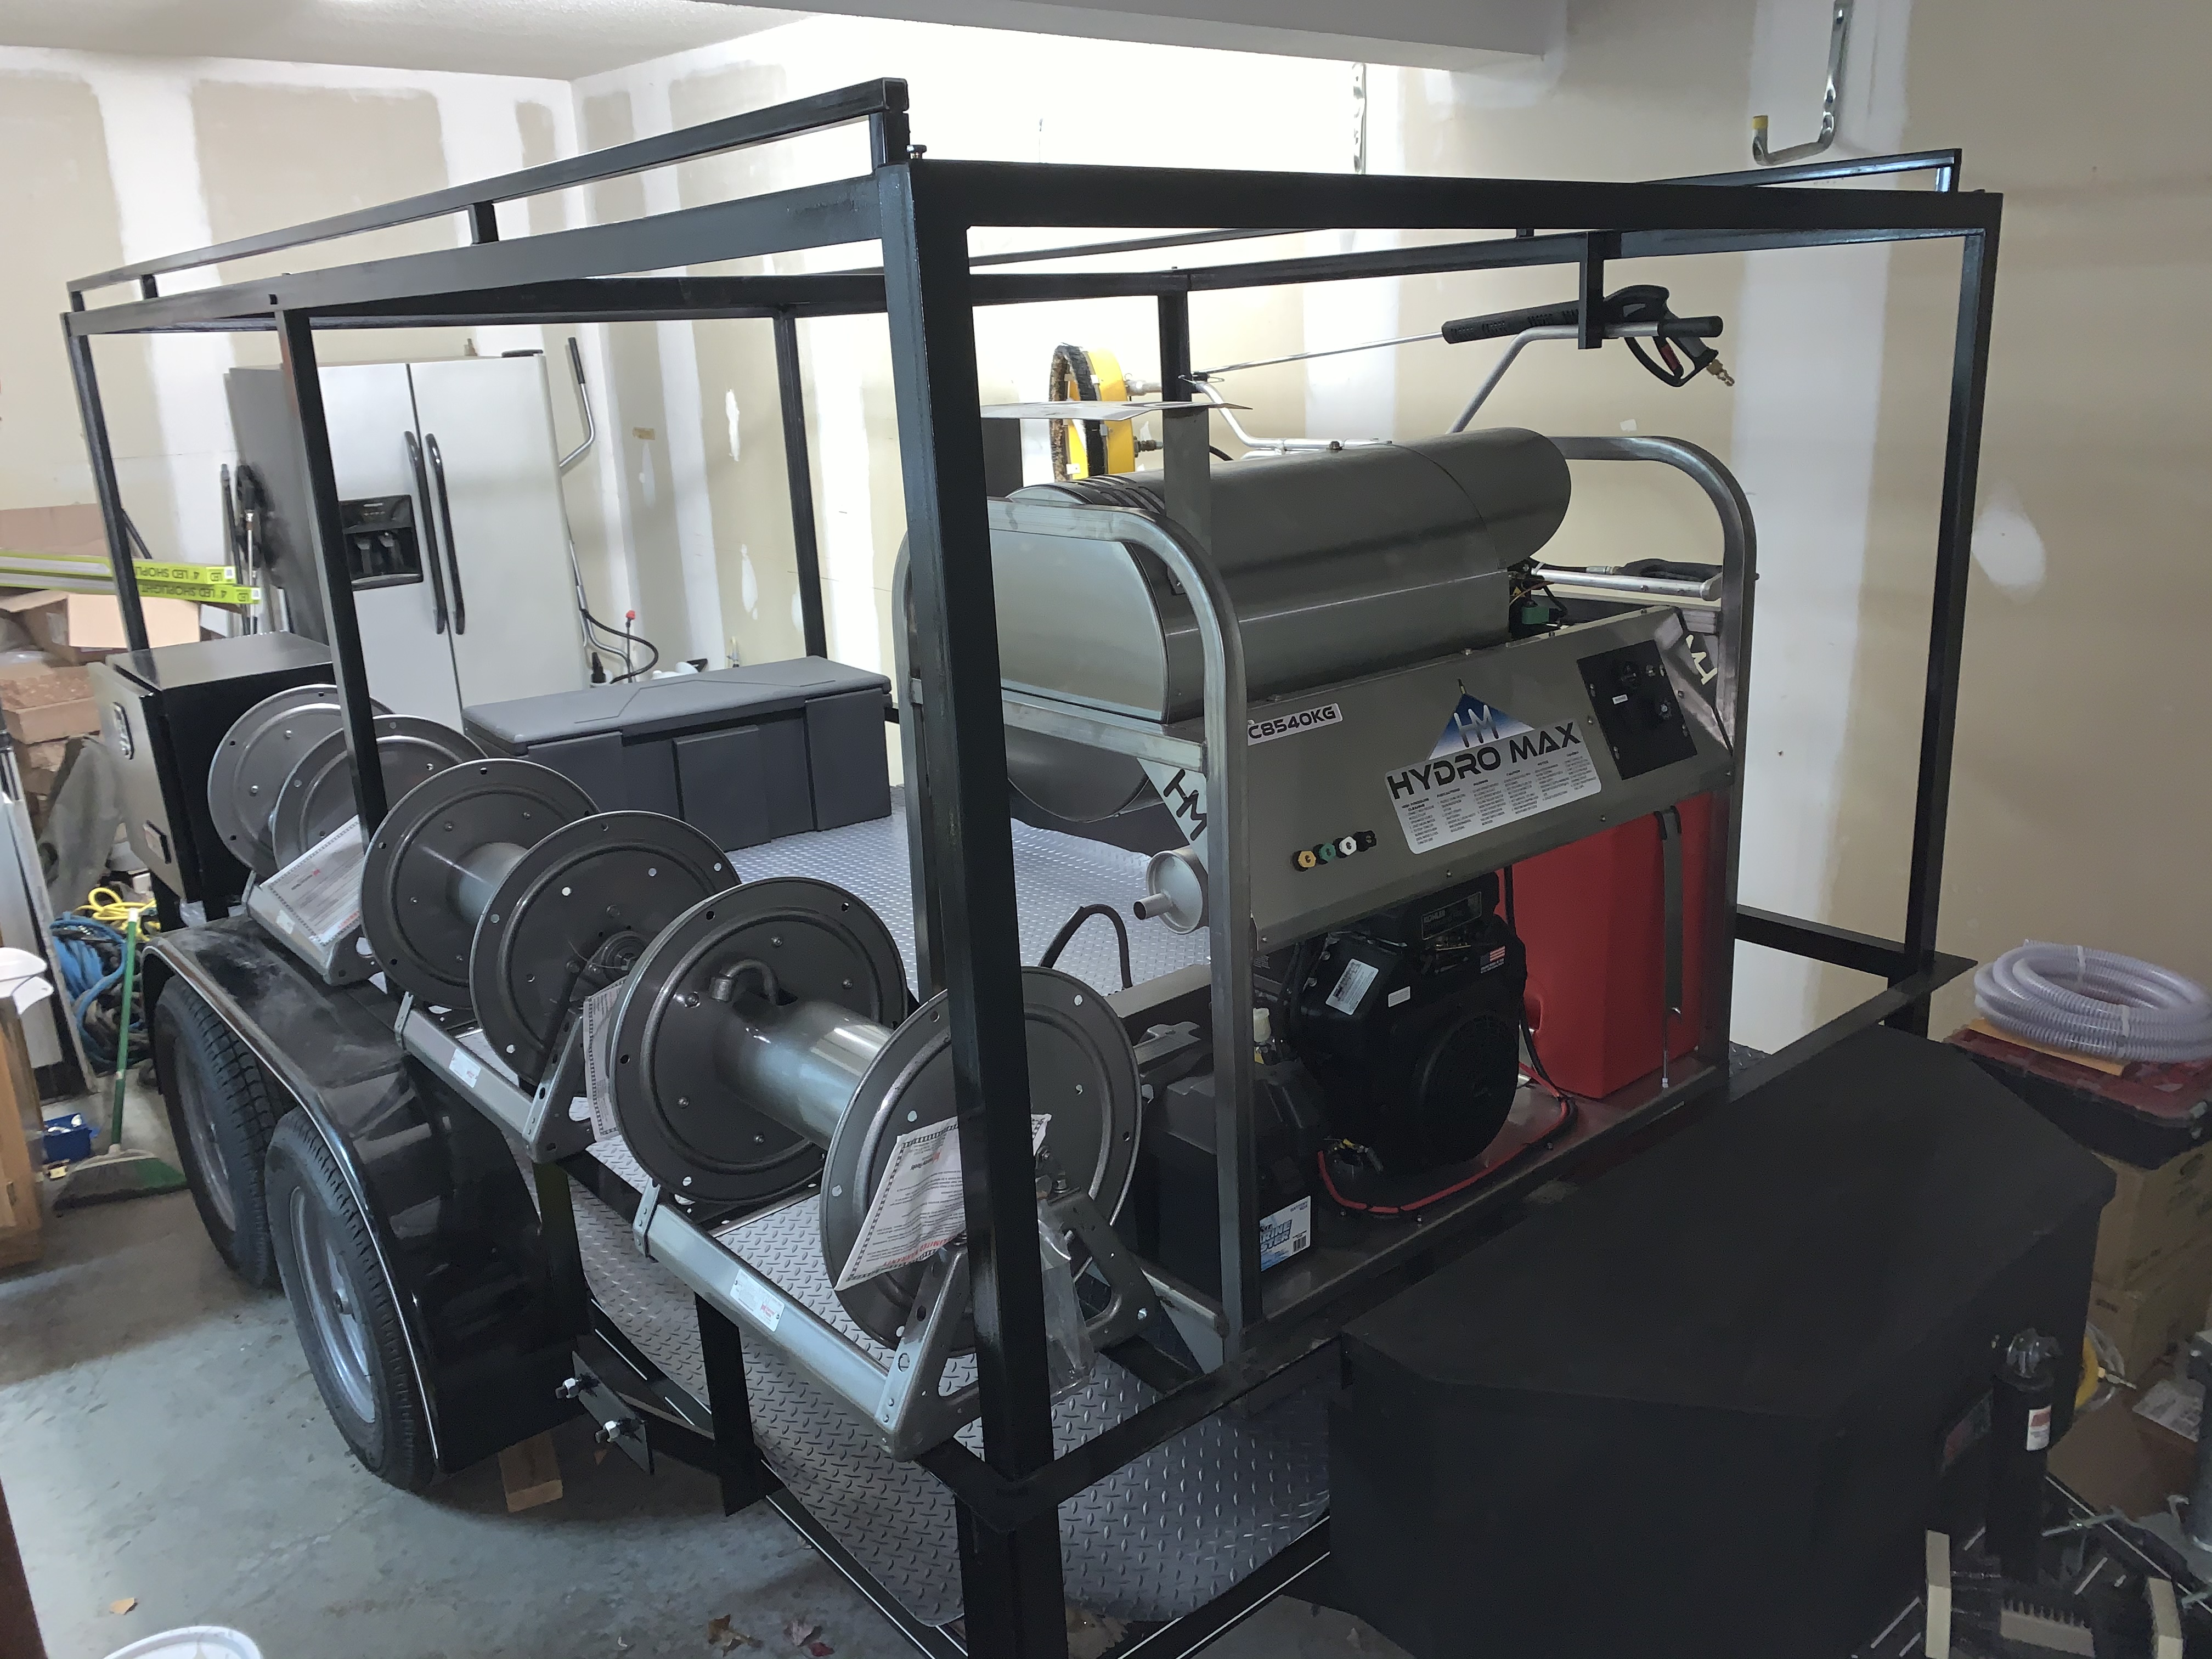
Just picked it up! What a beauty
Early Christmas 
1 Like
Good stuff, you’re going to love it.
2 Likes
Because of my ladder rack and the rain shield on the burner there was literally half an inch worth of clearance to get it under the rack! I was lucky ha ha. Once I remove the pallet from underneath it will be better
1 Like
You went with the Kohler. 

1 Like
I don’t know your plans, but you may want to treat the deck on the trailer before bolting down the PW. I wound up painting my boards again after installing everything, because moving stuff around and drilling bolts holes scratched it all up and it got pretty dirty. Wishing I would have had another coat on underneath the PW before I bolted it down. Oh well, spring is coming again.
I think in your other thread you said they put the rainshield on for you. Is it going to make a big difference? I don’t have mine shielded, but maybe I should.
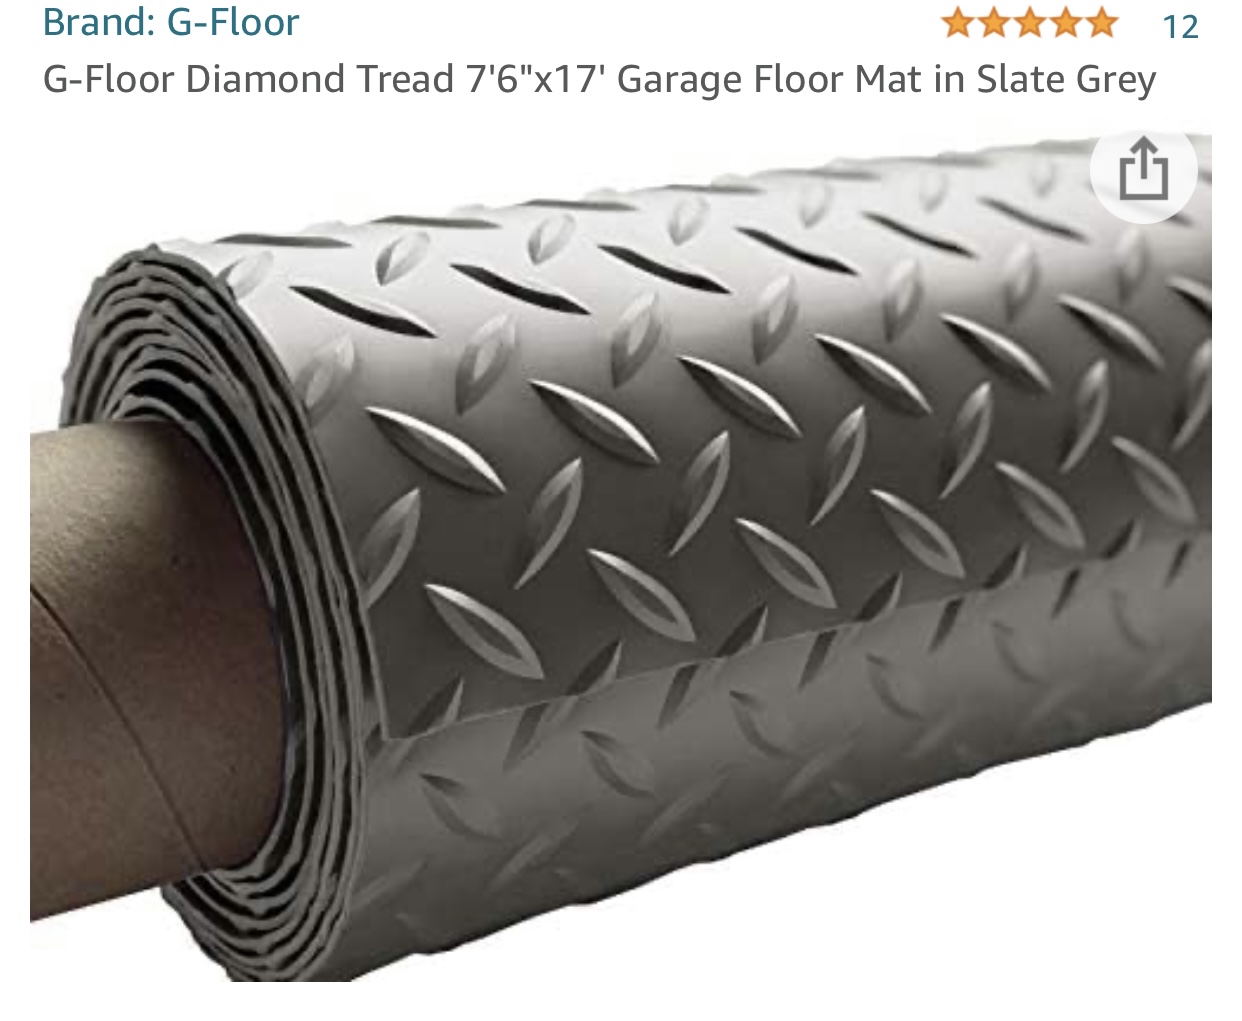
I’m going to put some G - floor on it instead. I don’t like messing with painting the boards. The g floor is made of polyvinyl which resists SH very well but also a lot of the other sodium chemicals like hydroxide. I can just rinse it off after the last job for the day to maintain it. Drive home should dry it good enough
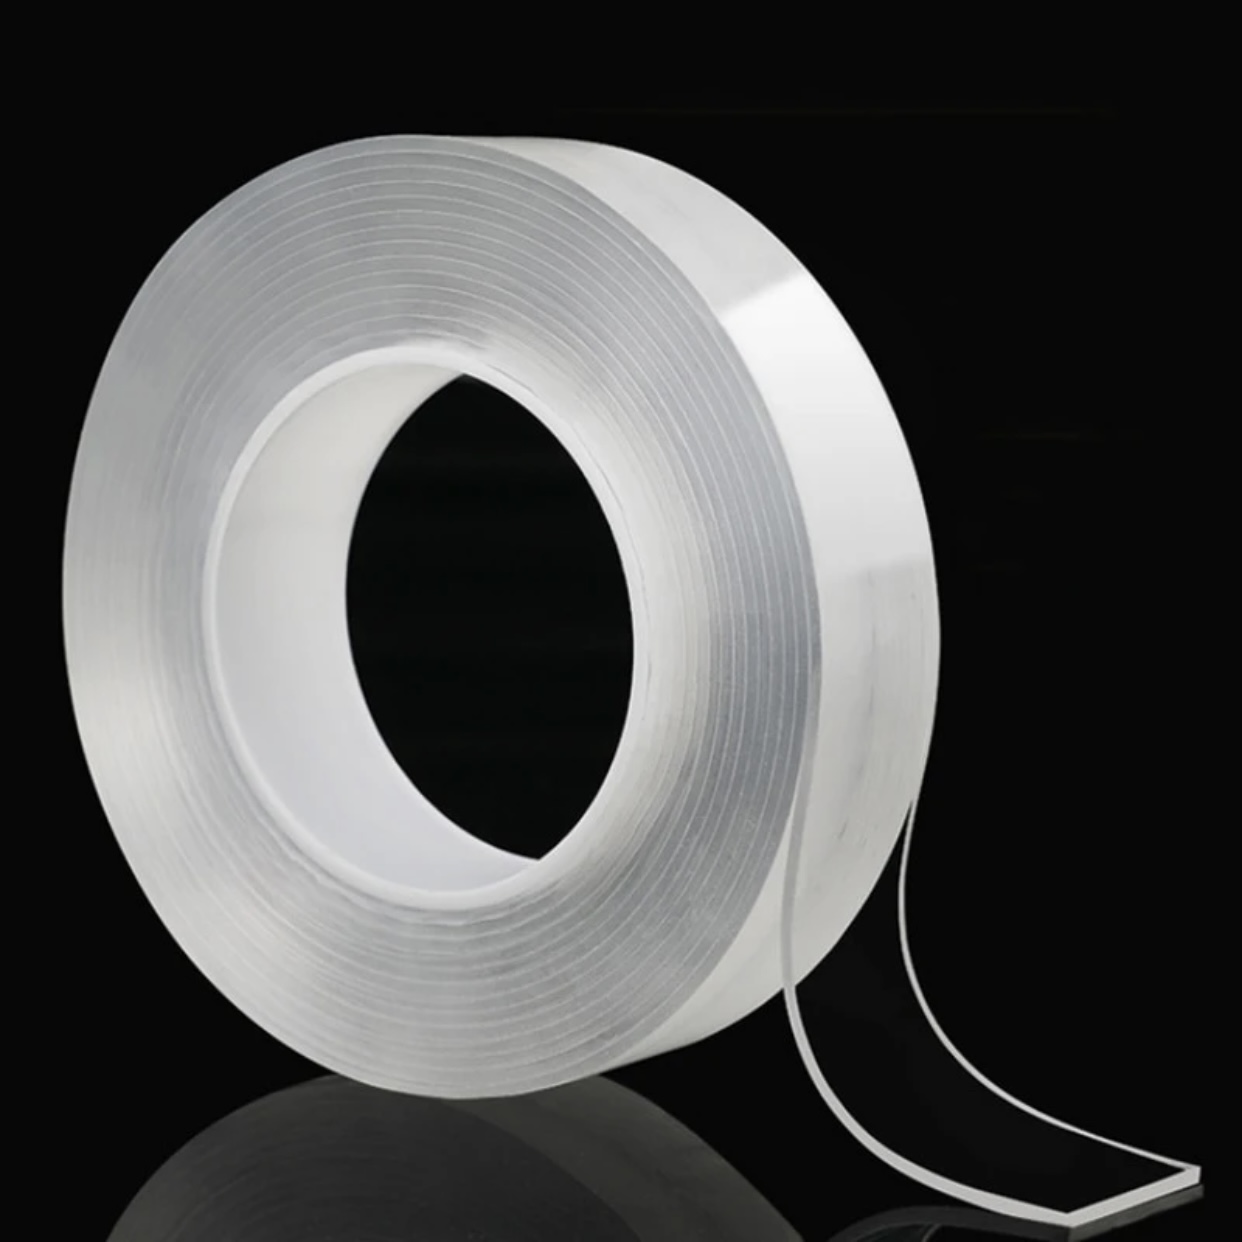
Probably going to do nano double sided tape under and then mounting the equipment on it should hold the rest down fairly easy.

2 Likes
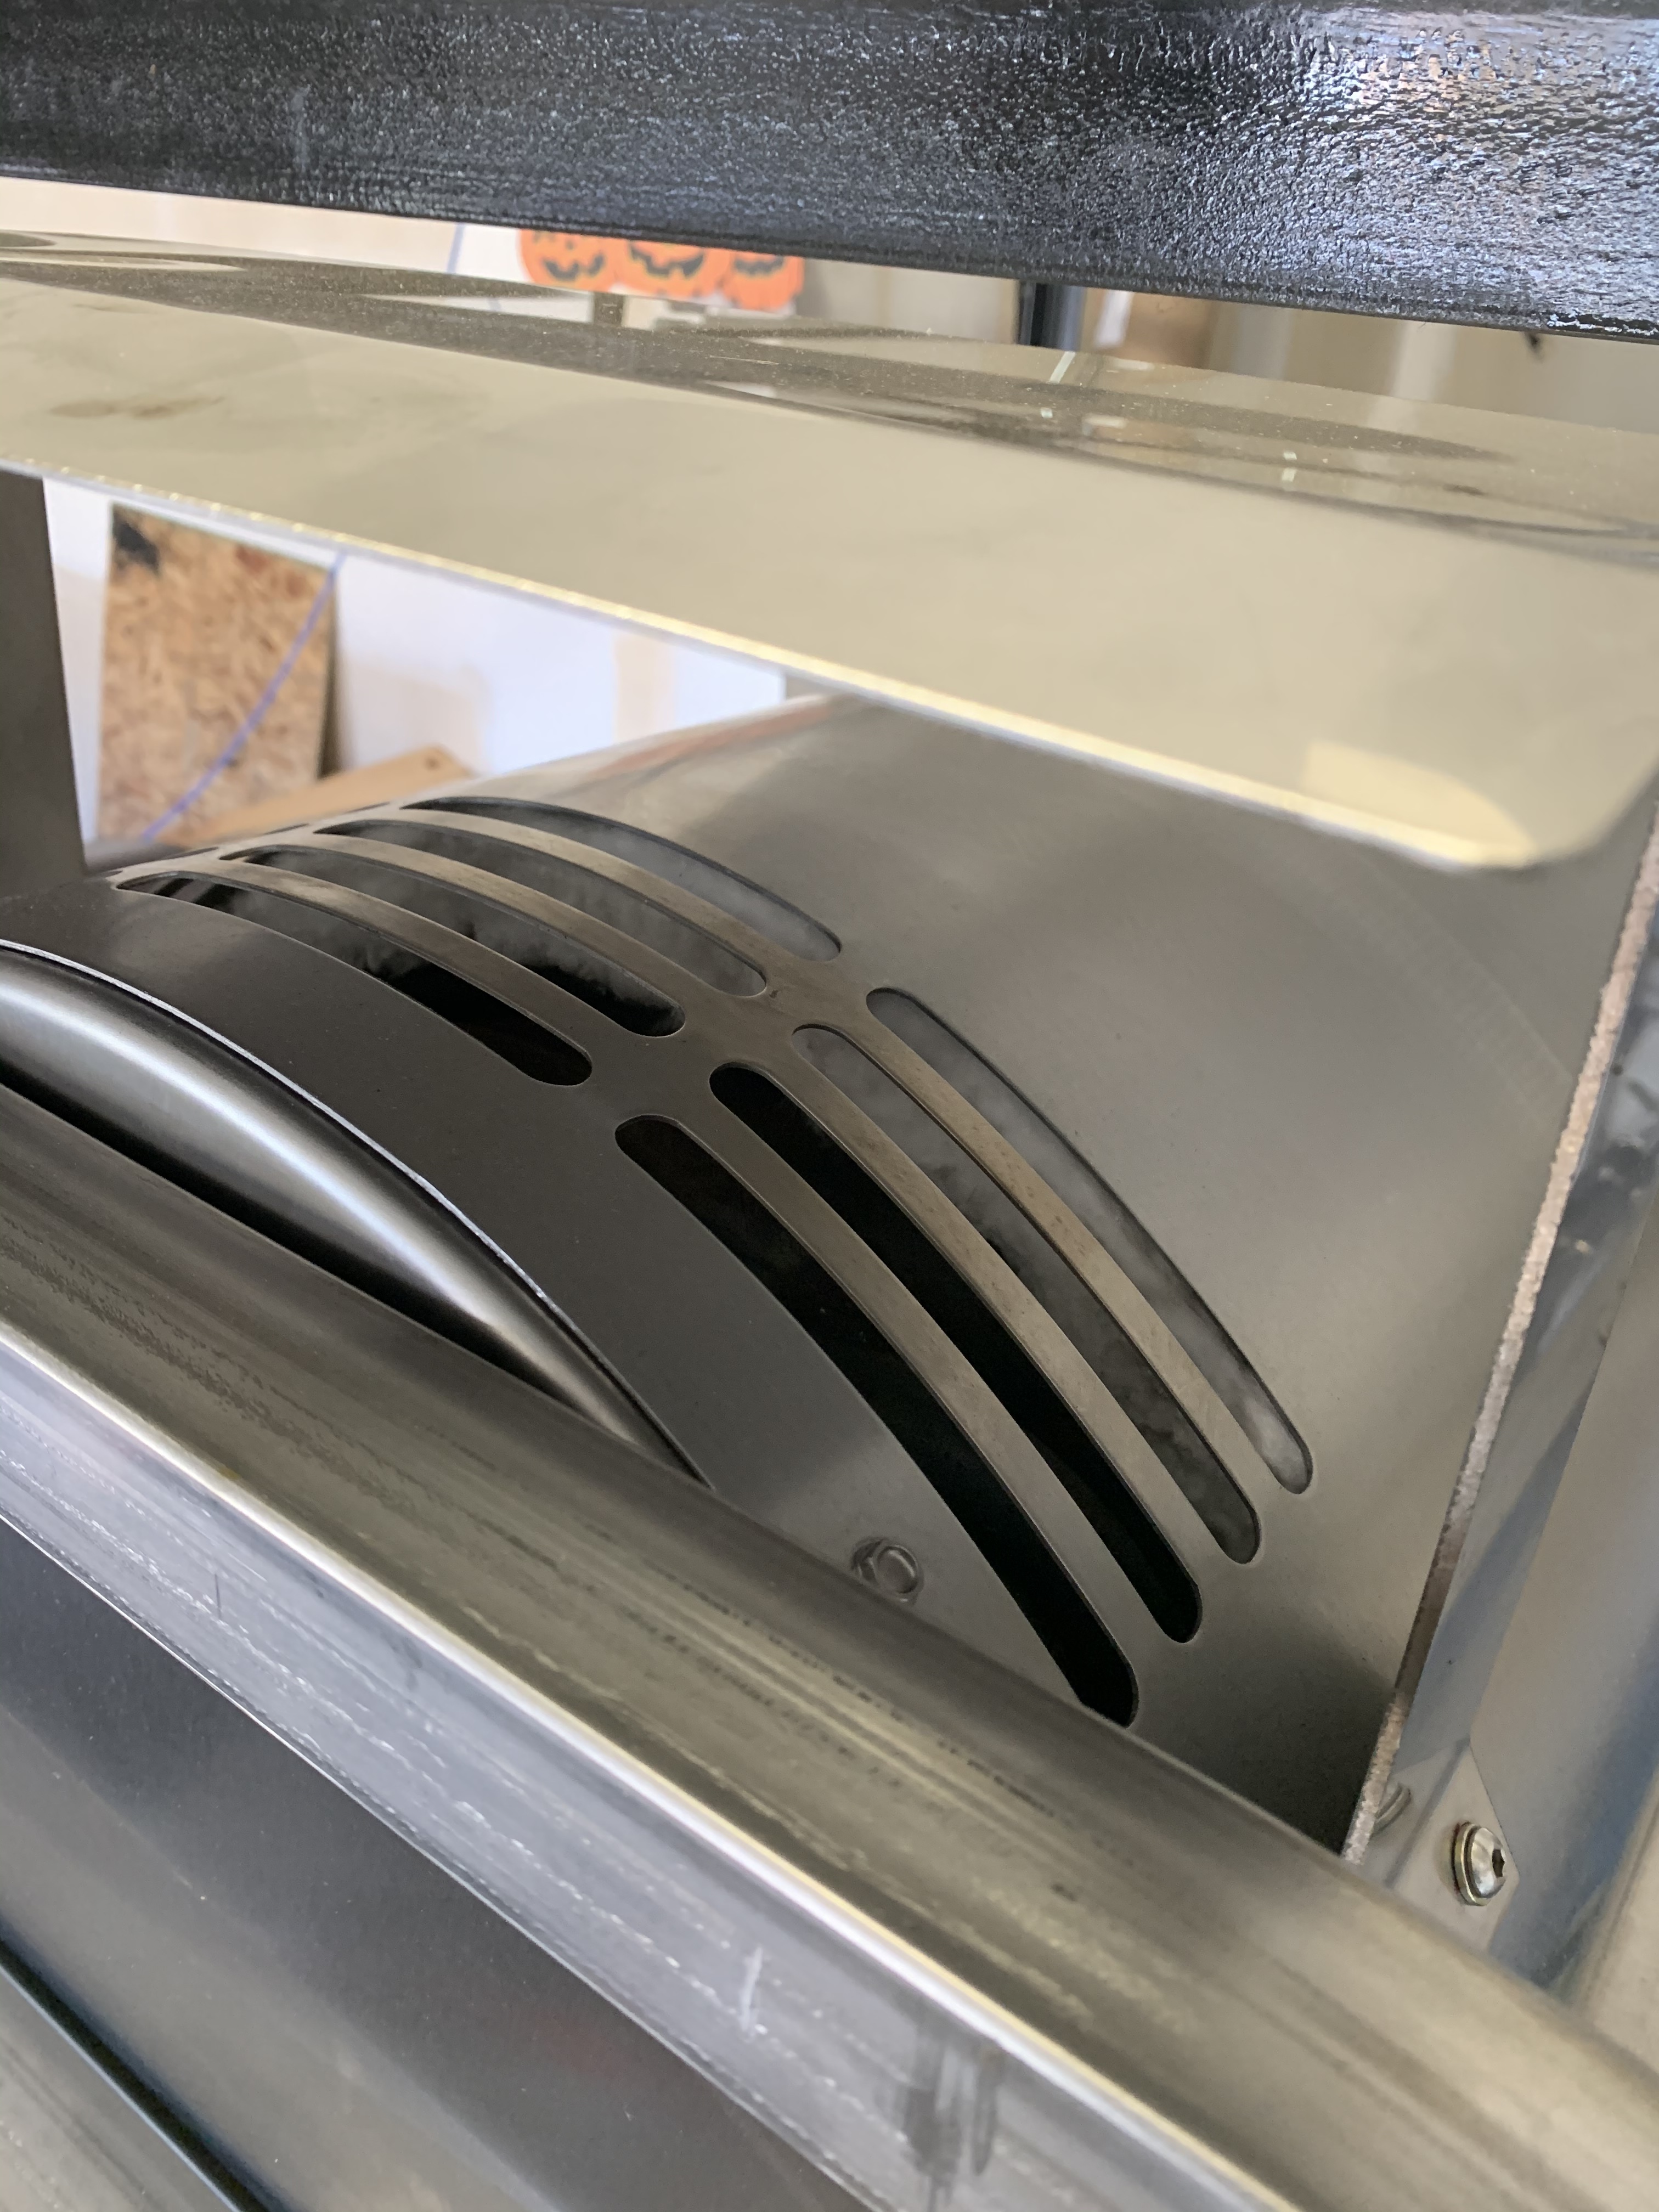
When I looked at the exhaust without the rain shield, you can clearly see the insulation of the heater within inches of the cutout holes. I don’t want those getting wet so the rain shield definitely helps. He welded it on for free so why wouldn’t I get it ? Lol
1 Like
That is interesting. I paint, well, because I paint everything. I get my paint for junk projects at HD or lowes, normally customer returns for like $10 a gallon. As long as it is some kind of brown I’m good.
I wouldn’t think you would need to tape that mat down, the equipment would hold it once bolted down unless your worried about edges flapping around driving down the road. Looking at your trailer you could probably just put some silicone on the edges that don’t tuck under your metal. I’m guessing that silicone would make it adhere, I don’t know for sure. Once again, just spit balling, I don’t know about the tape you mentioned either, so I don’t know if condensation would make it loose or not.
Out of curiousity, does that mat come in a width wider than your trailer so you don’t have to splice it?
Sorry for the 20 questions, I am a curious monkey.
1 Like
I ordered the 7.6’ x 17’ sheet of G floor and my trailers floor is 6.5x’ by 12 ‘. It will be one piece no splicing.
I’ll be using this nano tape on the edges. It’s one of the strongest double sided tapes there is.
Here is a photo of the burner exhaust and the insulation I was taking about.
I’m going to work with him on redesigning the rain shield. A couple of problems with it. It works ok, but going down the road in the rain, still plenty of water gets in it, but main problem with it is when running the heater a lot, the design deflects and creates a lot of soot on top on the stainless heater housing on the one side and whatever else you have mounted on the other side, in my case the top rail of my aluminum skid. I end up having to wash both every couple of days if using the heater much. and mine not so easy to get to.
3 Likes
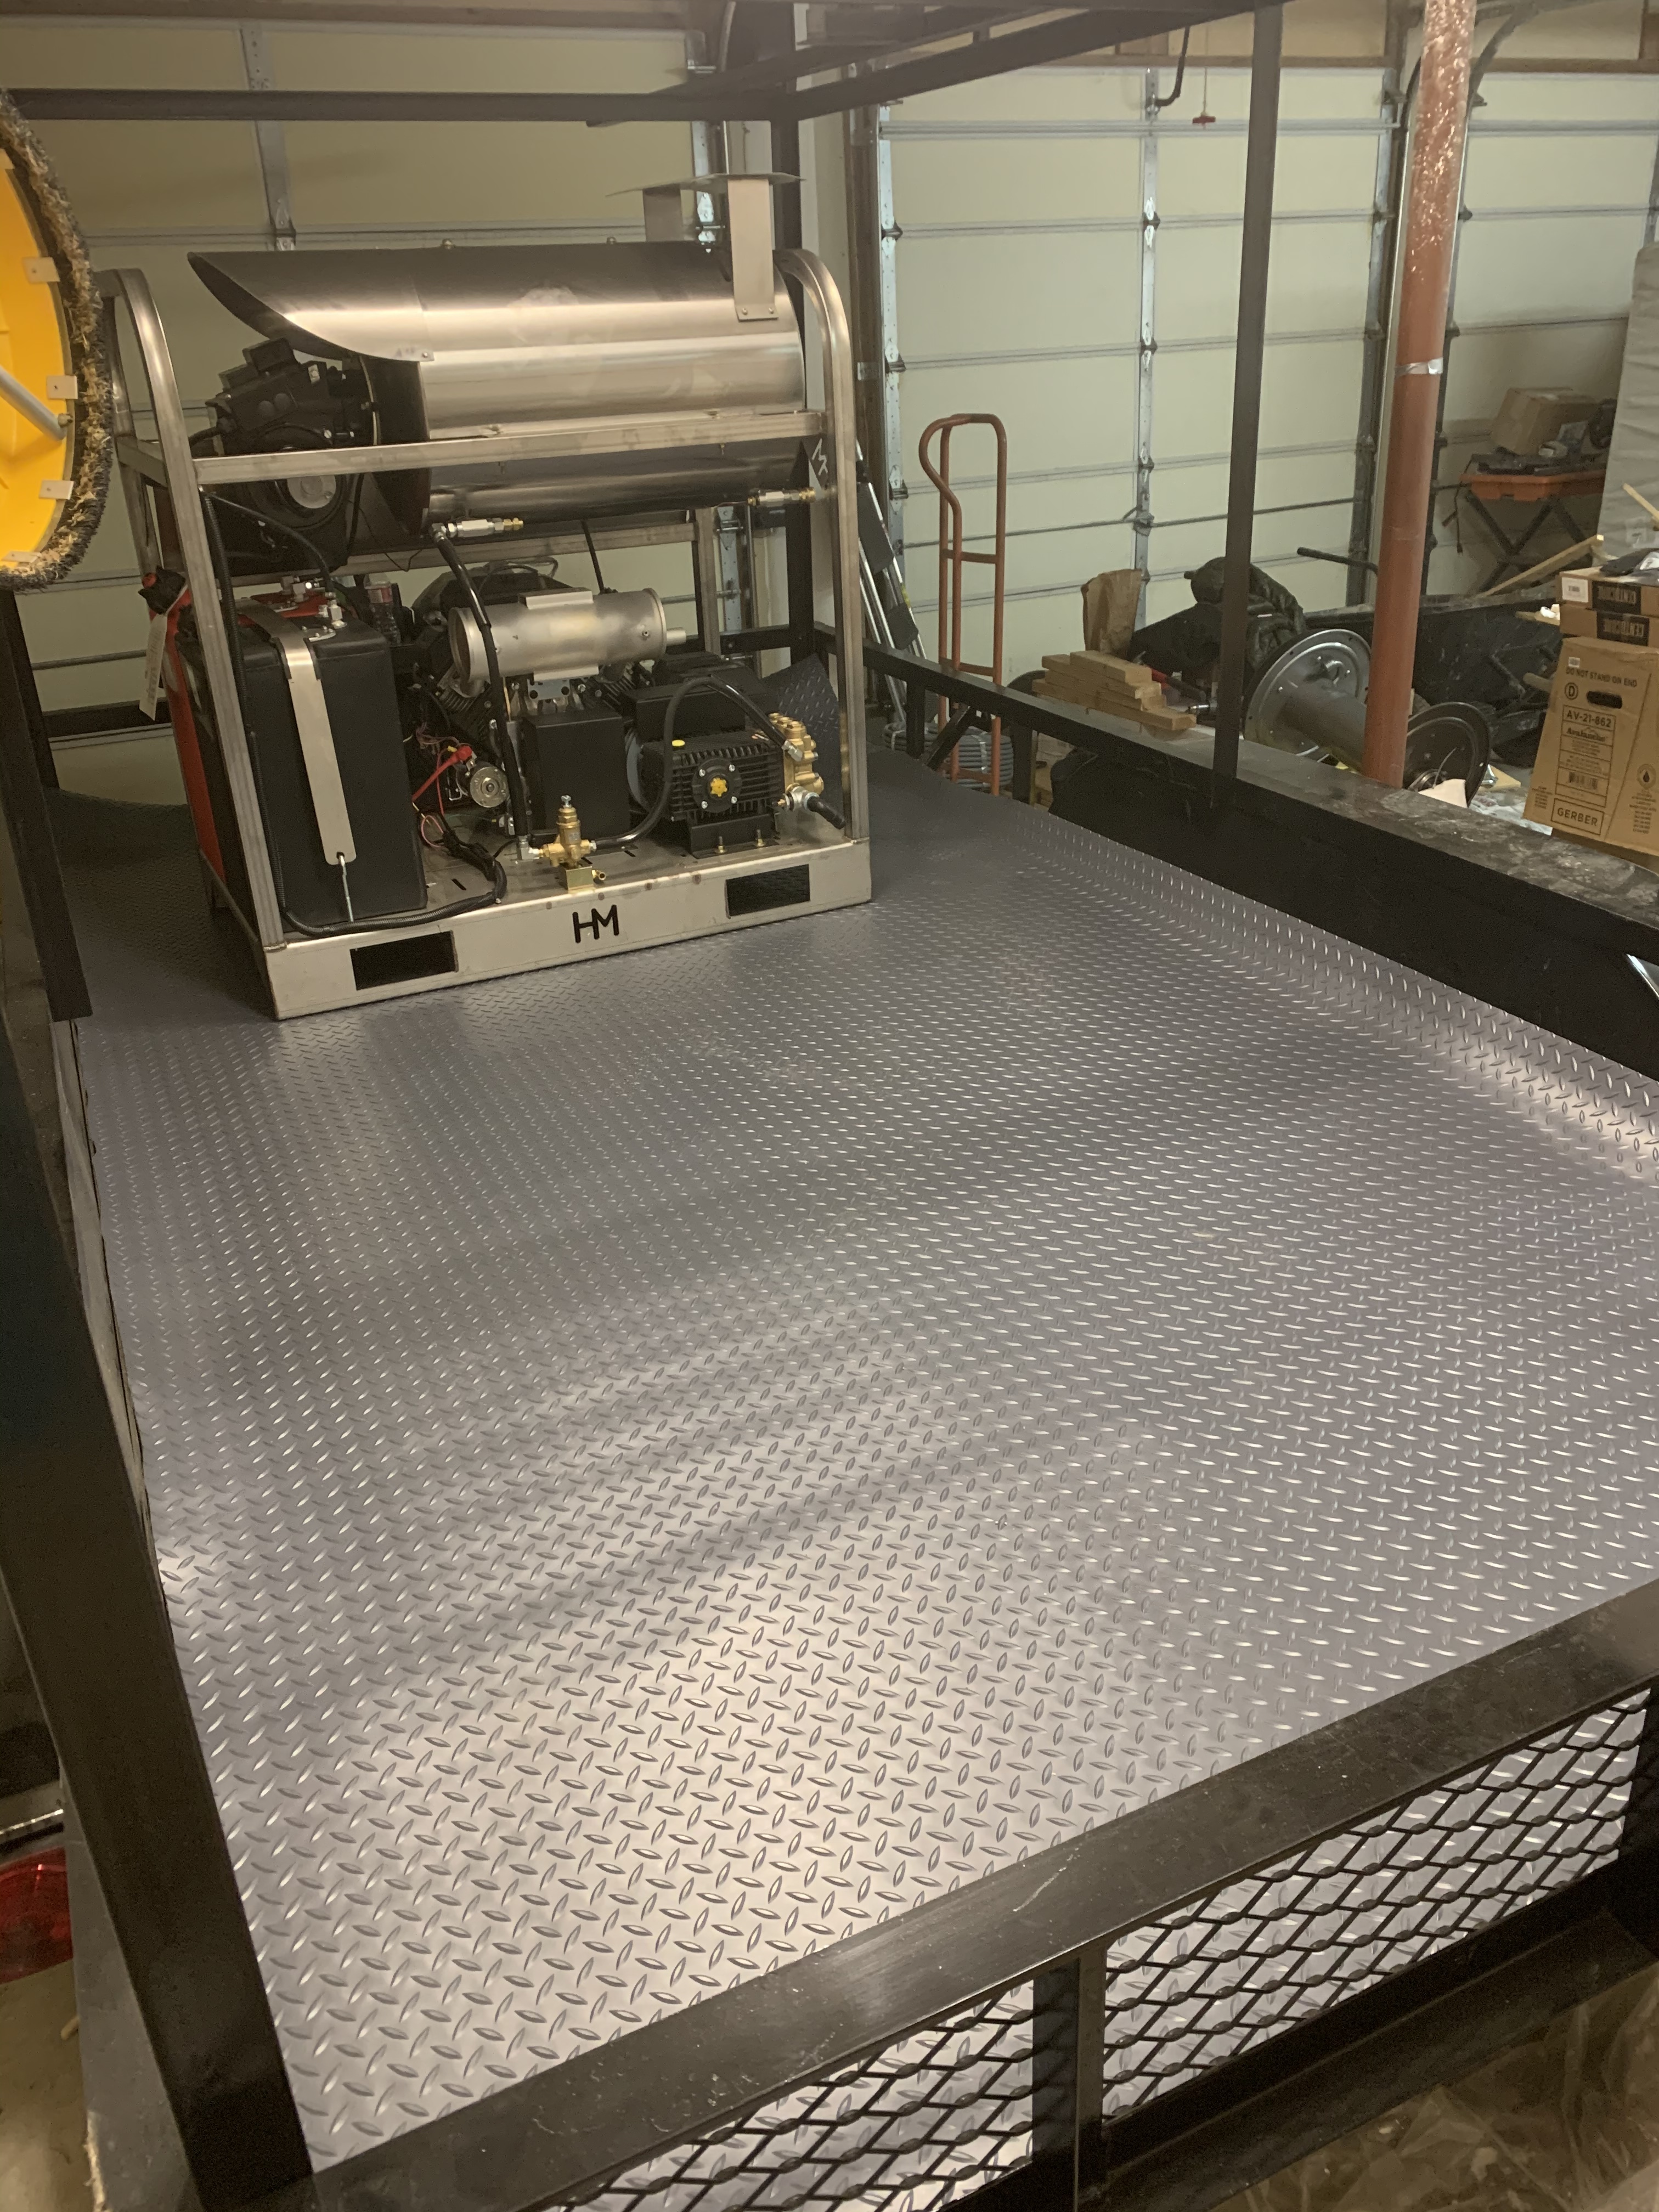
I really love this G floor. Cleans up super easy and looks really nice! Cut it about an inch wide on all sides except the back. I’m going to let it curve up against the metal sides of the frame to protect the sides of the wood floor under it and double side tape it down. It’s not taped or in it’s final position yet. Letting it curve up on 3 sides also creates a “scoop” like design so any liquid is contained and directed towards the back of the trailer to drain out.
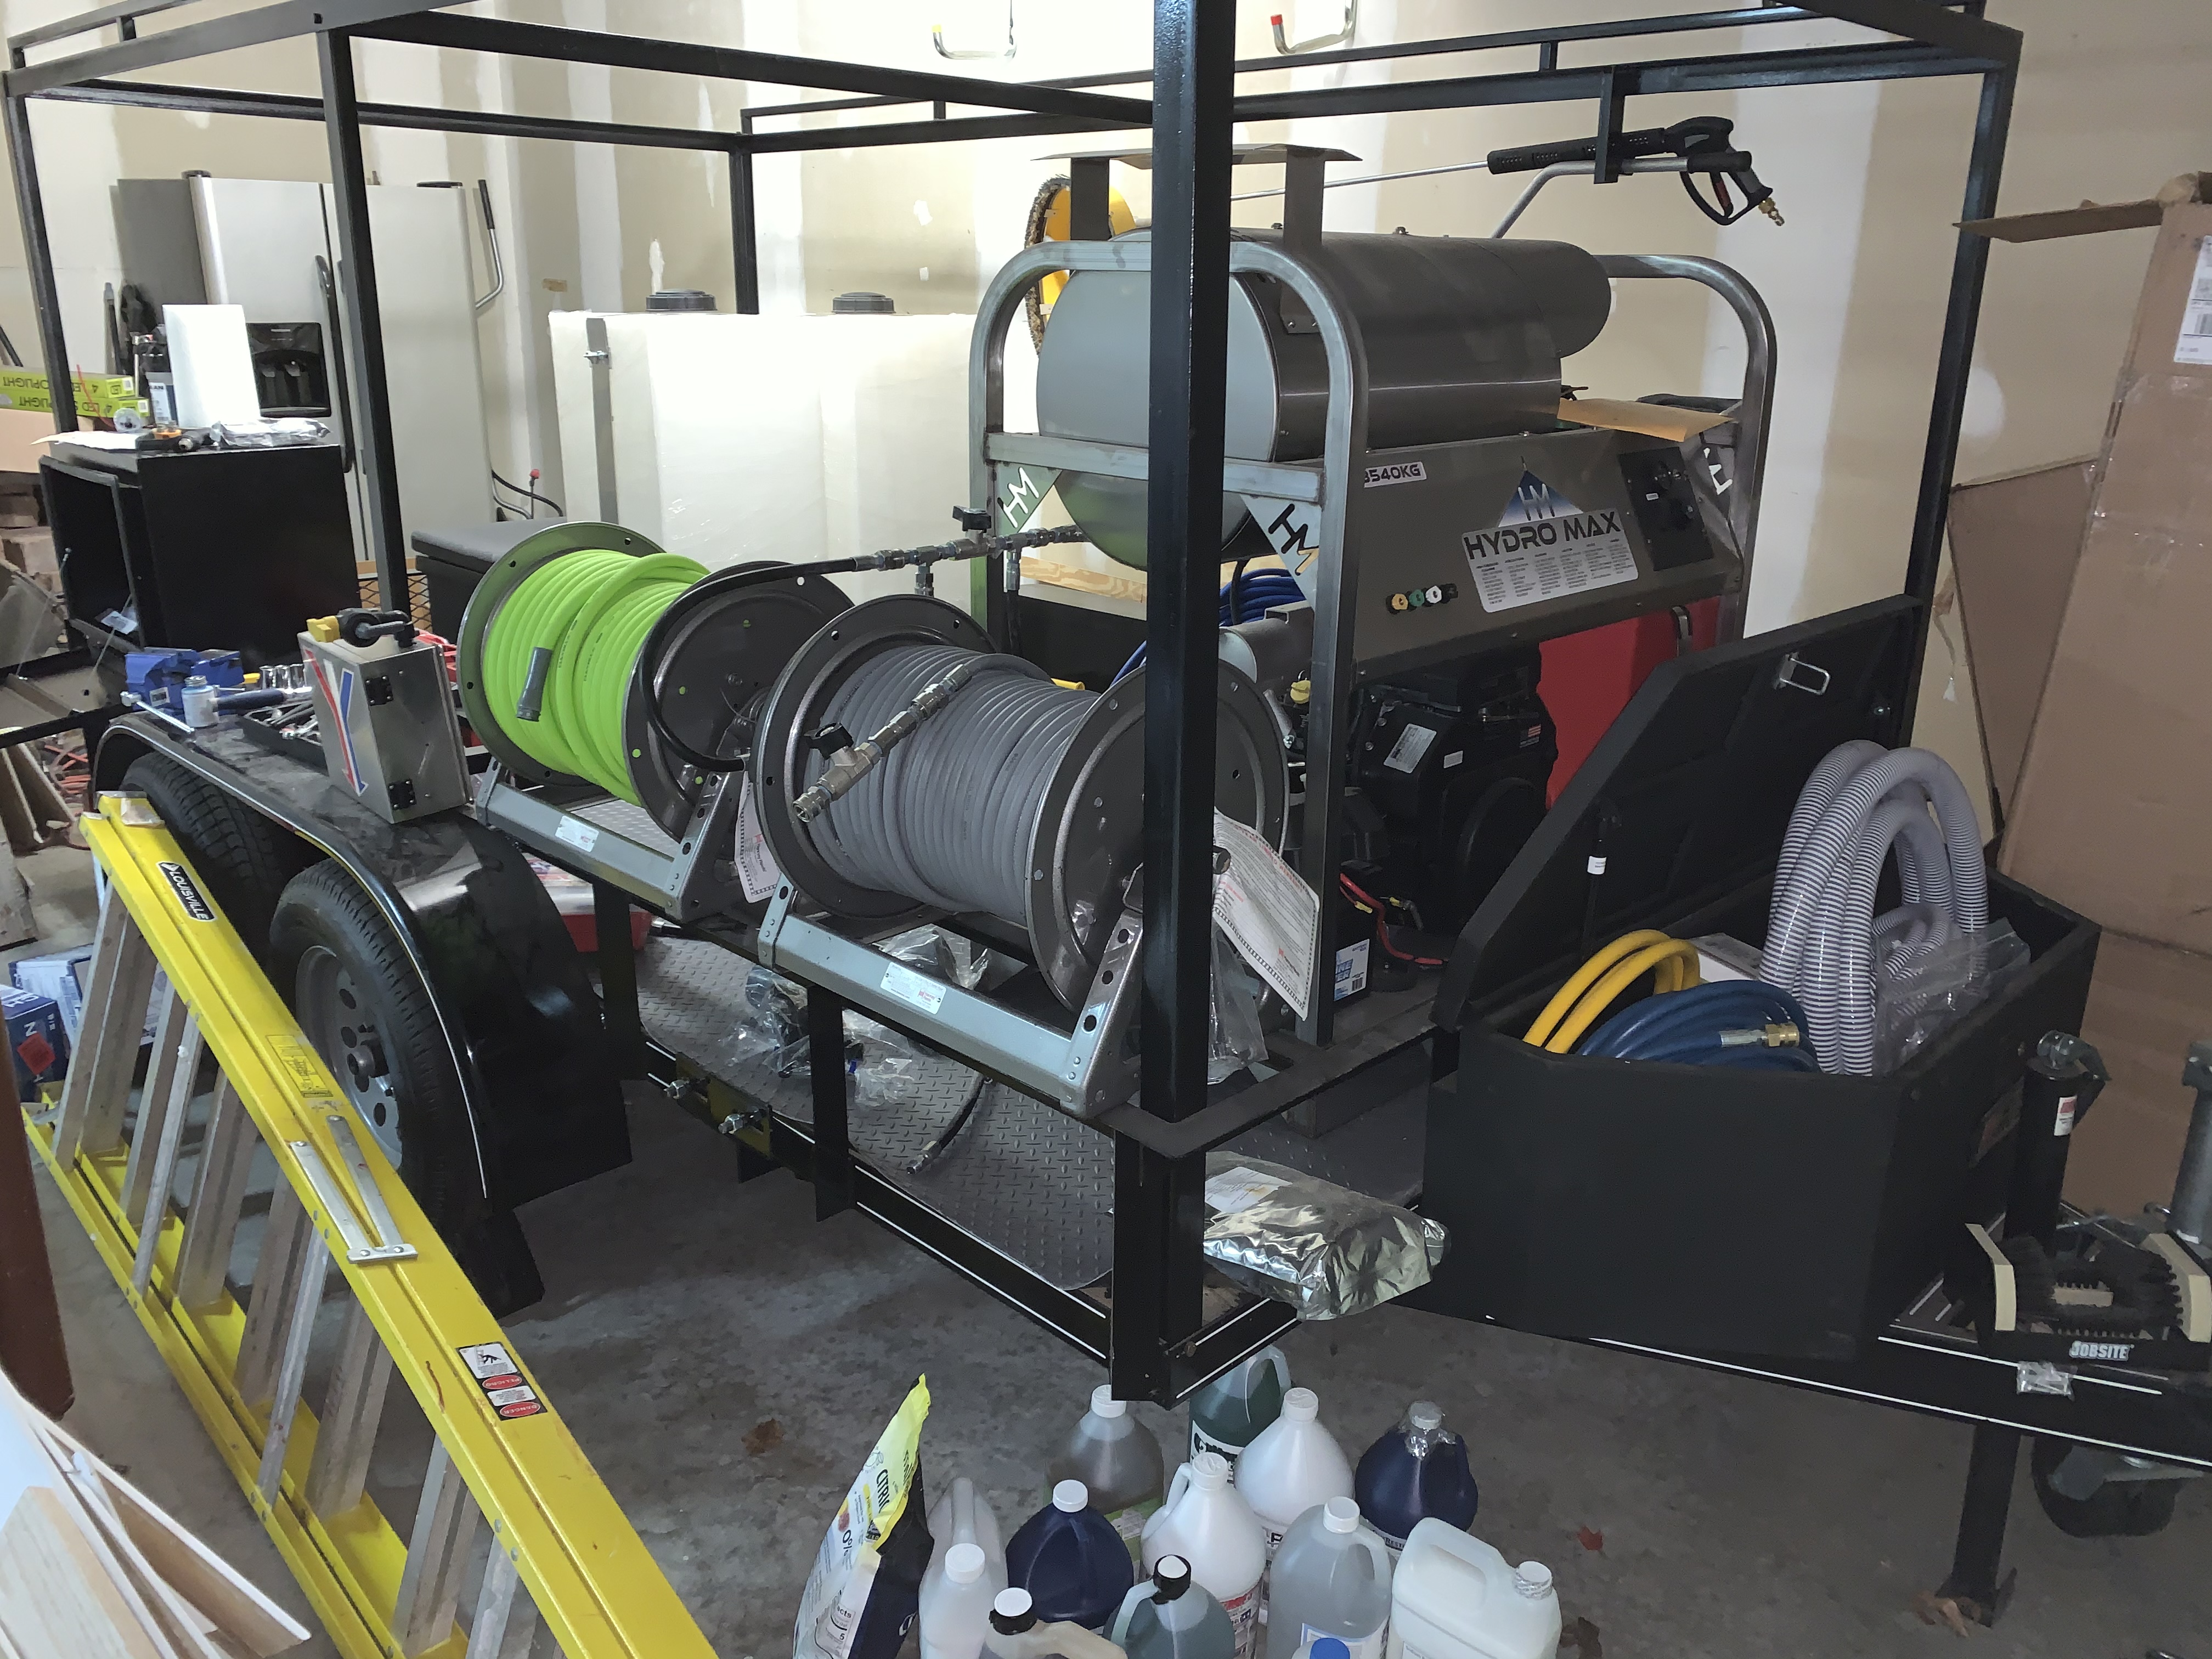
Finally got the Hydro Max off the pallet and shifted towards the front. PITA!!! It’s heavy lol. Waiting on the tanks to show up to fill the back area. Nothing is bolted down until I like the layout ![]()
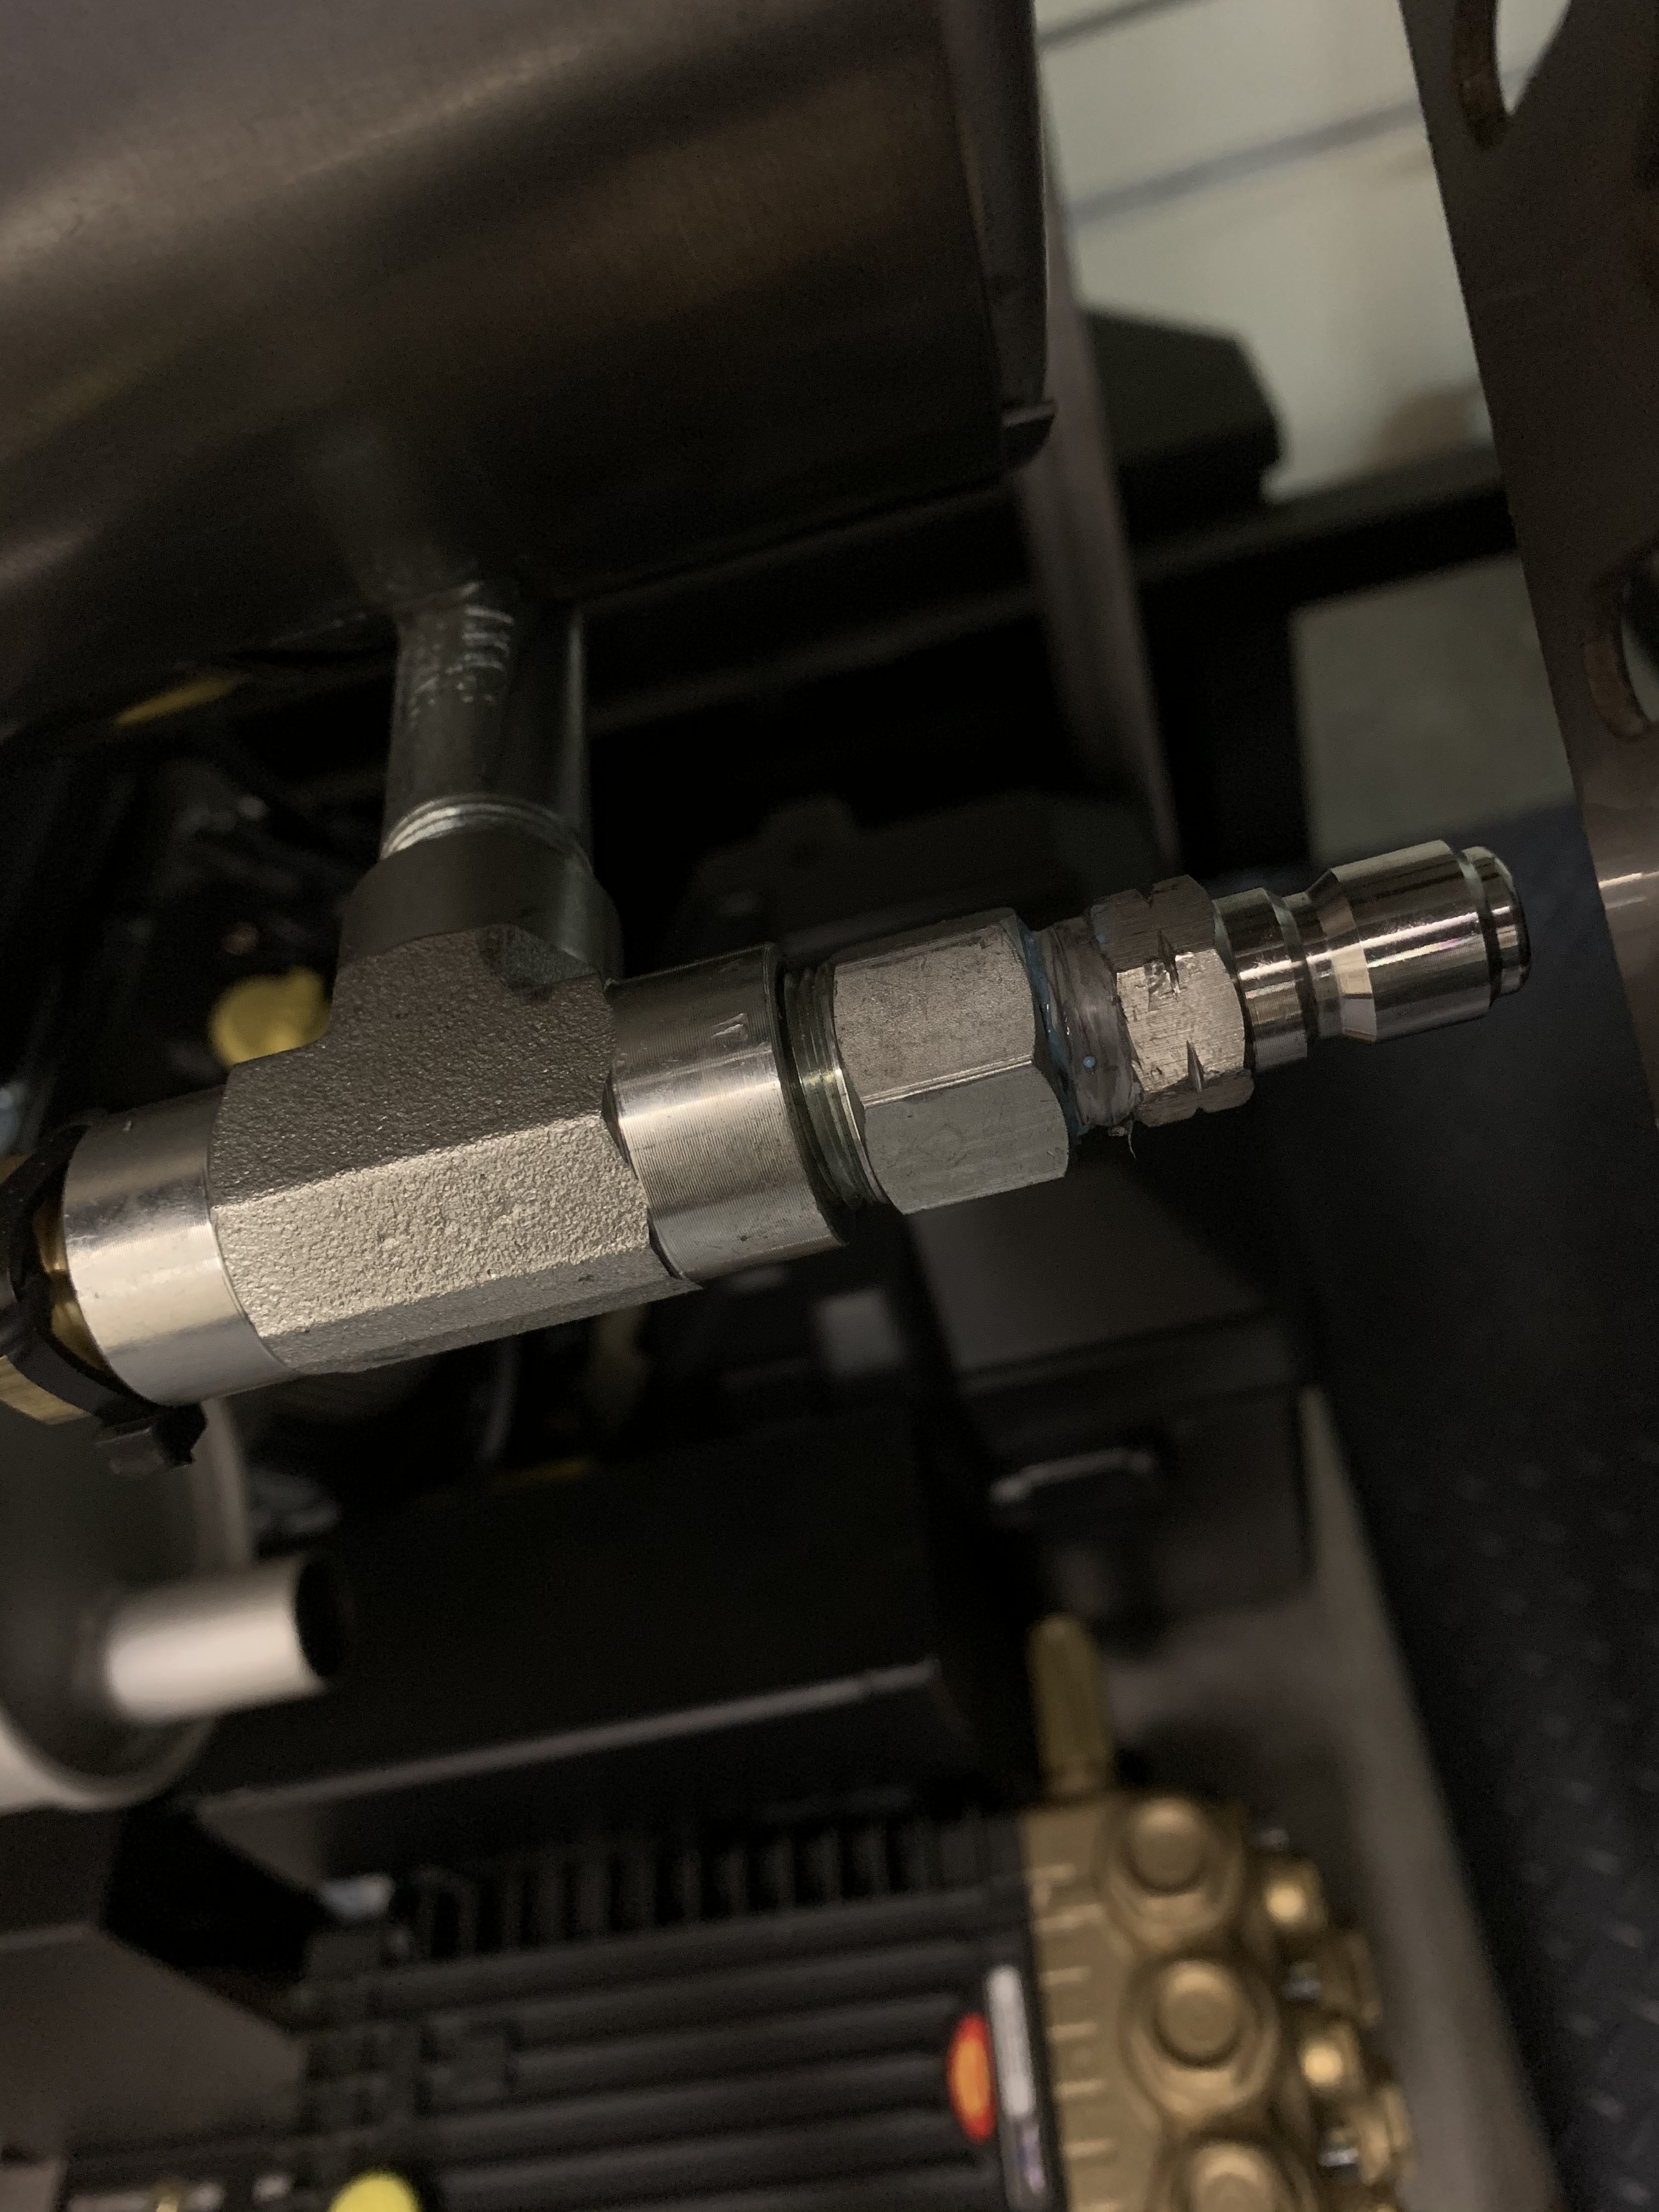
I changed the brass female coupler that came on the export of the burner to a ss male coupler. Keep the fittings in the right direction ![]()
6 Likes
Sweet!
1 Like
Looks awesome! I love the flooring
2 Likes
I have that flooring in my garage / home gym. Holds up great! After seeing this post I think I’m going to order some more for my trailer build.
Looks GREAT!
1 Like
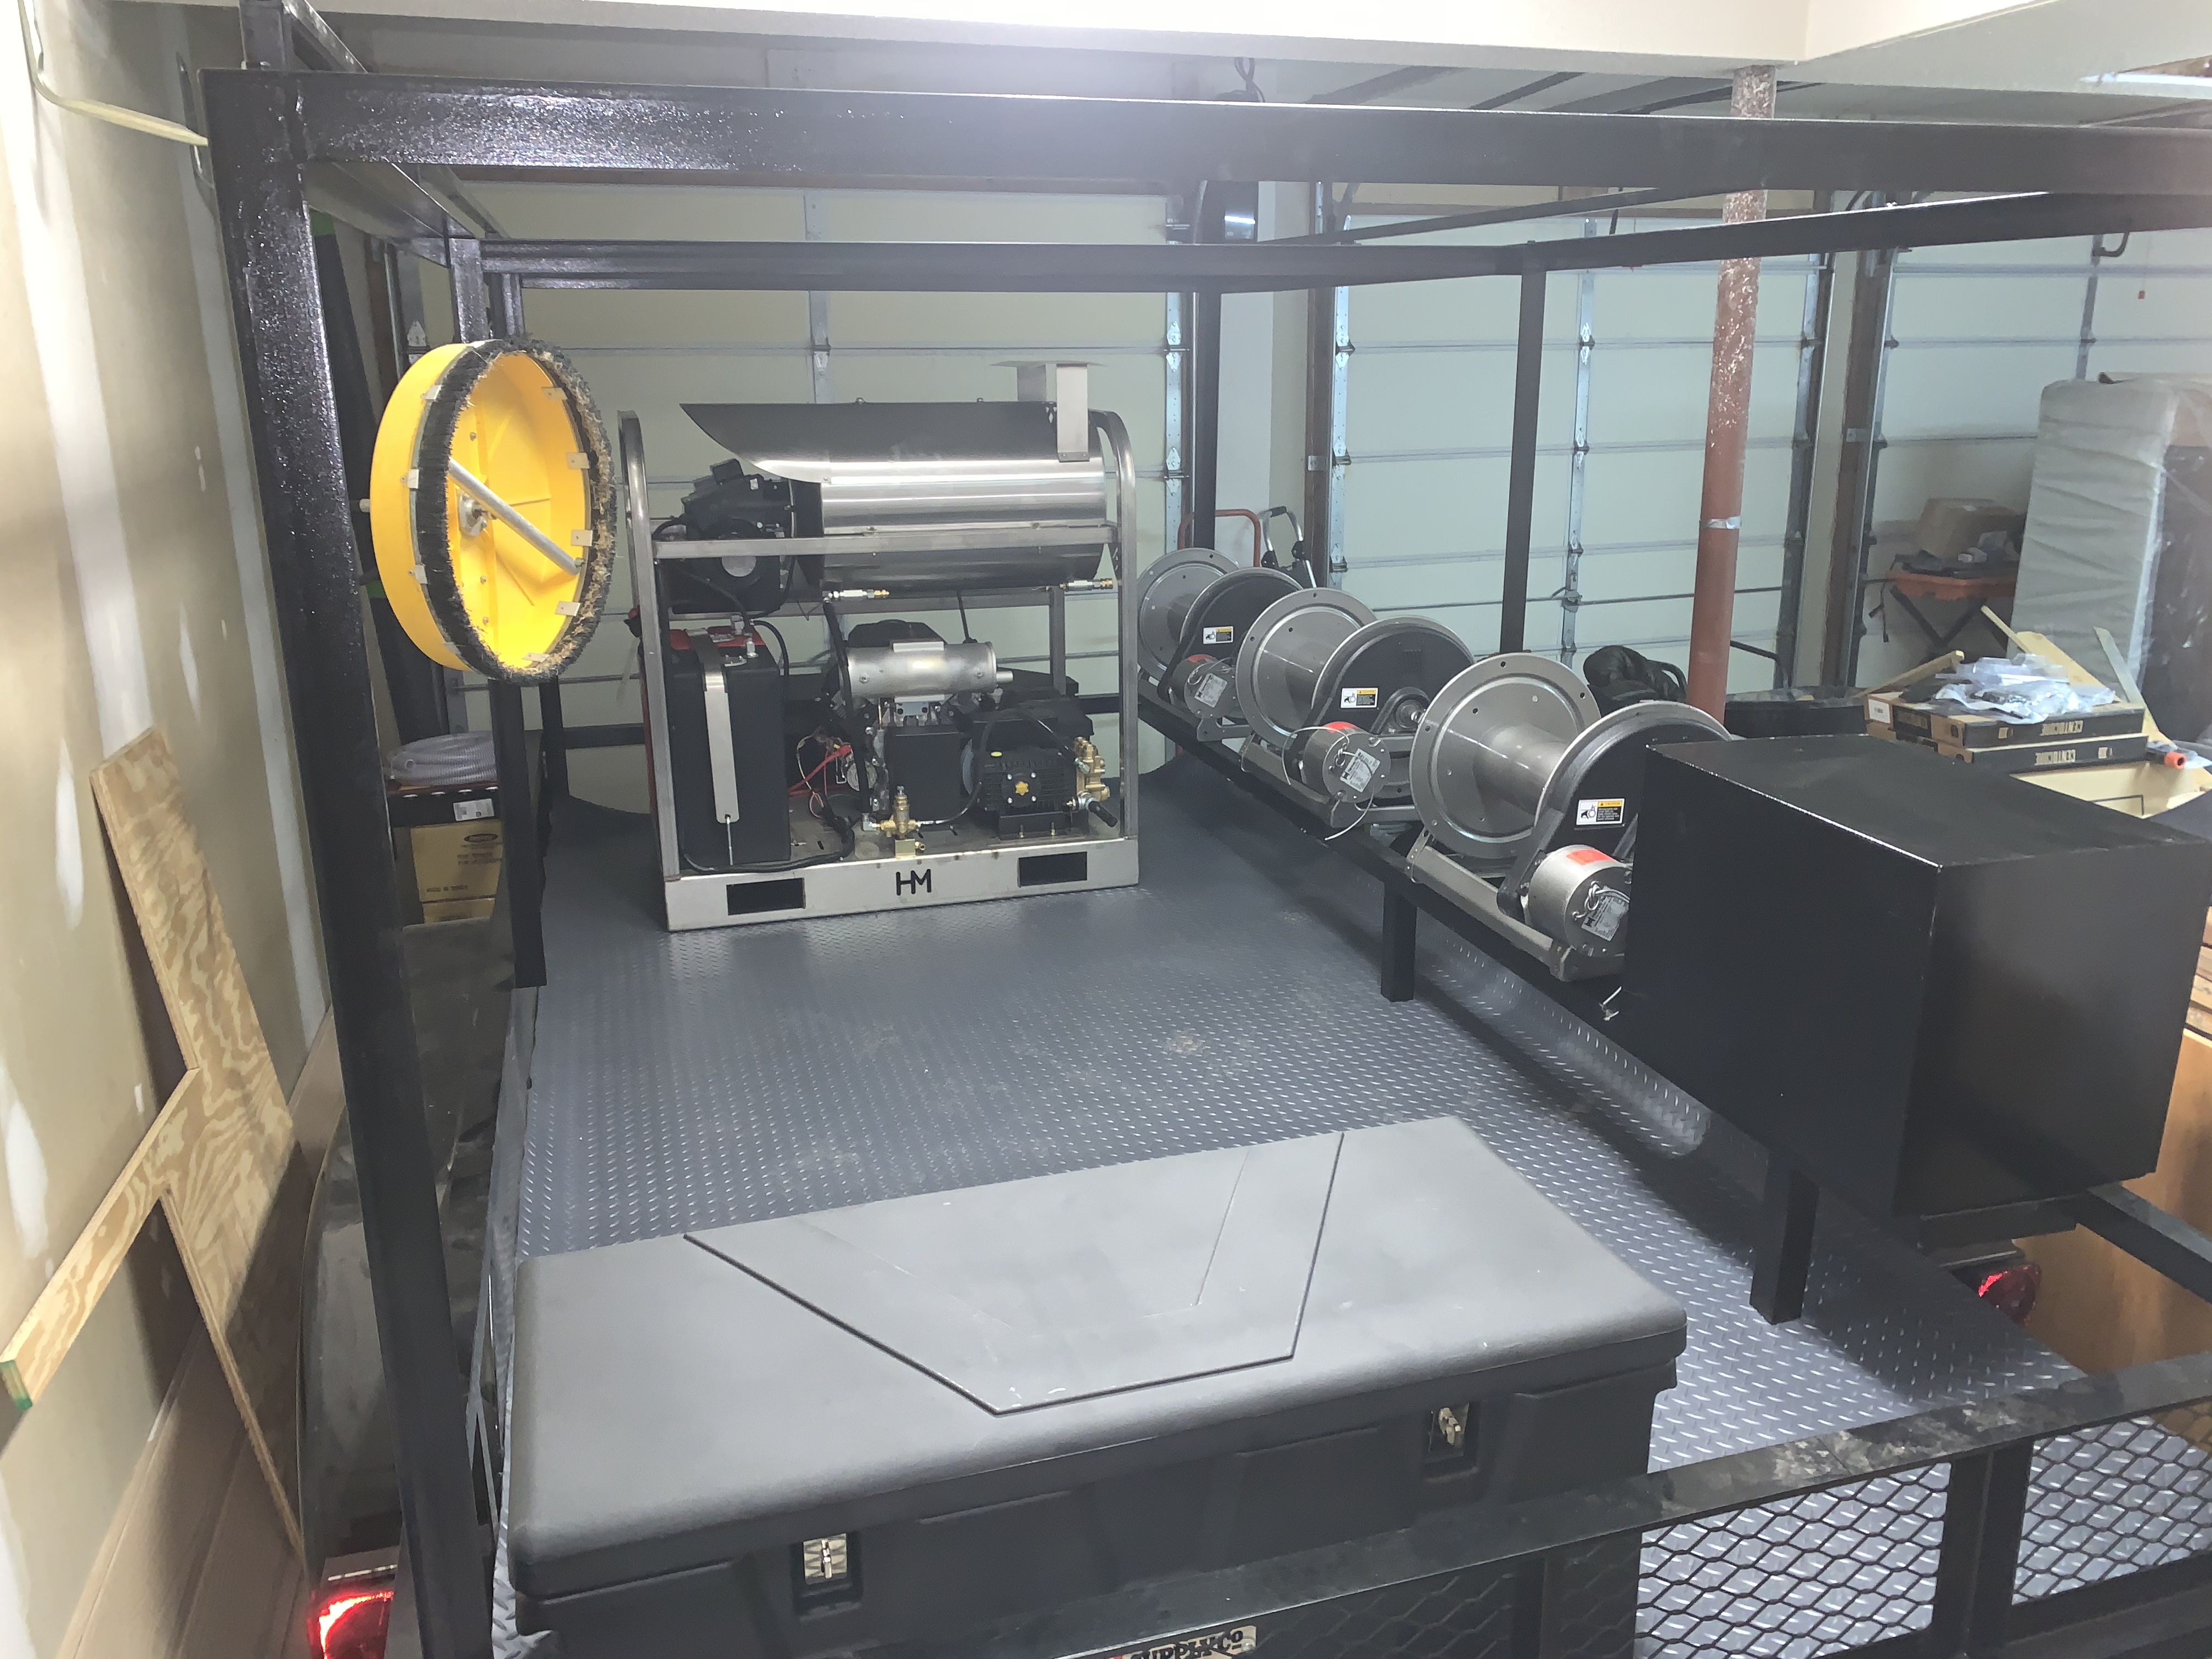
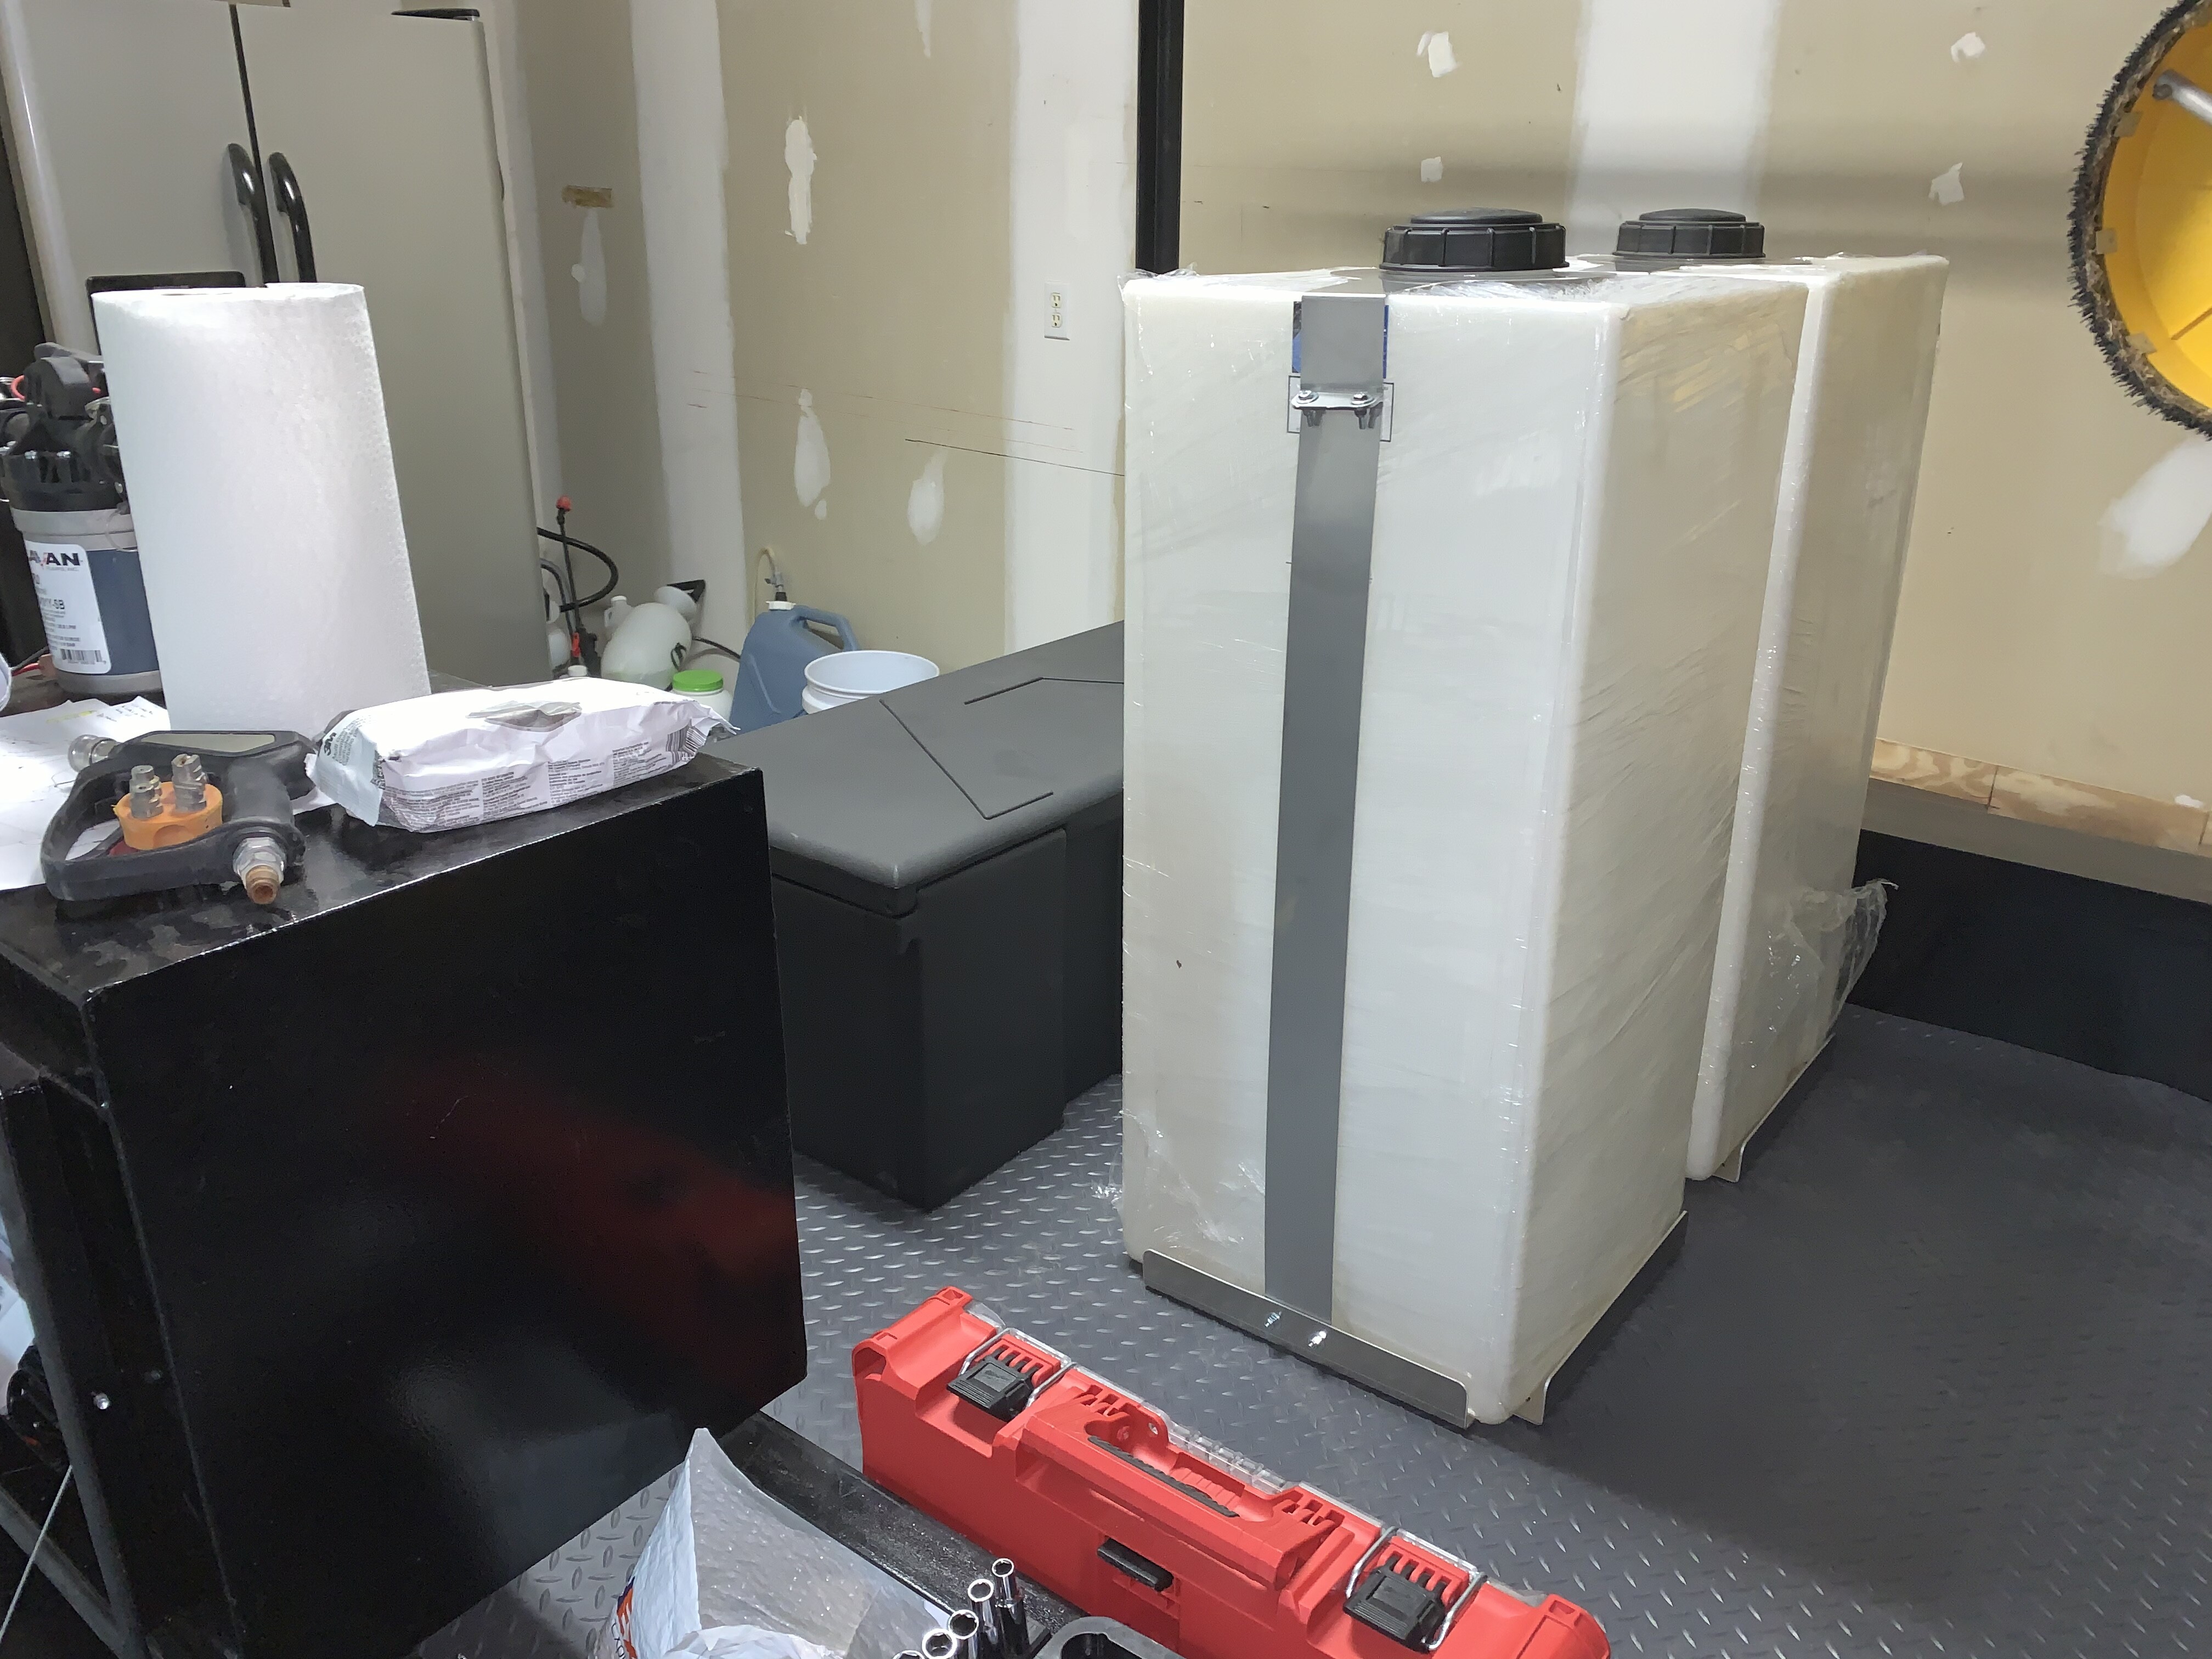
Just an update on the trailer build, I haven’t bolted anything down yet, trimmed the floor, or ran hose lines. I’m still waiting on my buffer and soap tank to arrive to position things accordingly. Along with the Schertz box. Tank production is slow at the moment so that delays that.
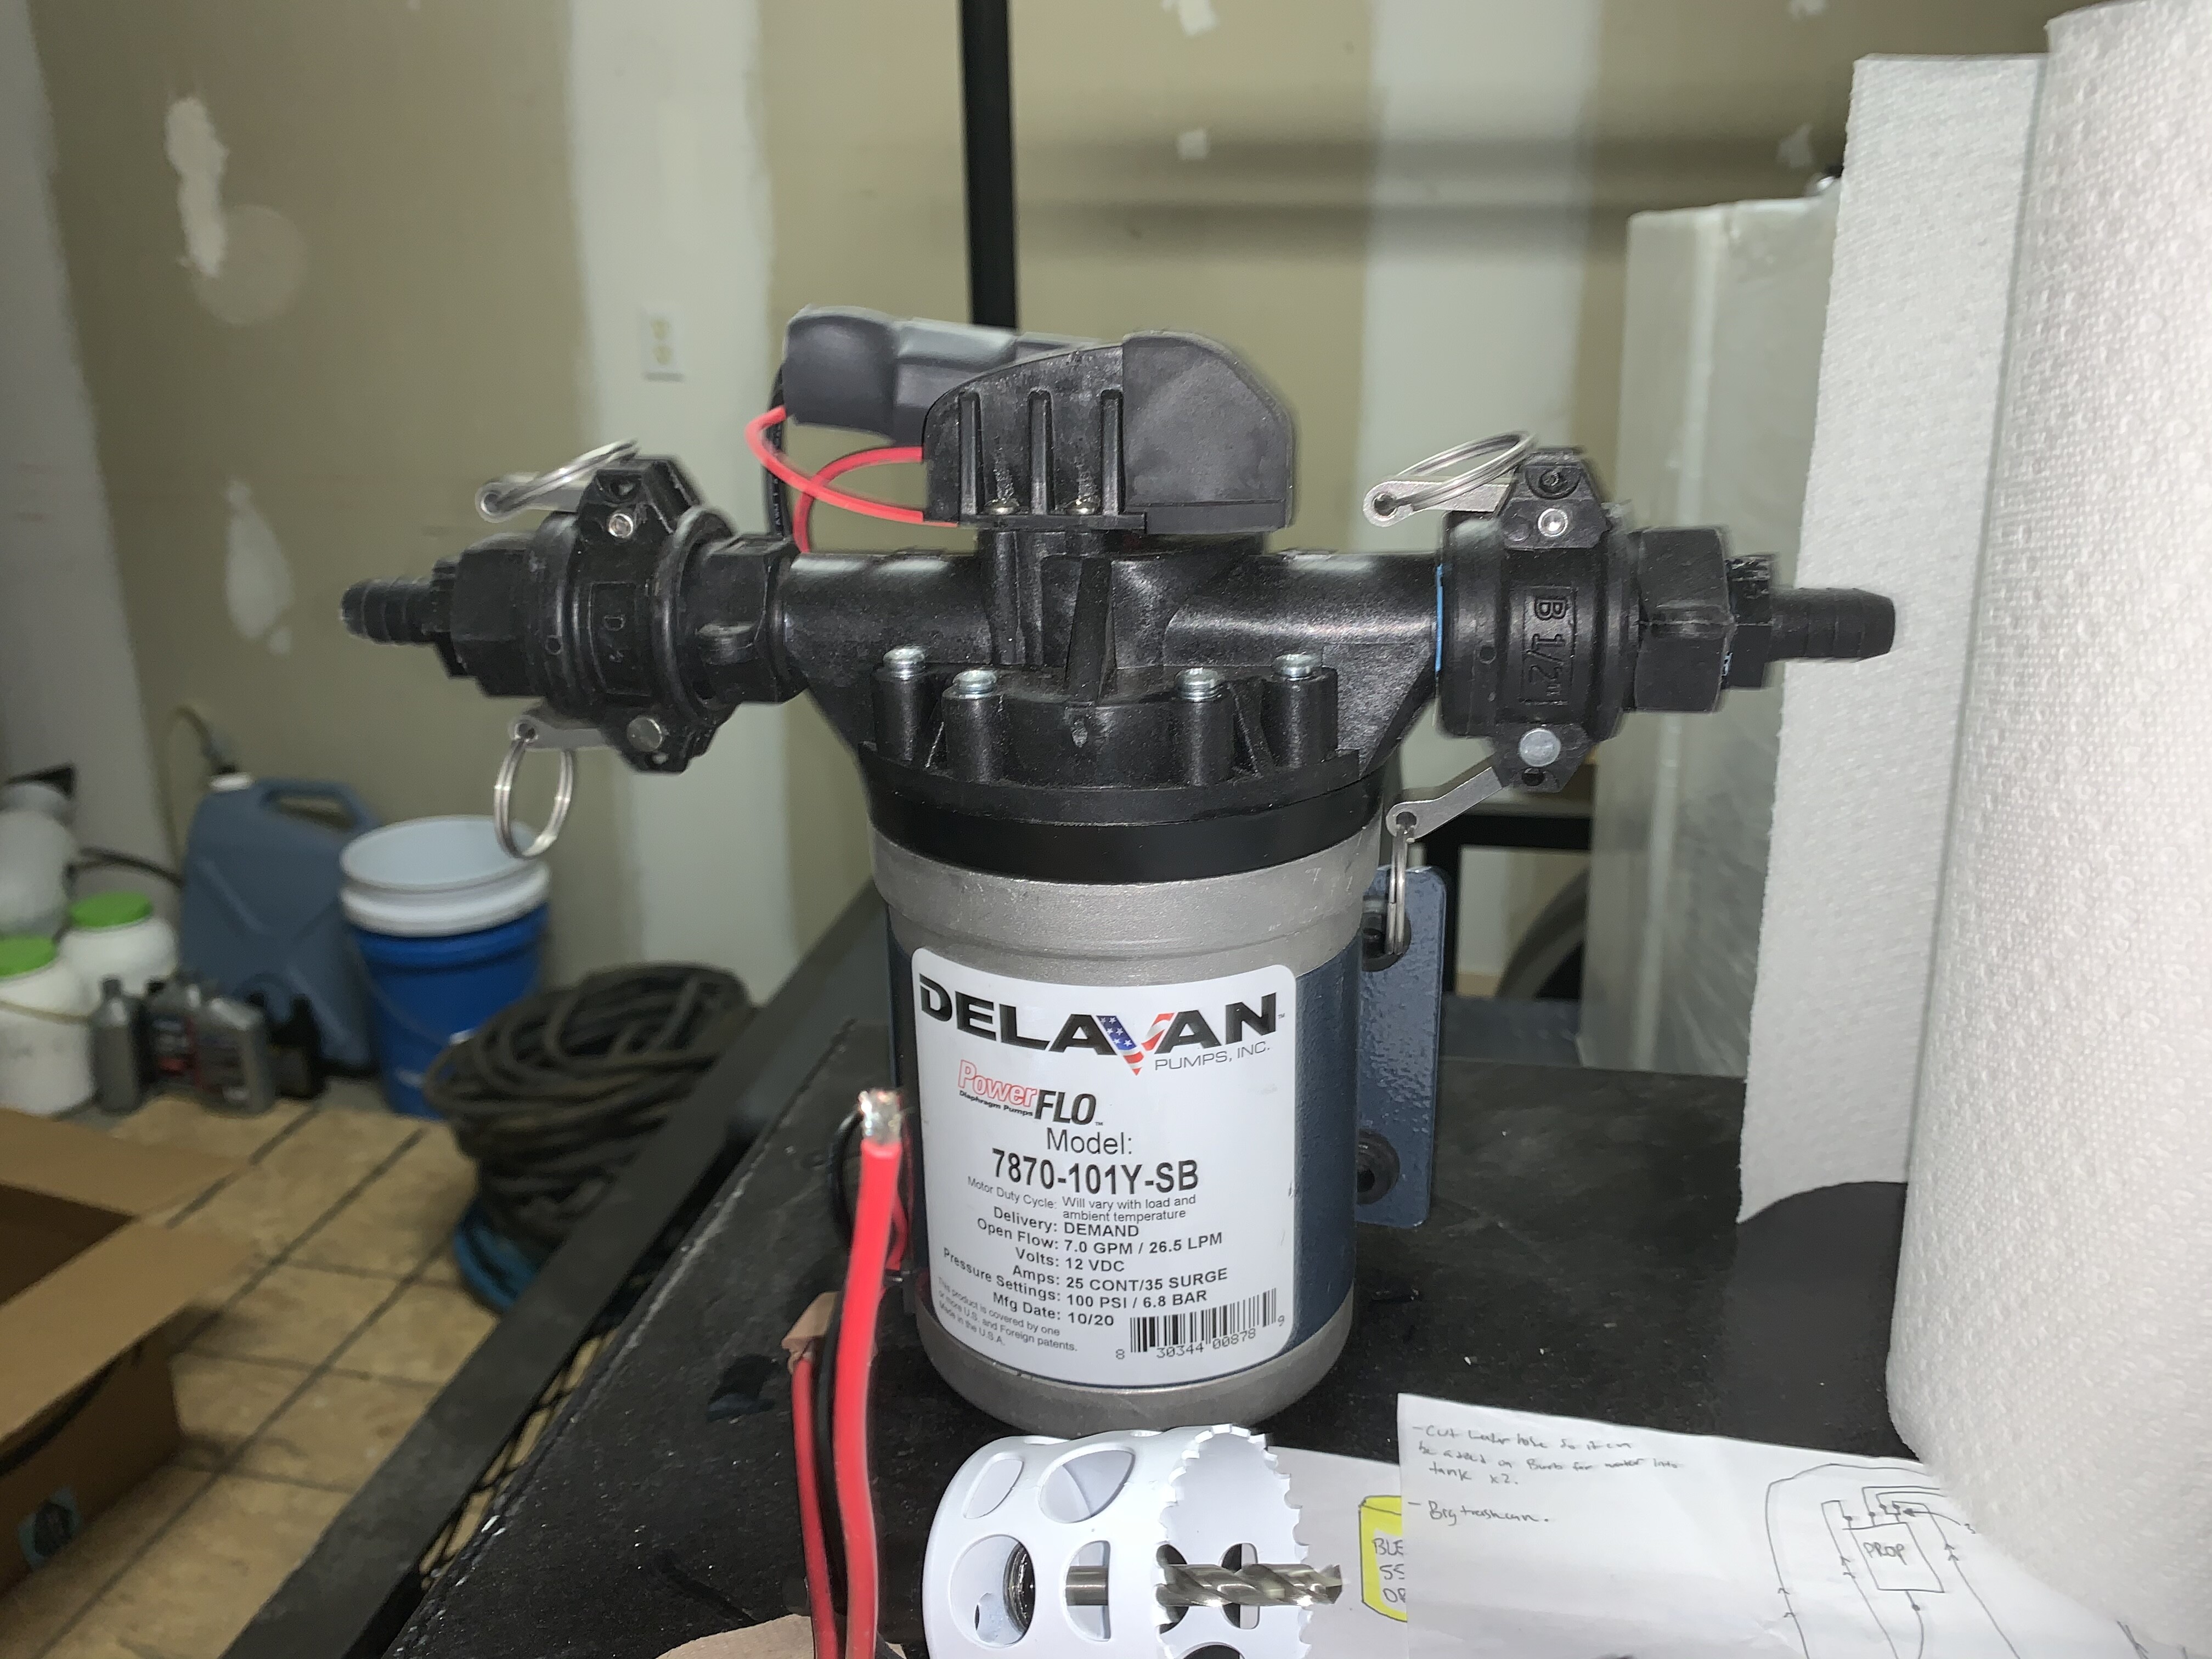
I got some plumbing configurations done and small things put together in my spare time but it’s slowly coming along! I’m ordering the wiring for the system today and @TexasPressureWashing has been assisting me with some of the wiring layouts.
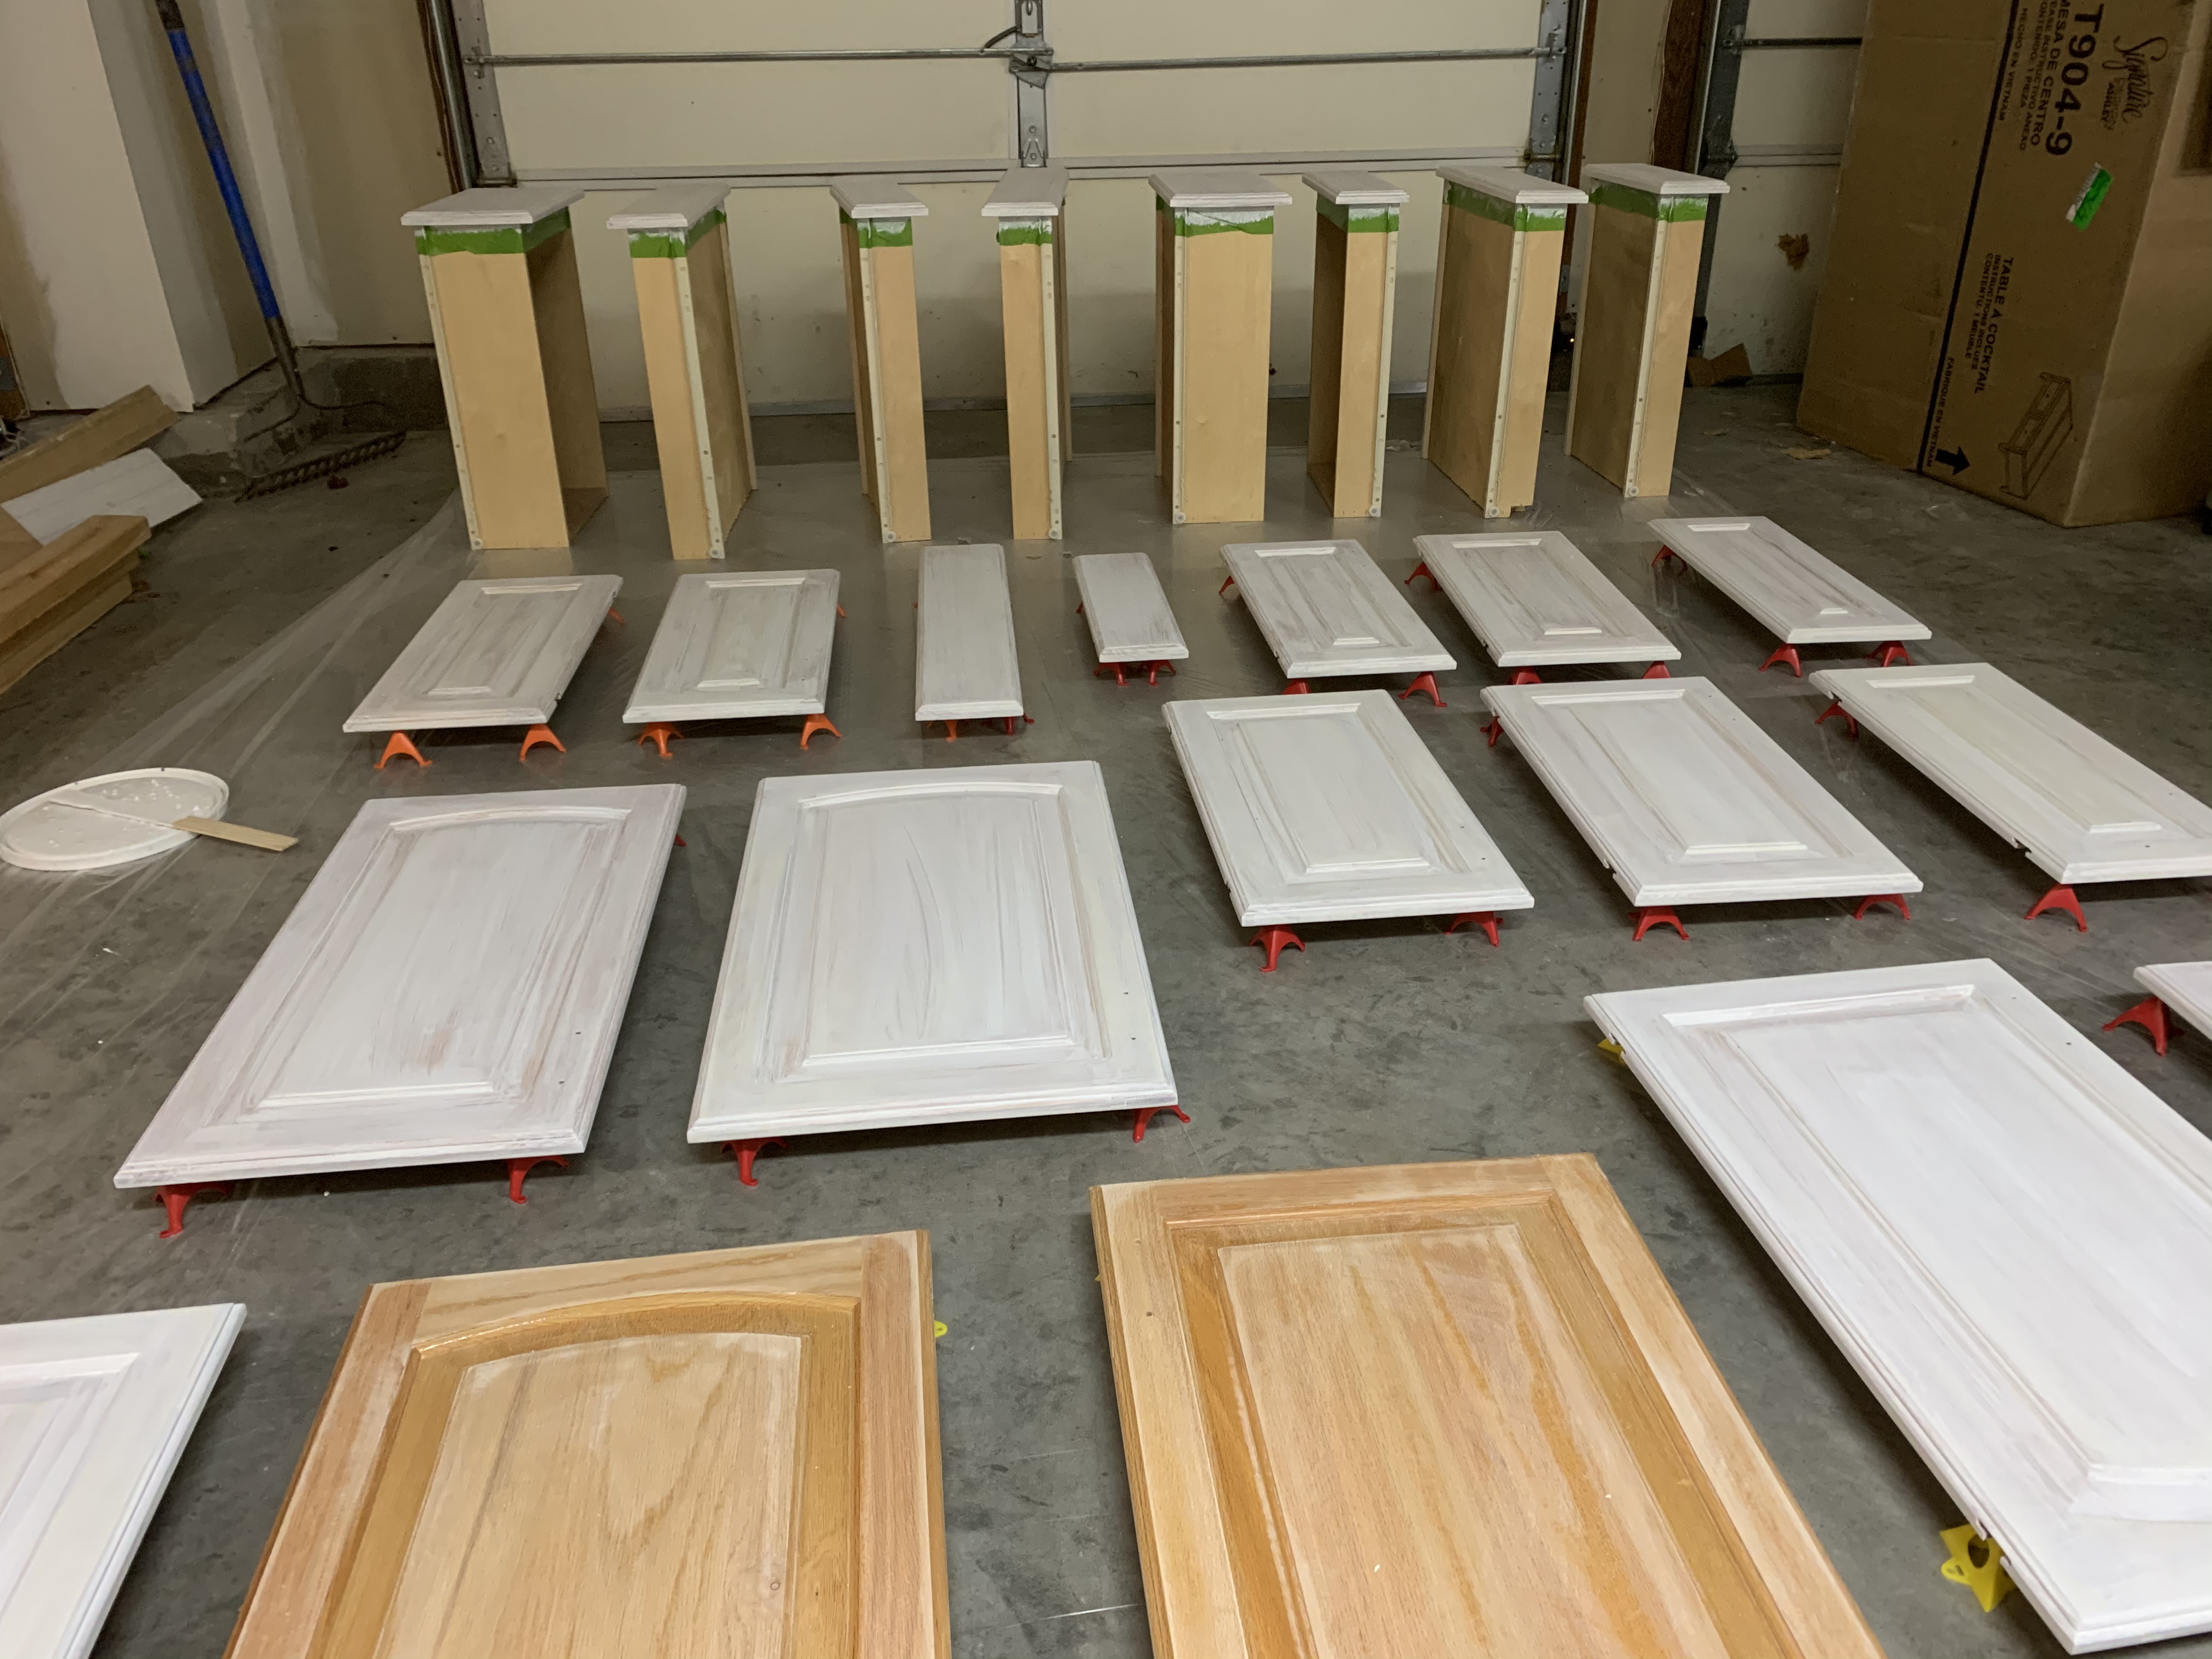
It’s a slow build but only because I’m renovating my home and working on the kitchen cabinets right now. We’re close to moving in!
I’ll have an in depth video of everything once it’s completed


1 Like
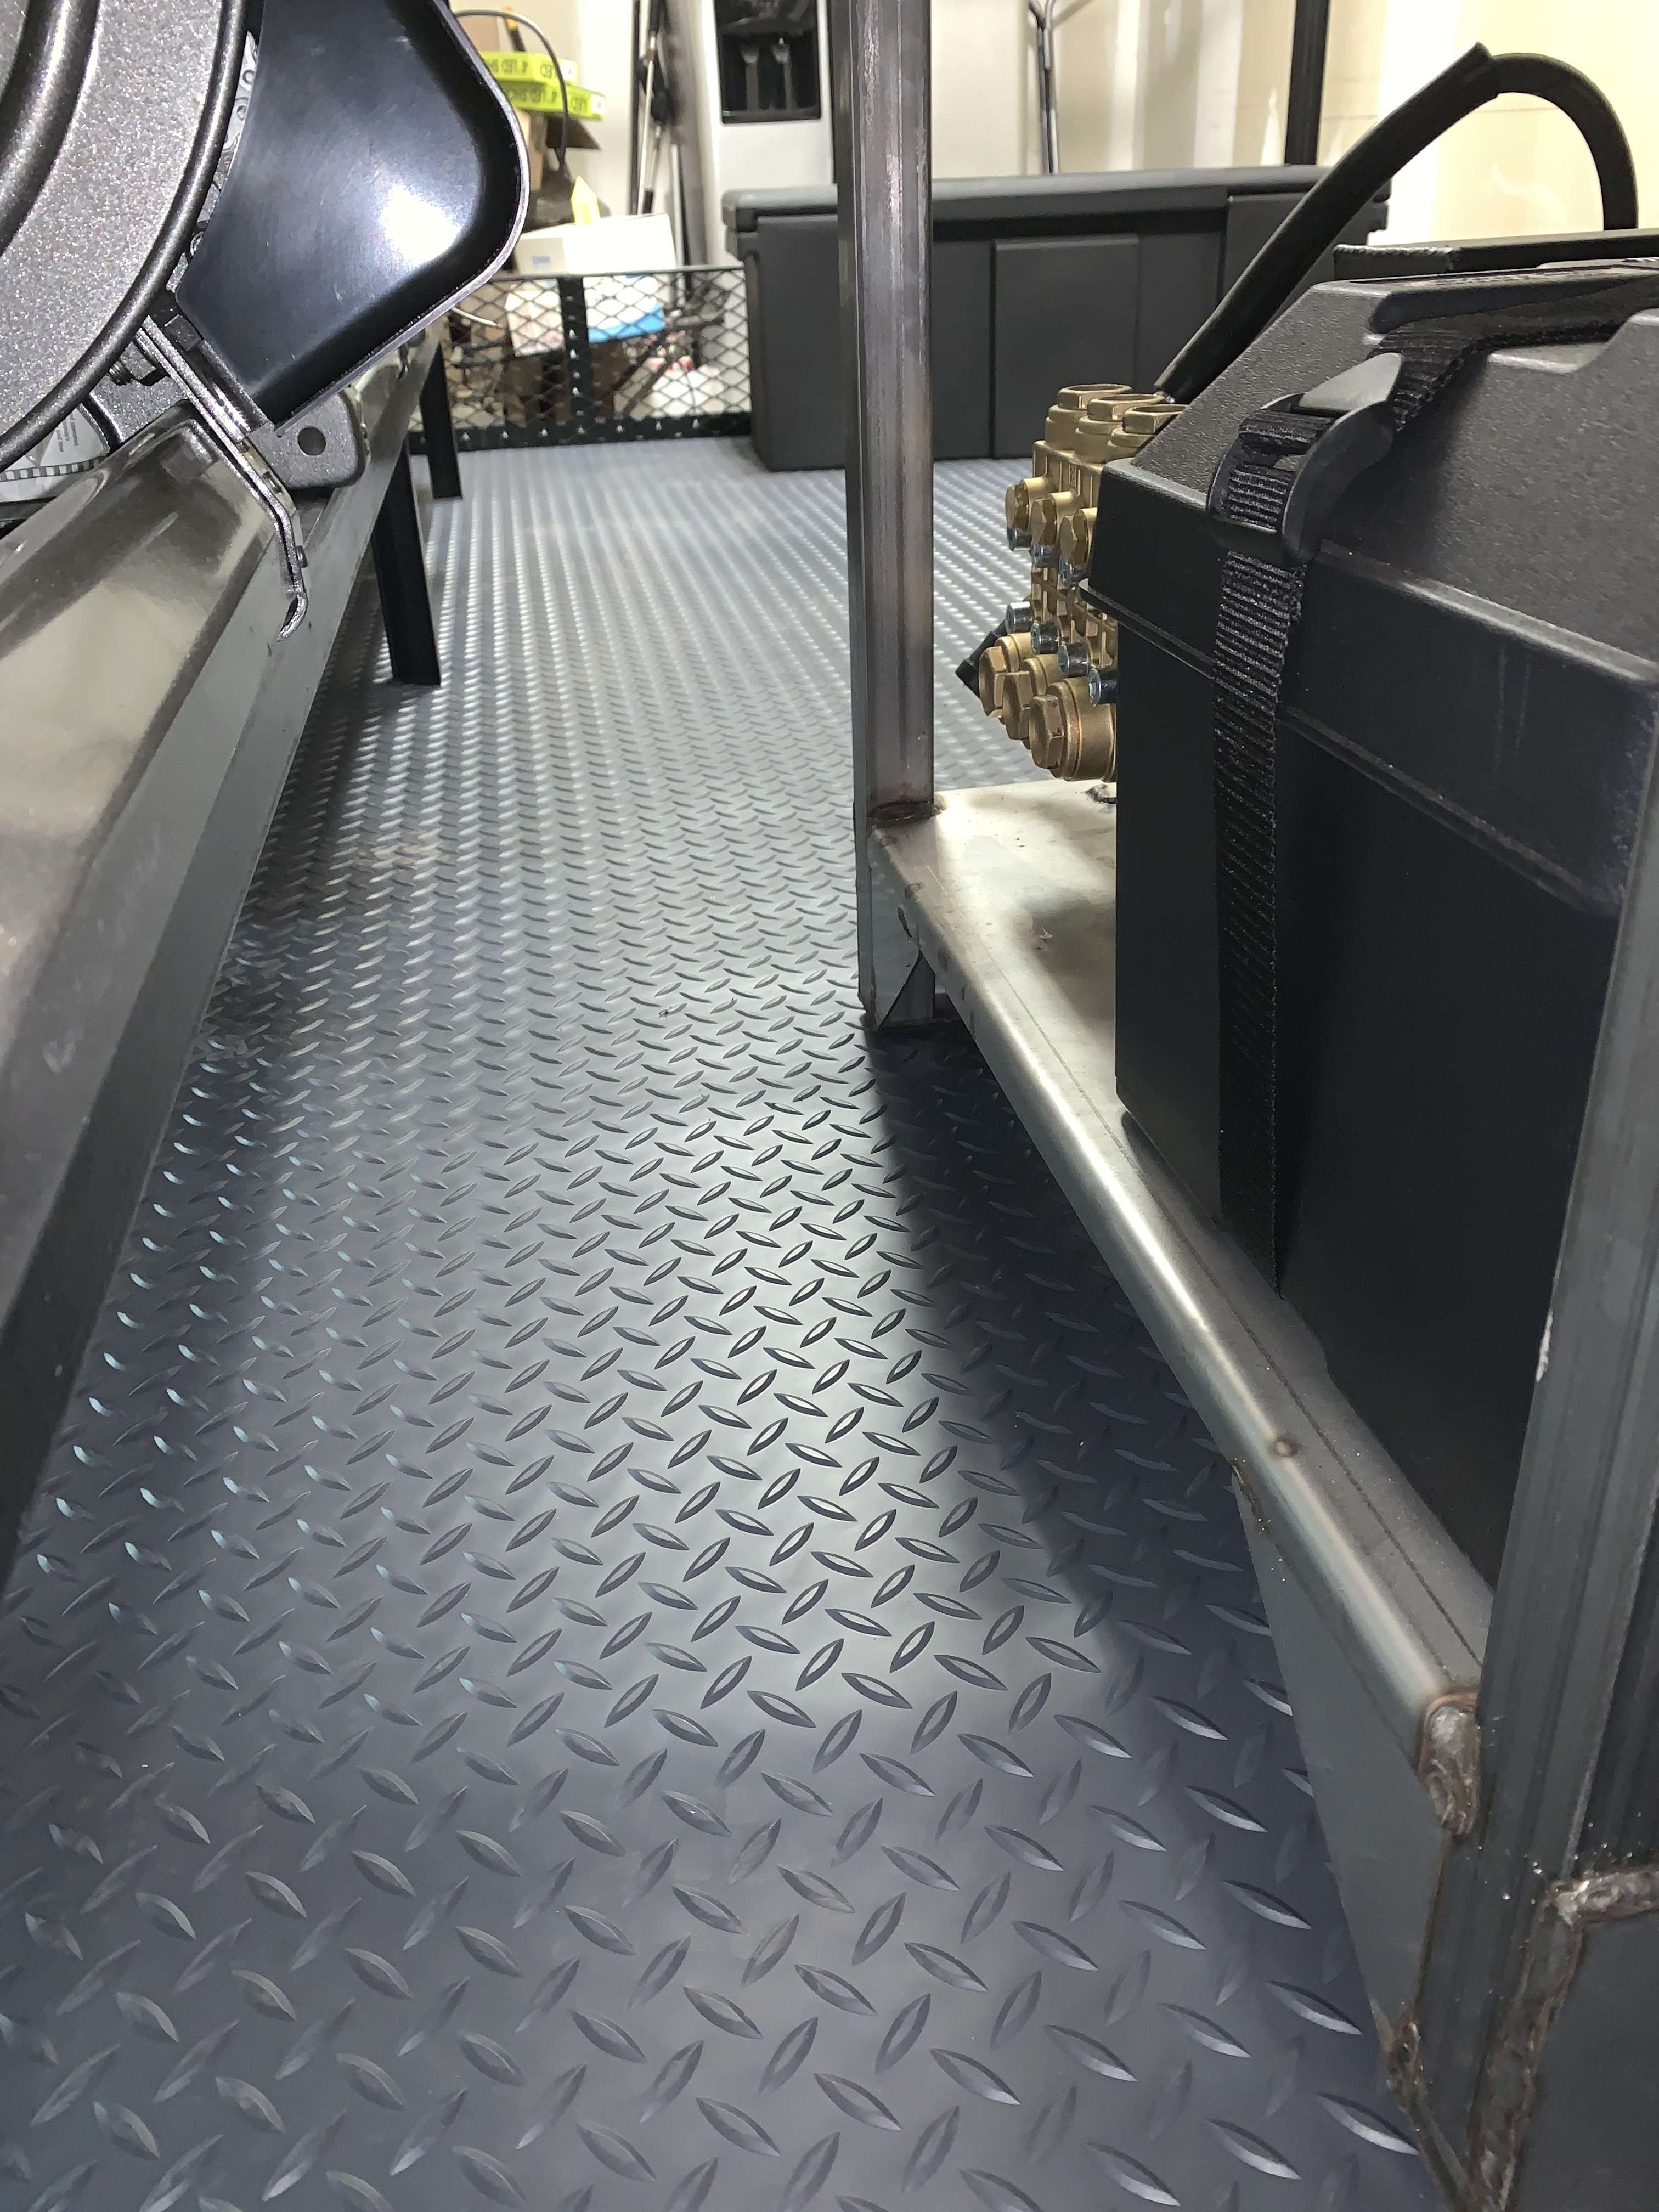
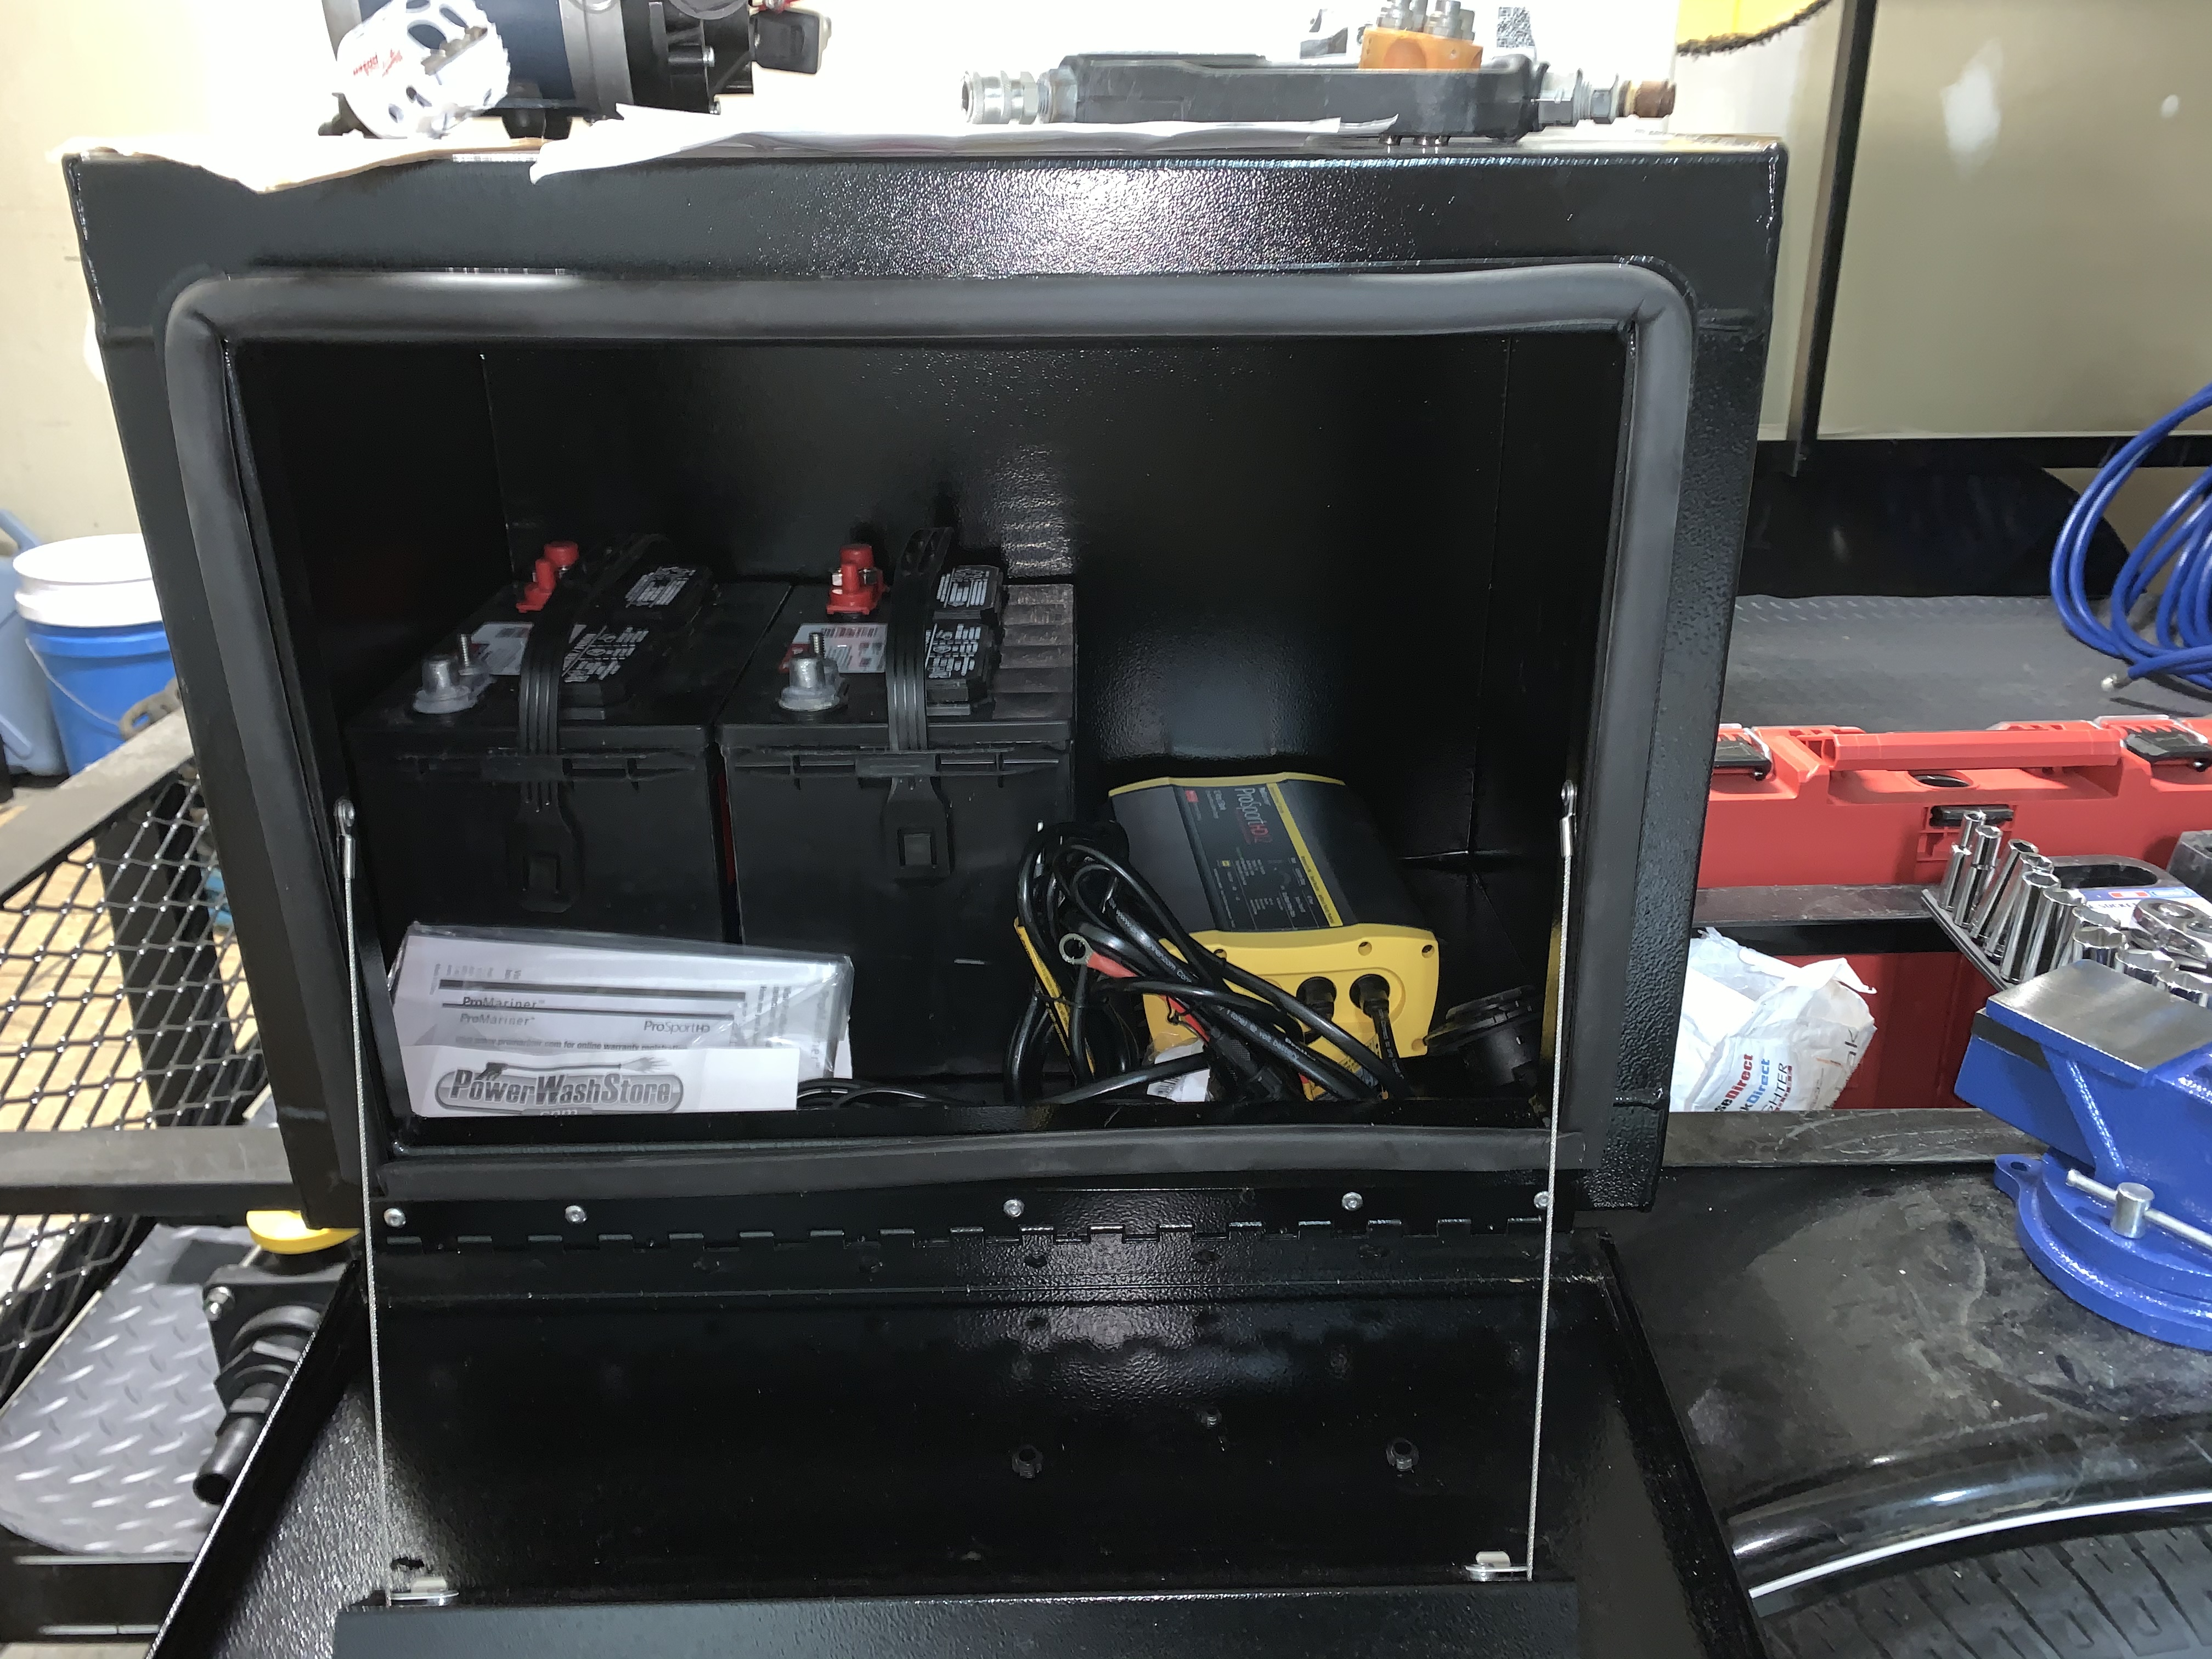
Why 2 batteries in your battery box? Also, be sure to leave room to access front of Hydromax unit for oil changes, fuse changes, etc. Get you a volt meter to put on outside of battery box. One of best things I did.
1 Like
I’m not telling you what to do but I would seriously rethink that bypass hanging off that coil. 1 it’s to heavy if you are going to leave it there put a bracket to hold it. 2 turn your loop away from the exhaust.
I have flexible pipe that I’m going to use to relocate the exhaust outlet towards the top next to the burner exhaust or towards the front then wrap it with muffler wrap.
If not on the reel, or not where it current sits, then where !

This export here is solid as a rock. I feel like i could hang on it (I won’t lol). I replaced the brass female with a ss male, that’s an older pic but I’ll see about a bracket of some sort. Maybe a pipe that I can slide out the way to disconnect the bypass if I need to