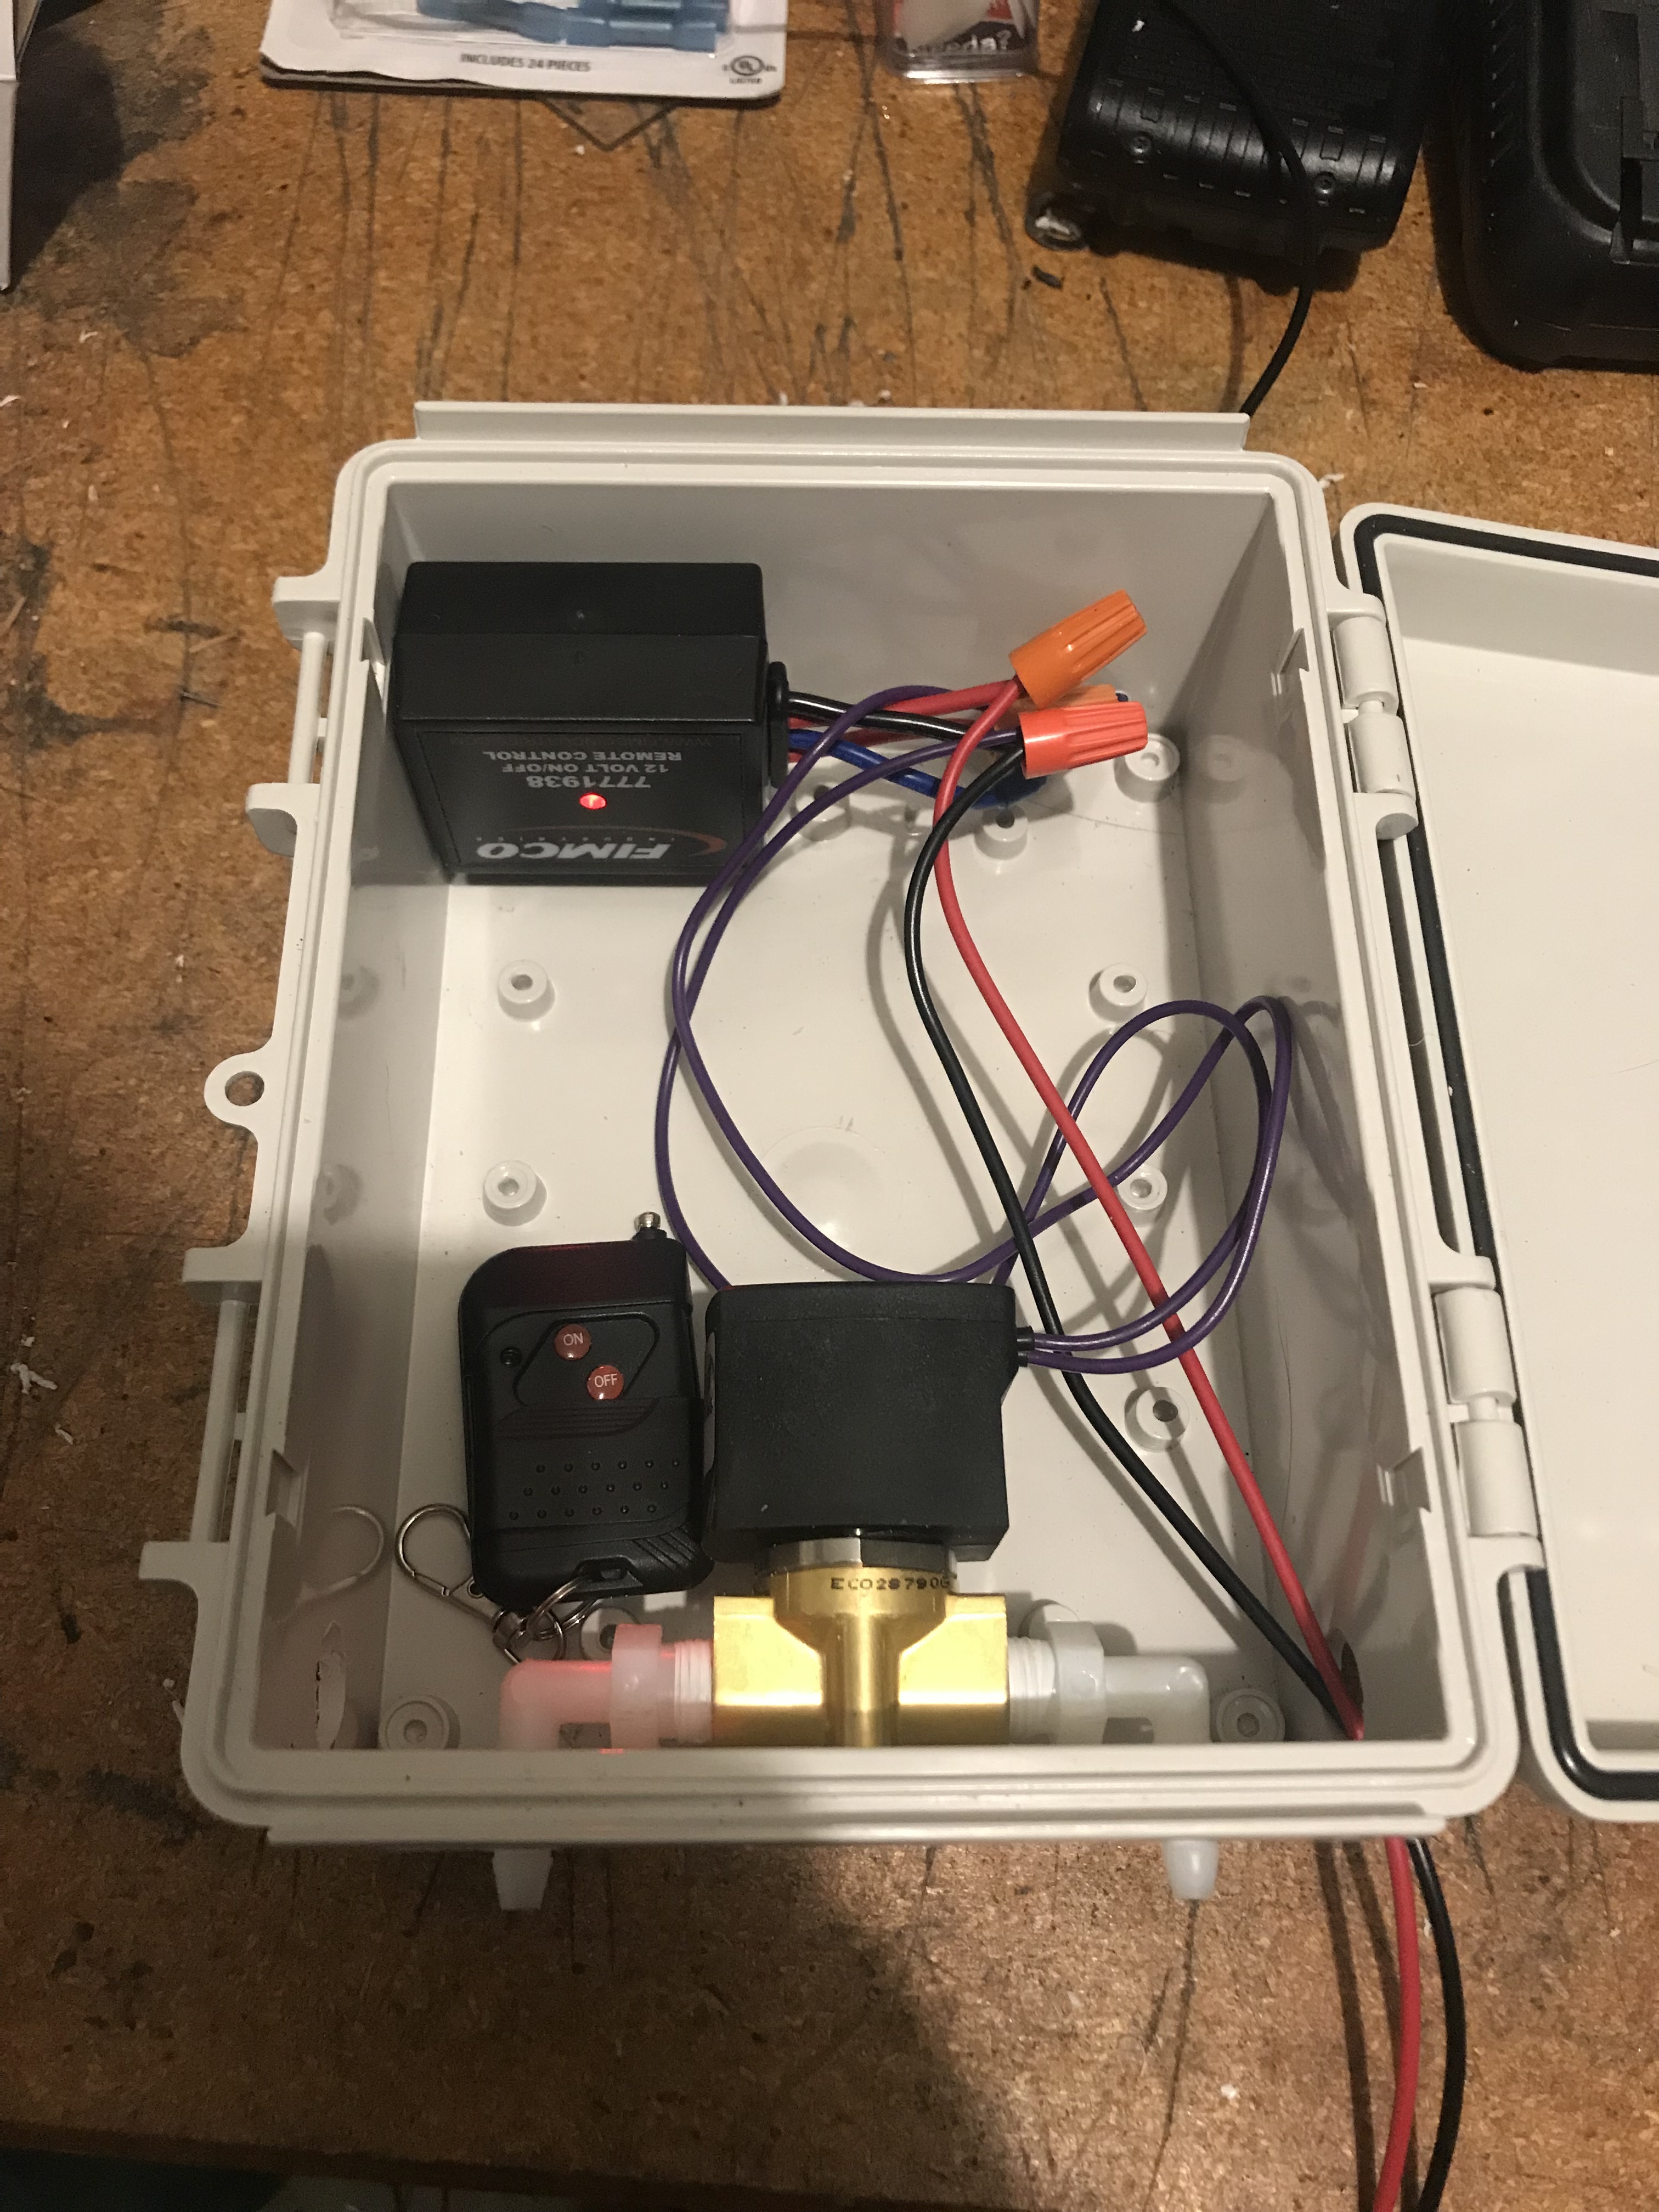
Here is a quick video I made to show how the remote downstream injector can be built cheaply and how to wire and plumb it. Not a guru, but I won’t work another day without one of these. Any of you running a setup like this? I’ve been using it for about 3 weeks now and no issues at all so far.
How far can you be away from unit and remote still work?
I’m waiting on parts ordered, hopefully will have it built this week.
That’s the best wiring explanation I’ve seen for one of these. Just a tip. You can wire a switch into your box to cut off power if you’re worried about it. But the remote is your switch. Only draws power with your ball valve open in that configuration.
Great video.
This is a great video. Know what I’ll be doing. Thanks for the info!
1 Like
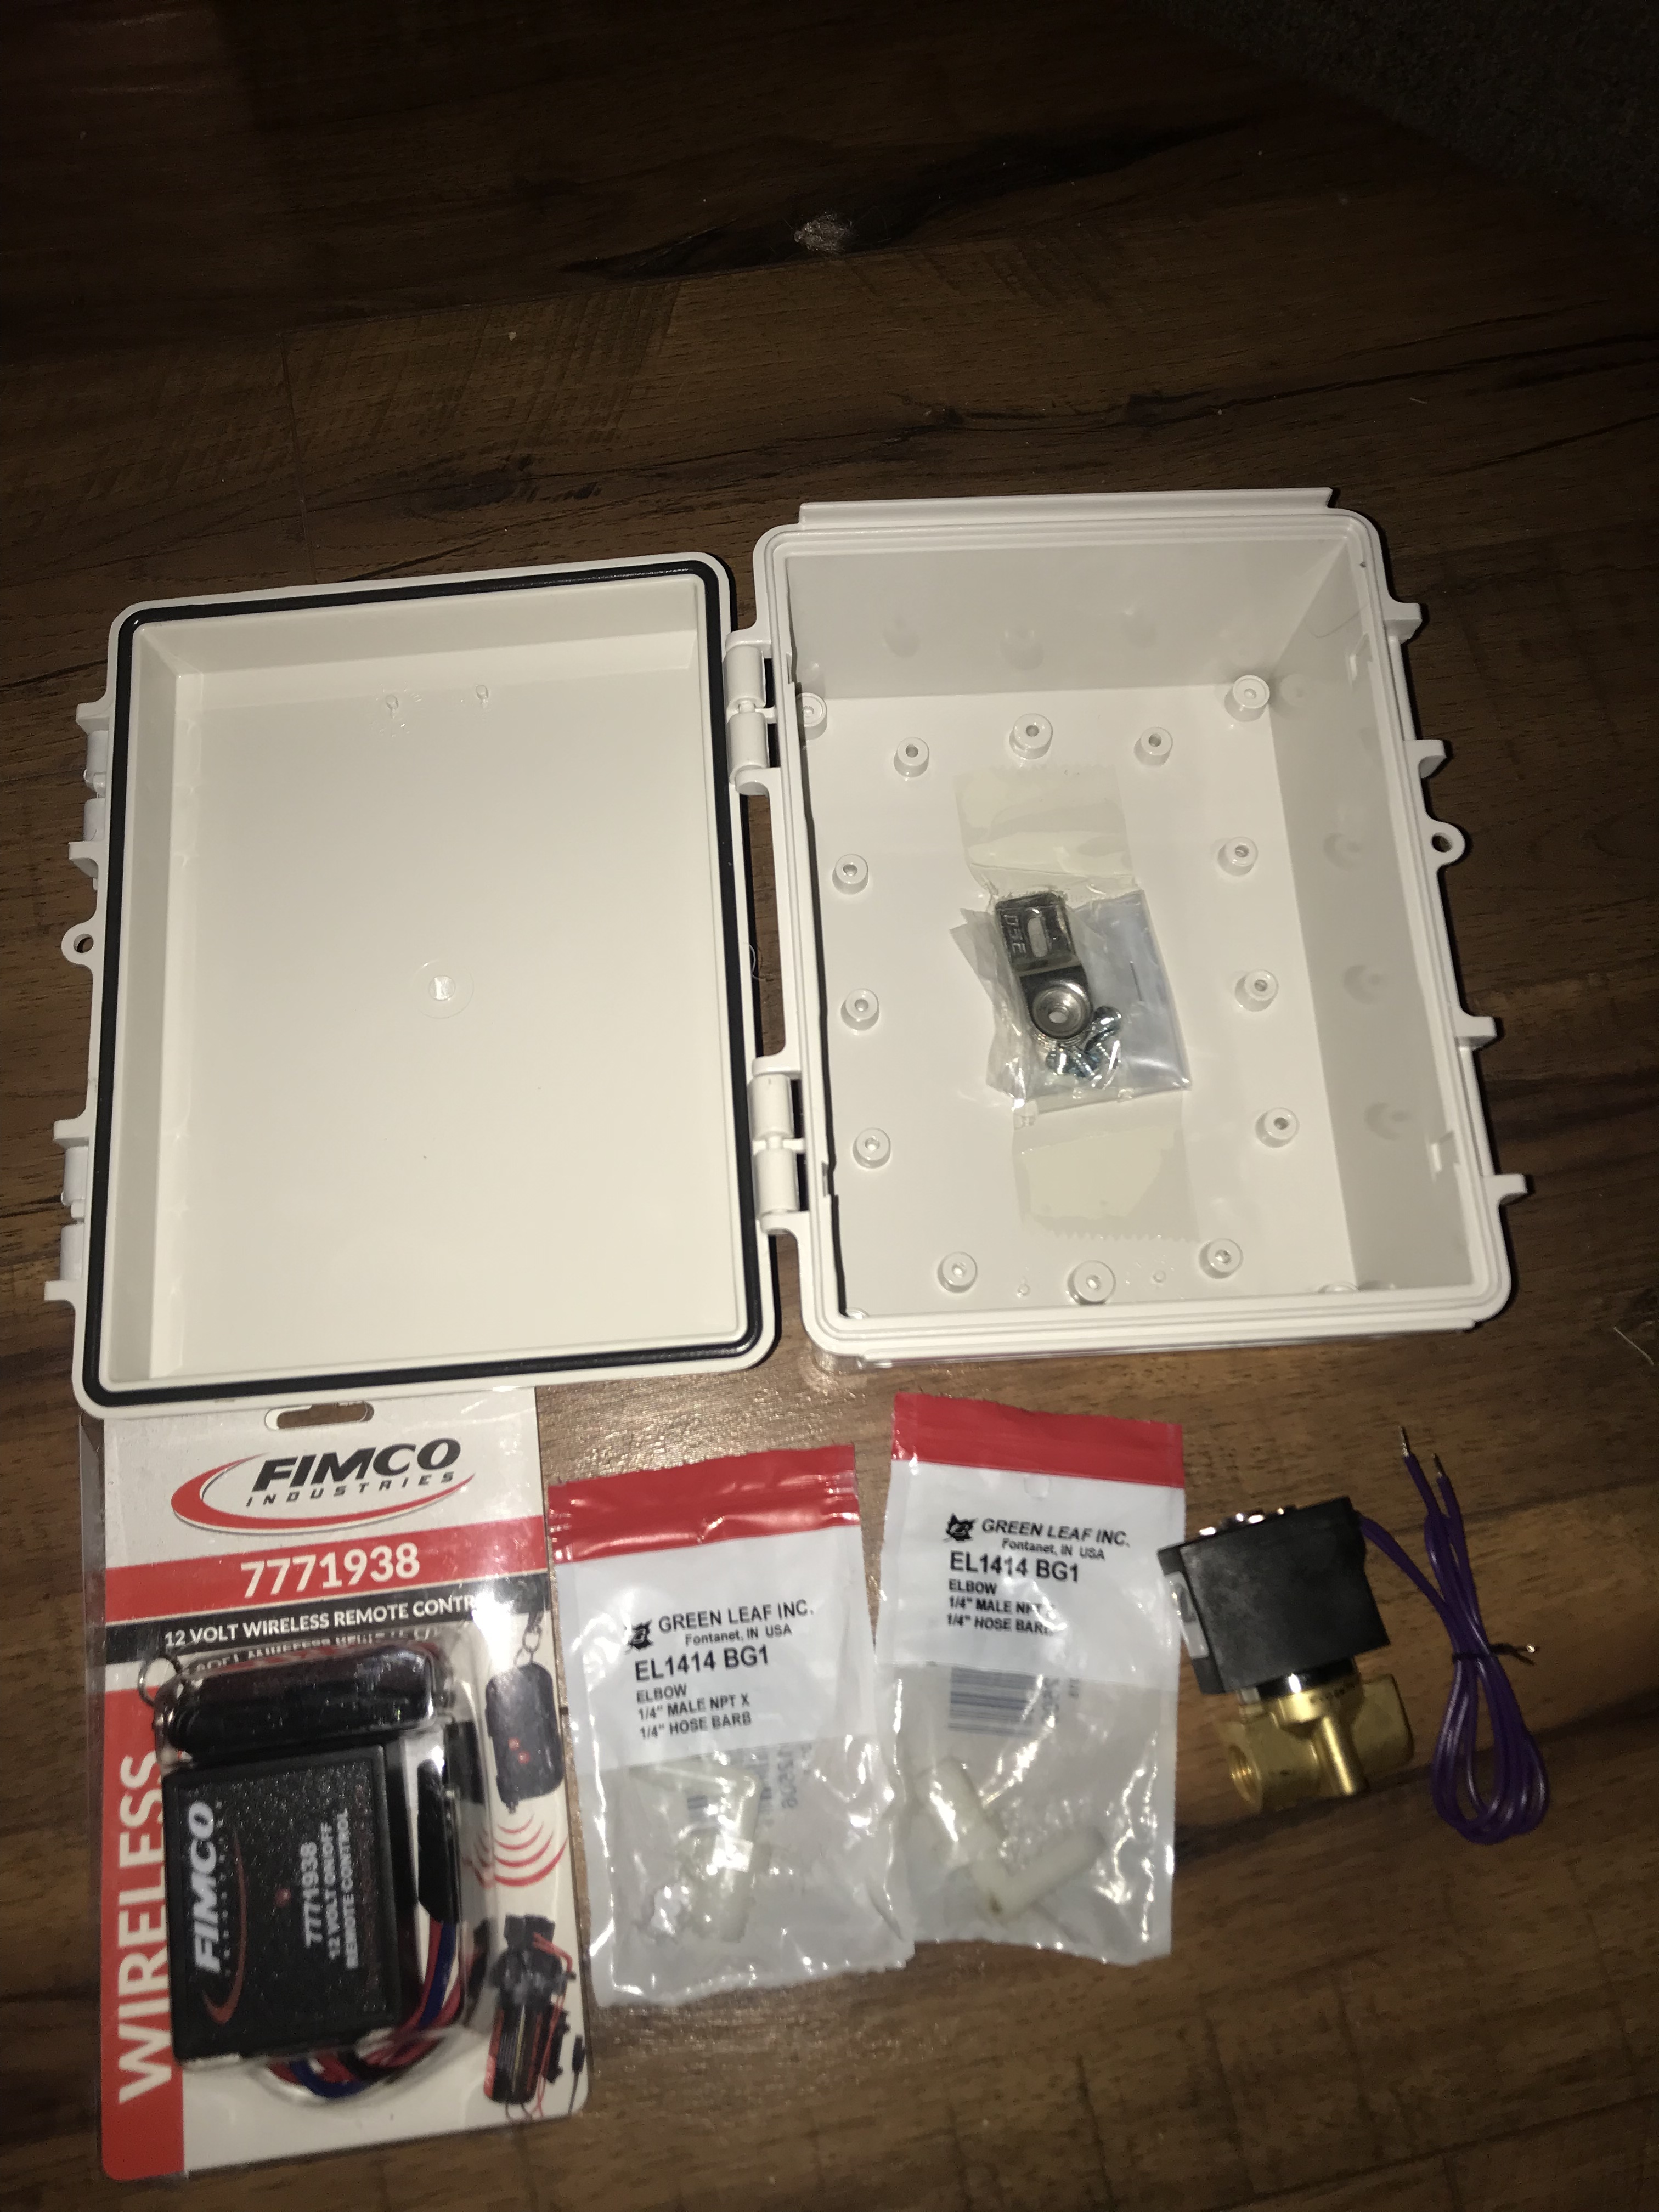
If you don’t want a fancy box you can get by with making one of these for less than $50. Just put it inline with your current set up and drop your siphon tube in a bucket of water to rinse the valve before you leave.
Again, great job explaining the wiring.

2 Likes
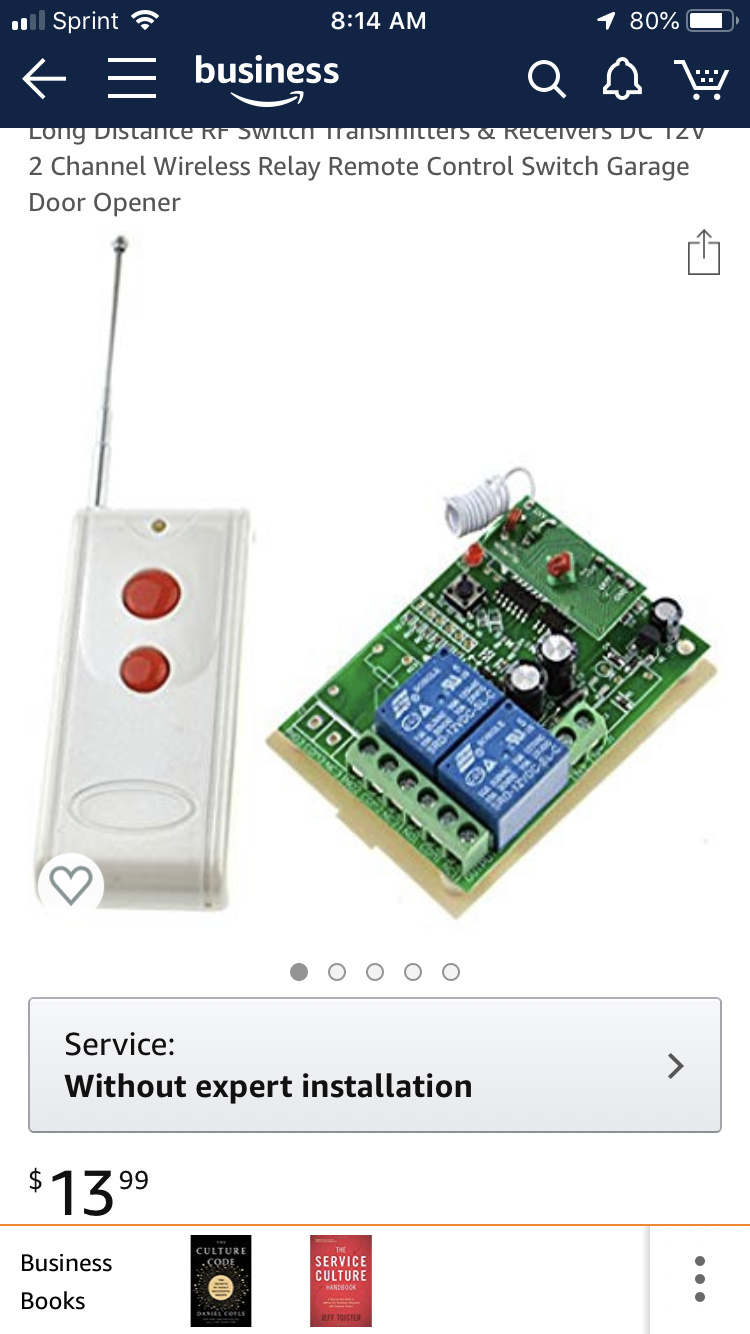
#Squid are the Amazon channel prices cheaper? That motorized valve is showing as $30 on the regular page. Maybe it’s the trade war effect?
Great, thanks for the video and instructions!
Amazon channel? Not sure what that is, but amazon has business pricing on quite a few items we use.
I just meant the standard Amazon website. I knew about Amazon business accounts but I thought the pricing was the same. 
Checking it out you either pay a shipping fee per order or a yearly fee. $499 for up to 10 users. 
When this is in the off position, is it pulling air?
1 Like
I have a video somewhere on here. I’ll be on the road from about 2am to 7am EST driving across the state in the morning if you want phone advice
Other stuff - YouTube starts at 3:05 thanks for making that
Got it…I’ll put it together today and report back.
On a side note the surface cleaner in the video makes me realize I need to adjust my hose, it has a big loop that keeps me from getting under stairs, etc. Need to lay it flat.
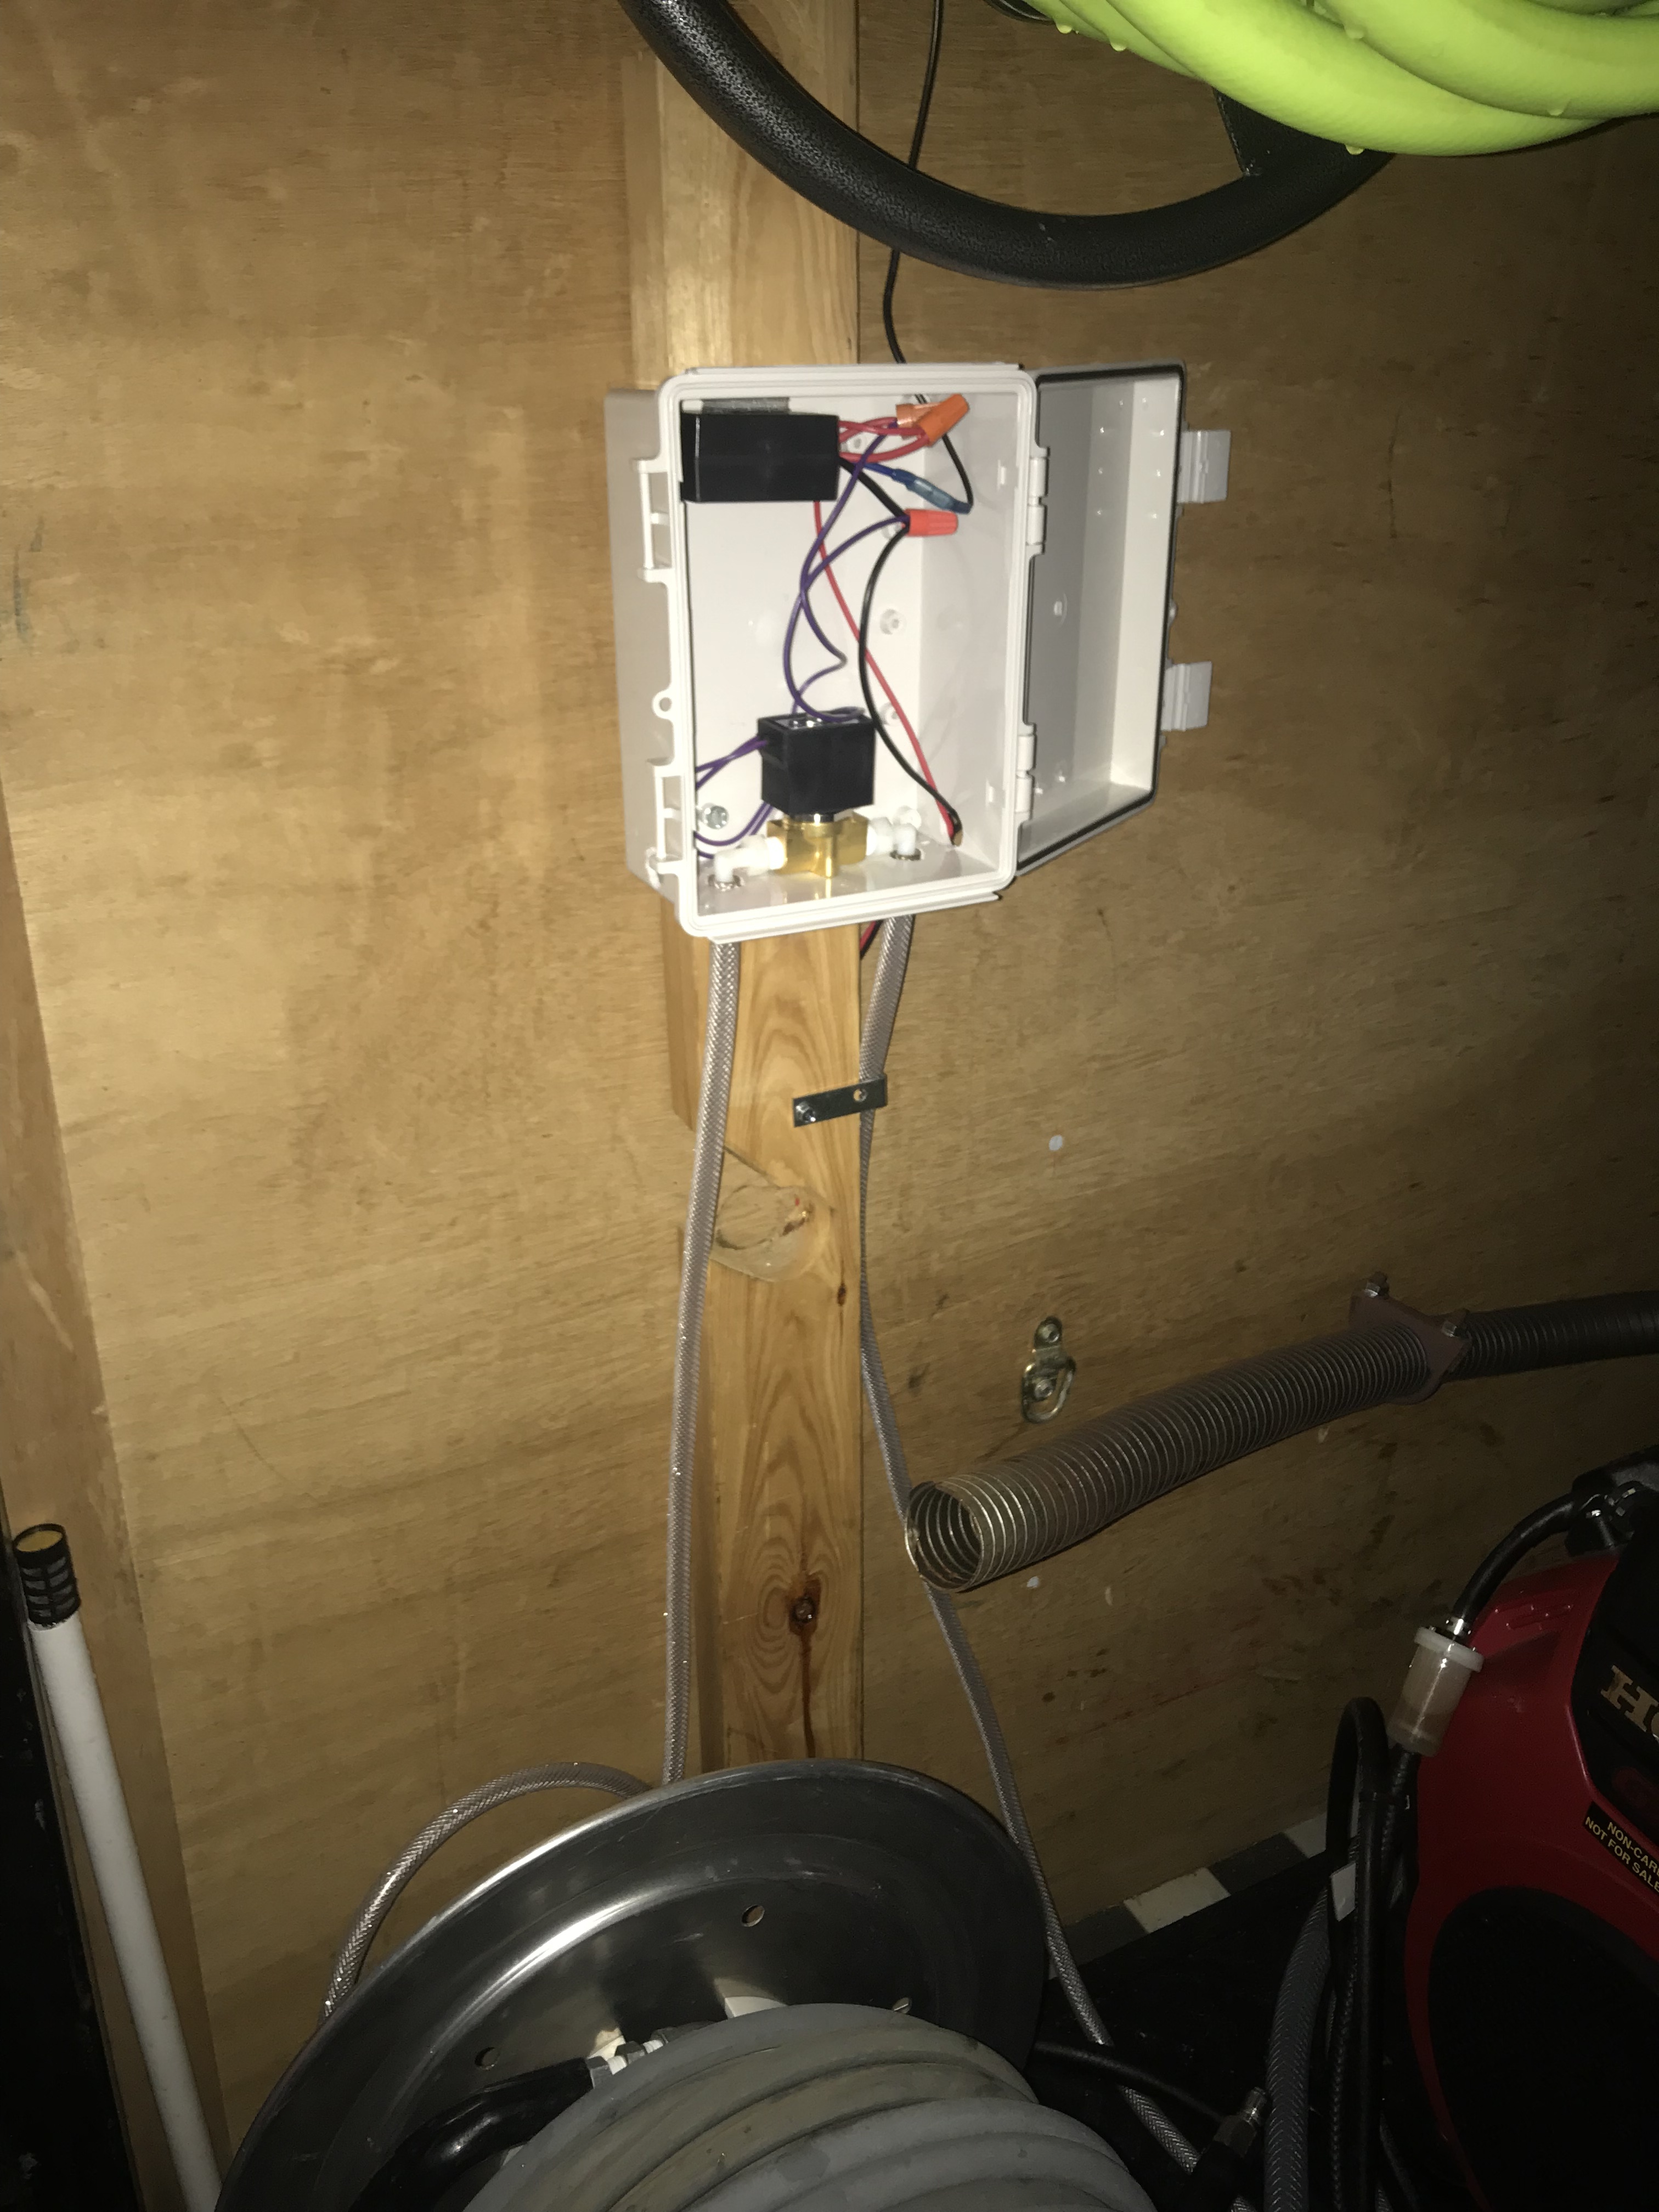
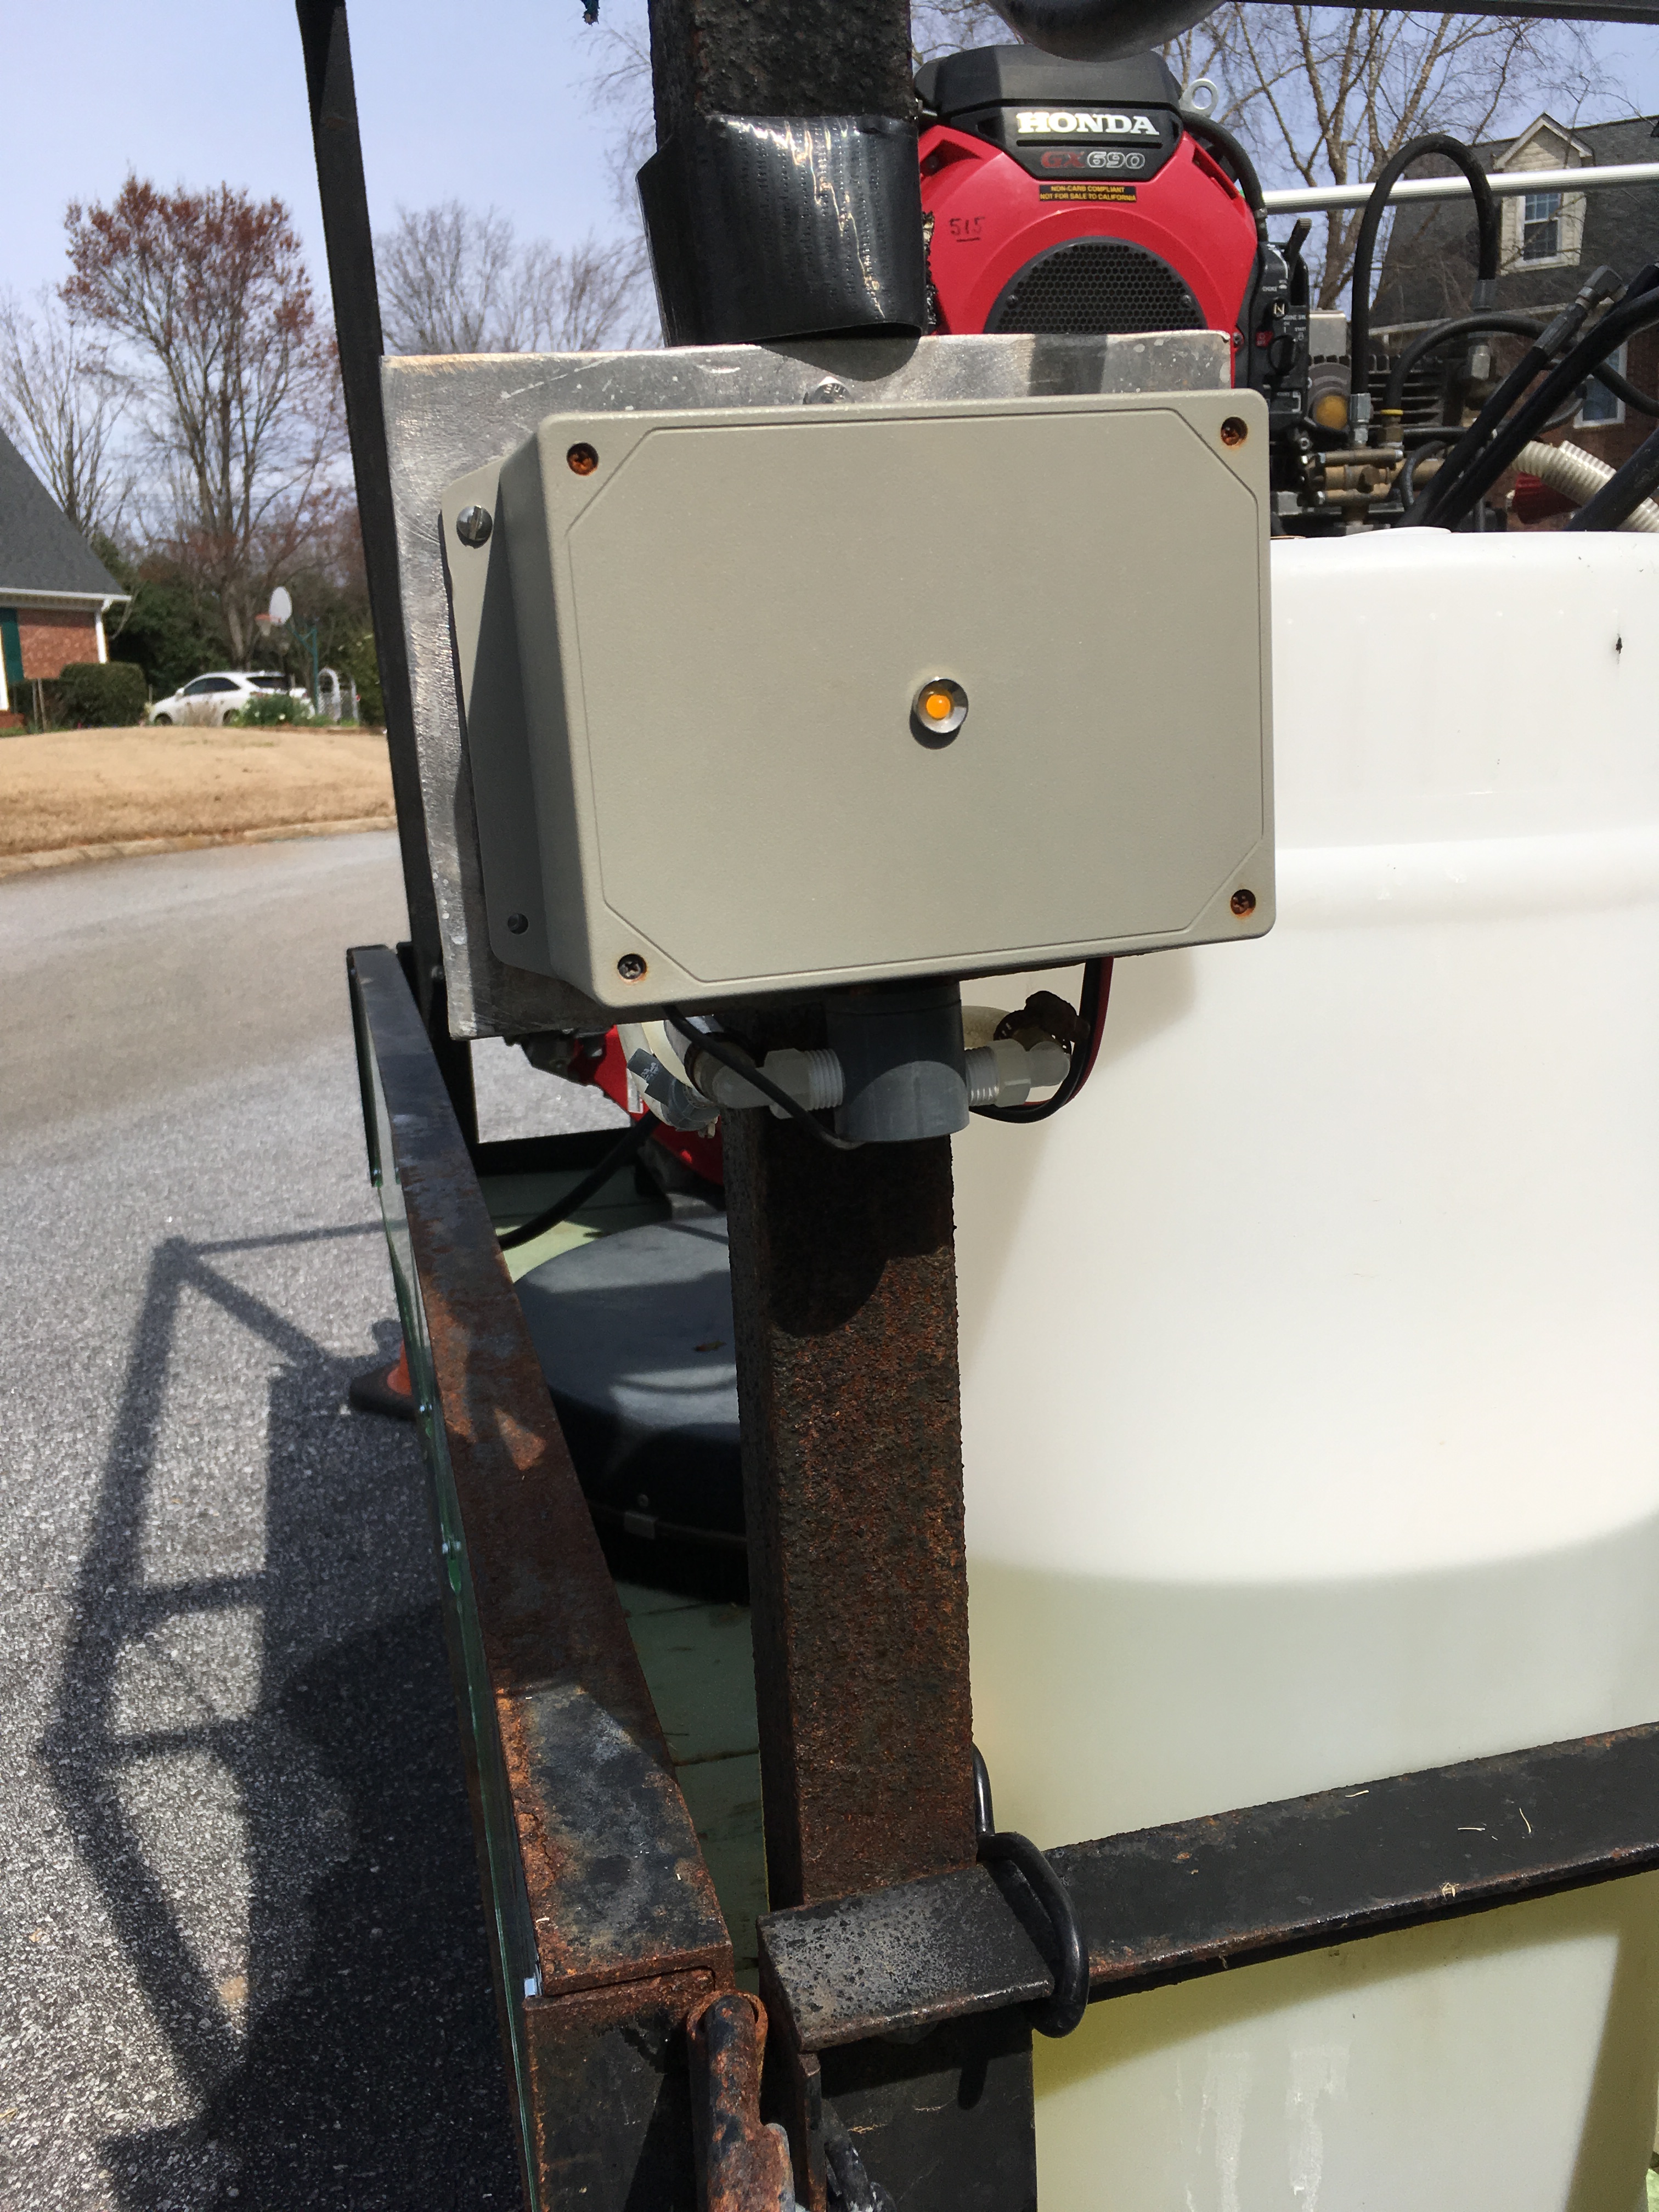
Coming along. The hard part was lining up the holes. The case was too thick to let the valve hang down underneath but I improvised.
The LED indicator for the receiver is always on, I hope it doesn’t drain the battery as I don’t use it every day. I may install a power switch later.
Could have drilled bigger hole in middle and let the whole bottom part of the valve stick below the box - the part where the 2 plastic elbows screw into. That’s the way Southside builds theirs. That way you can point the nipples whatever direction you need them too.
Here’s a pic - see coming out bottom of box
Yeah, that was the plan but this valve isn’t designed to do that so I just cut a couple holes instead. If the box was thinner I could have let the brass part hang outside but there is less than 1/16" leeway on the thing.
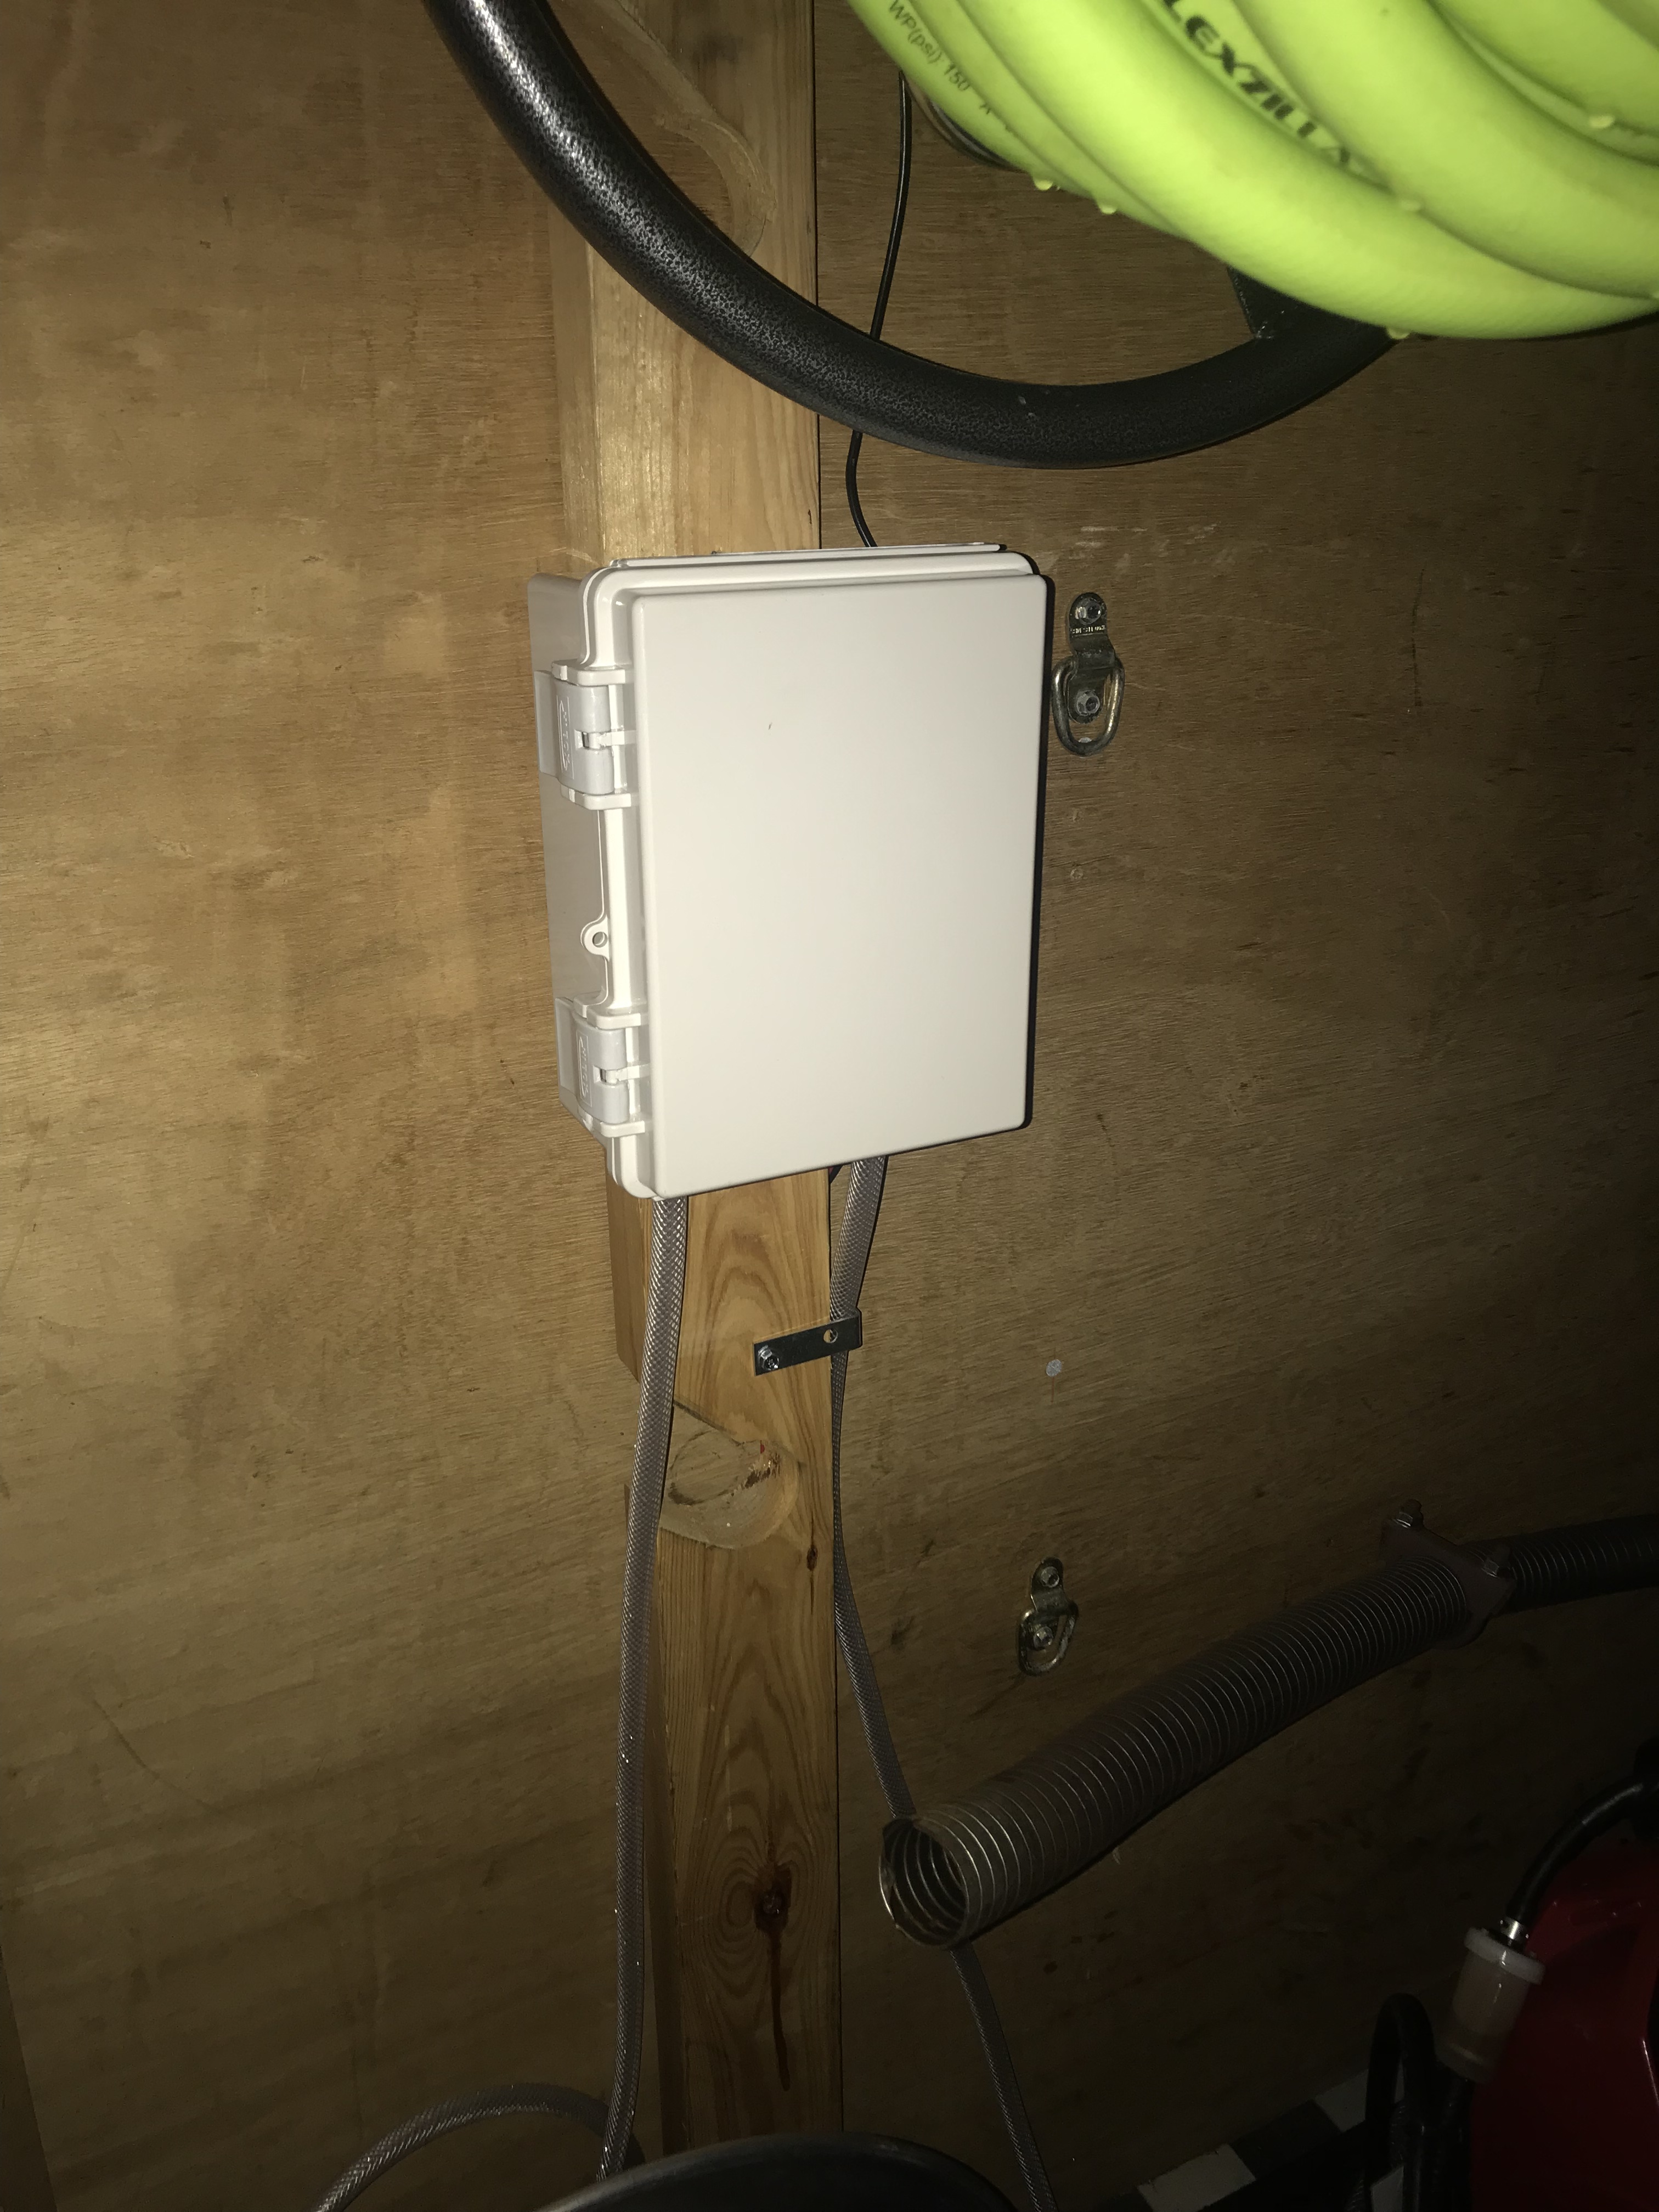
I’m using an enclosed trailer so it’ll just get mounted to a 2x4 and the hoses will drop straight down. 
1 Like