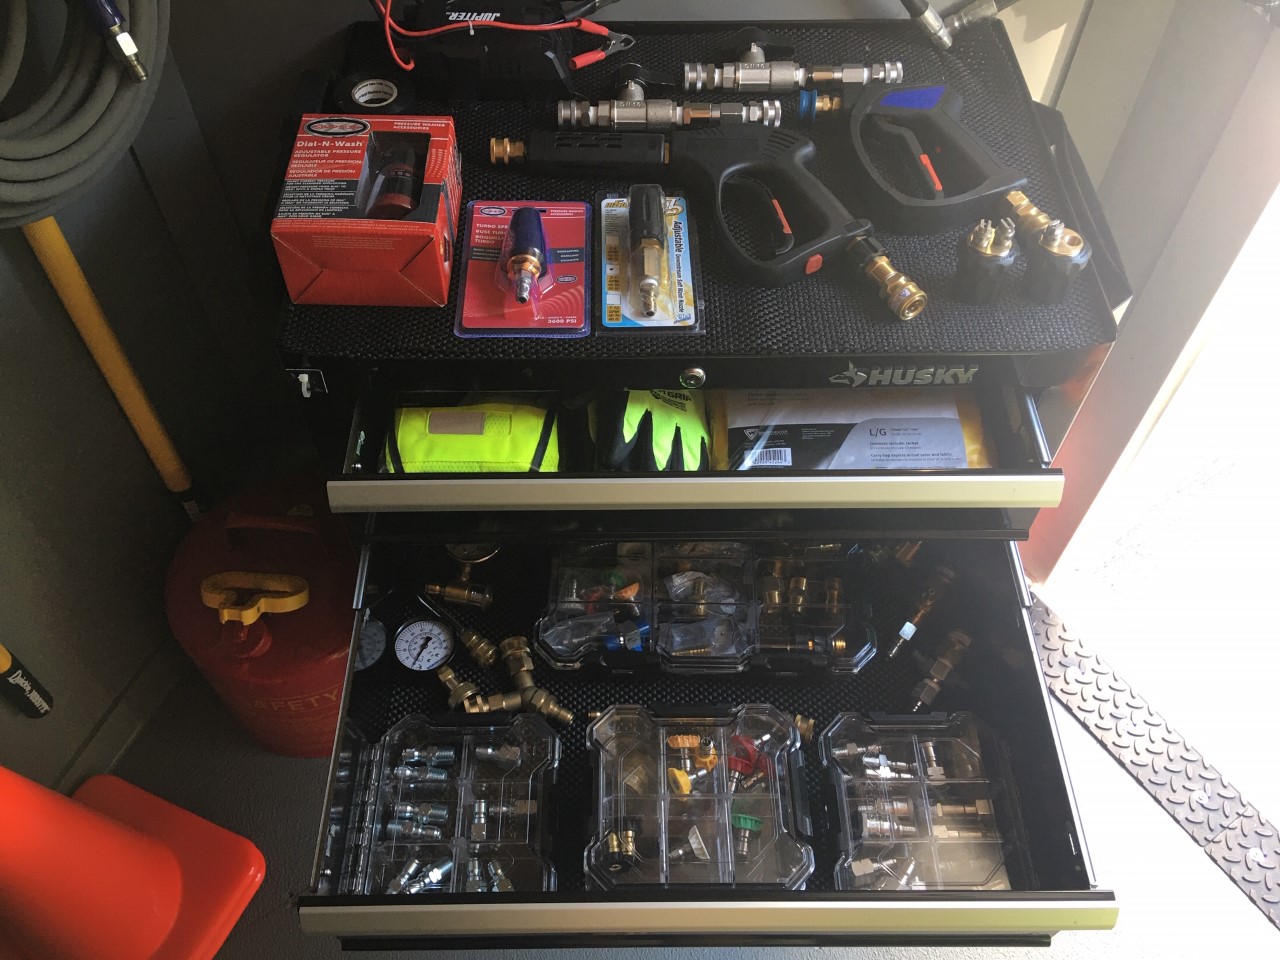
It all began in July when I had this novel idea I began with a business plan, mainly for my own benefit since this start-up was going to be self funded. I figured I could do this with not one piece of equipment including a vehicle, surely I could do this around 15K Well as of today, I’m pushing 30K all in, of course this includes , Vehicle, 6x12 Enclosed Cargo, Major/Minor Equipment, Supplies, Chemicals, Marketing, Insurance, and Licensing. This doesn’t include the countless hours spent on website construction, social media creation, business logo branding, financial accounting and operations, specific operational training, along with the trailer build itself, ordering from multiple suppliers and the maddening daily trips to supply stores. It has been a busy 3 months with a lot of long days and even later nights.
I’m posting pictures below and hope this helps someone new to the business and of course open to anyone’s opinion, but I absolutely wanted to thank all the members that have contributed knowingly or not, to my success to date. I have to name a few, because it’s important they know the affect you have on others lives and livelihoods. There is something to be said about teaching a man to fish! Thanks to (in no particular order) @Racer@Innocentbystander@TexasPressureWashing@marinegrunt@DJPWS@DisplacedTexan@MuscleMyHustle@qons@Infinity@Seandz It’s not always the veterans but also the people that spur a conversation to increase knowledge, proficiency and professionalism. I apologize if you responded to me personally or had input into a topic that I benefited from. This will only let you put 10 and I could have easily put 20 on here.
I’m expecting to be done testing and initial equipment training soon and estimating a go live date around the 16th of this month. I already have a local real estate agent asking if I’ve begun operations so my networking in my property management company should help jumpstart this endeavor. So I’m excited to get rolling even if it’s going into the slower season, probably a better time to start with controlled growth.
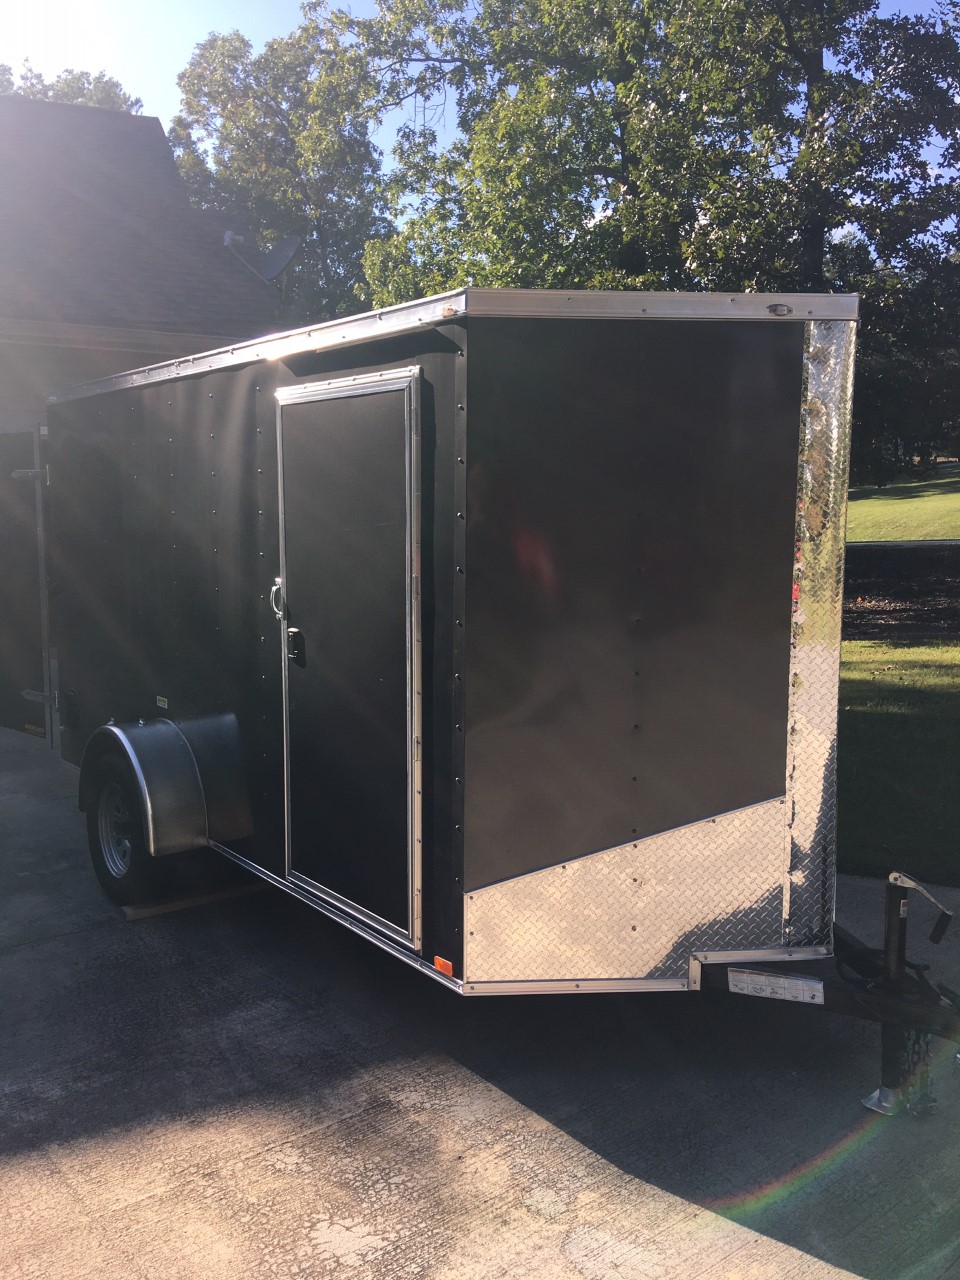
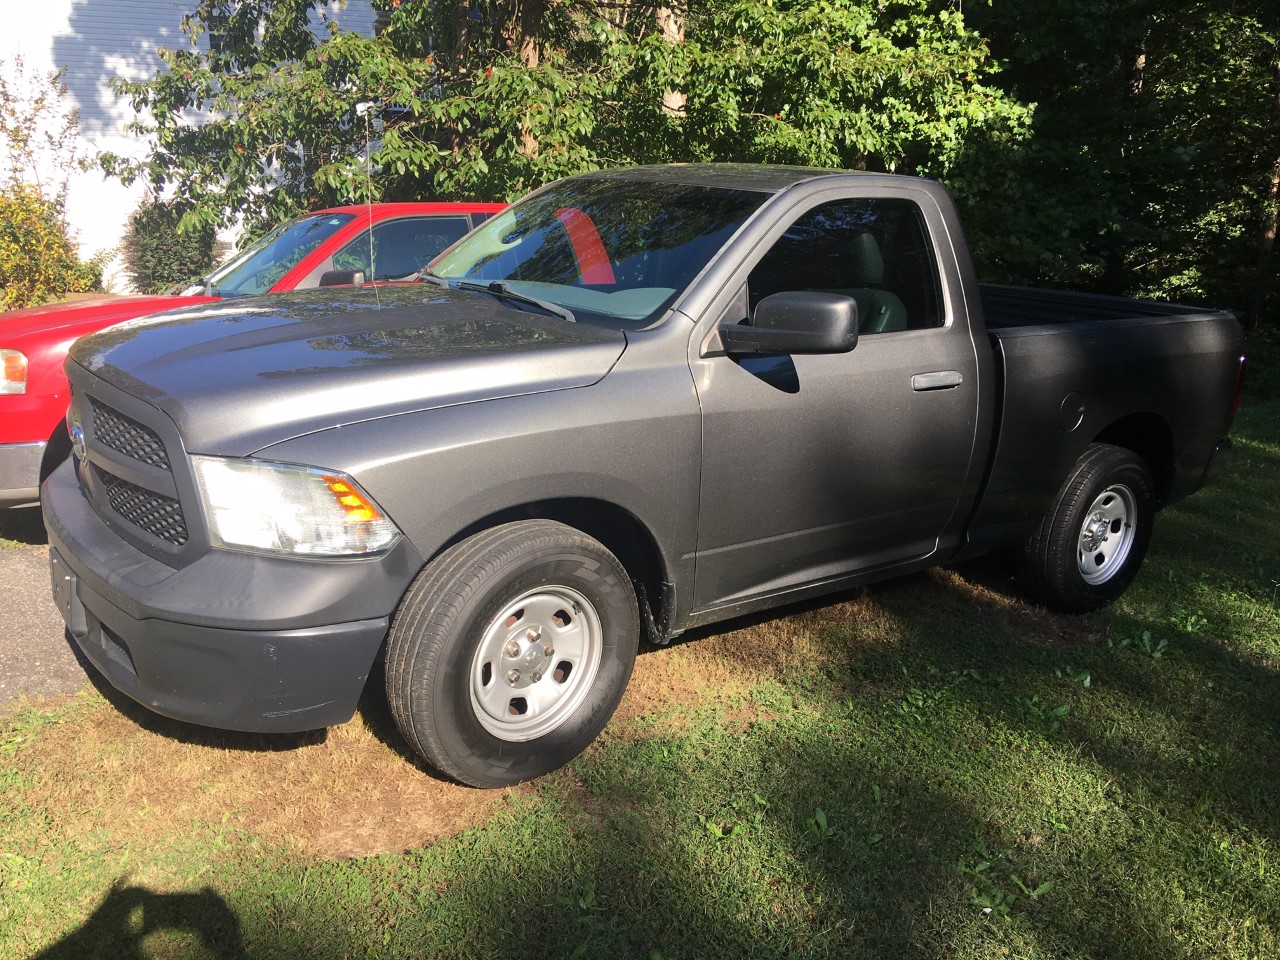
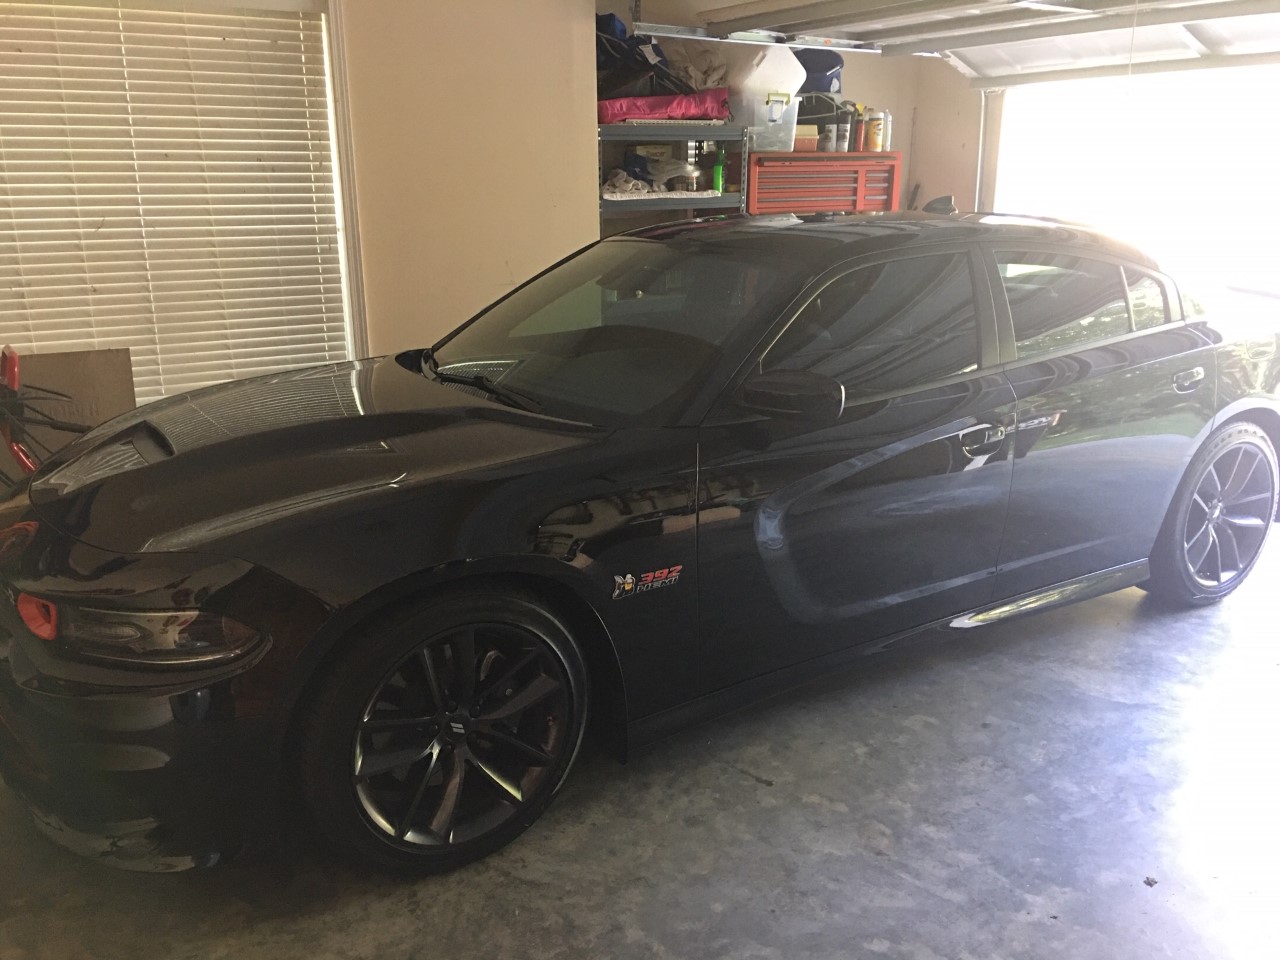
Guess which vehicle is my business vehicle? Hint: It’s not a van!
Thanks Man, I’ve benefitted from your startup guide and just posting your own build. Something to be said for a all in one unit. If I ever get to do a second, It probably will be some type of box truck. Good luck in your own start.
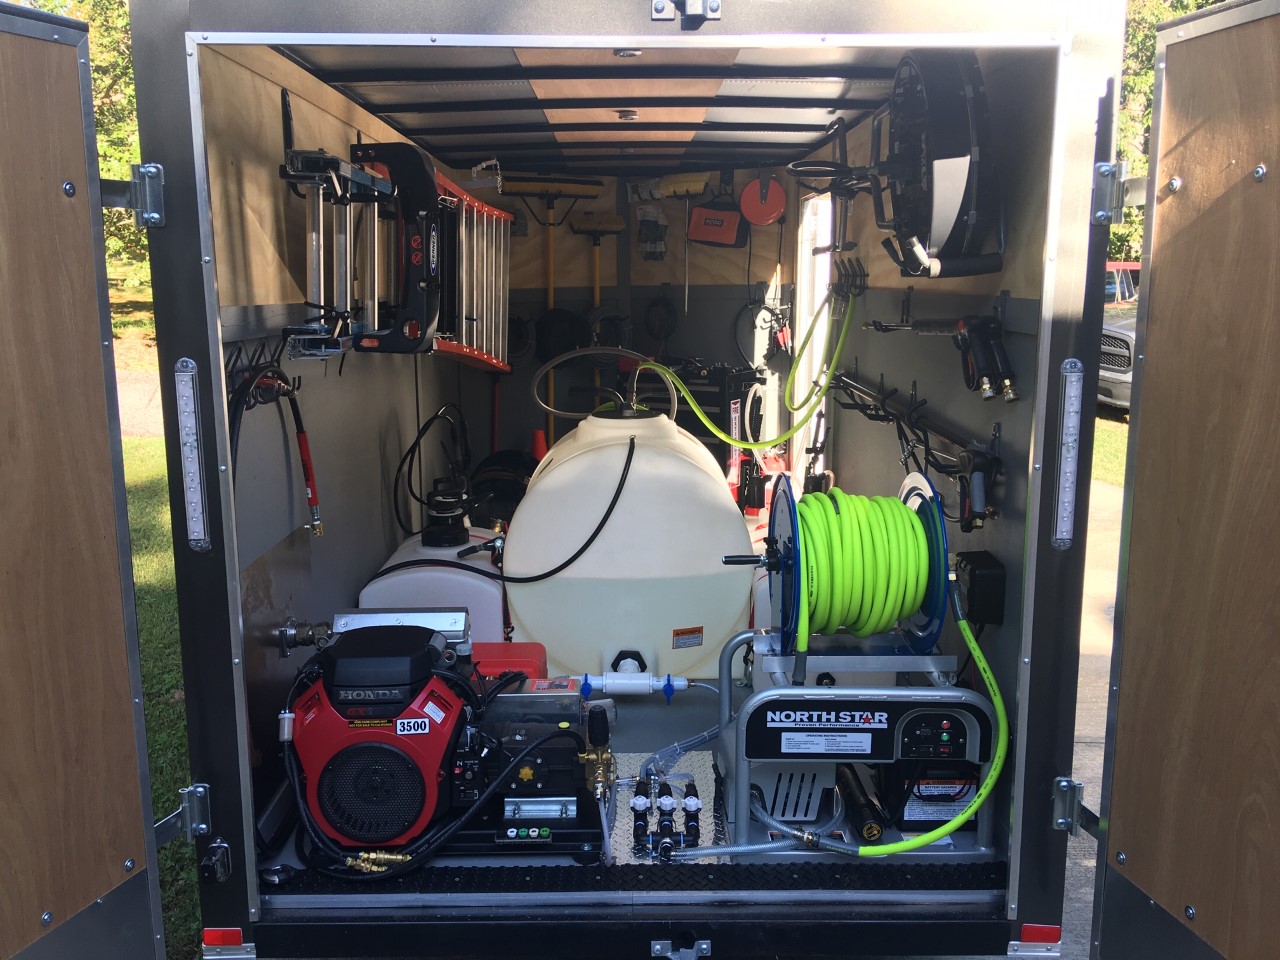
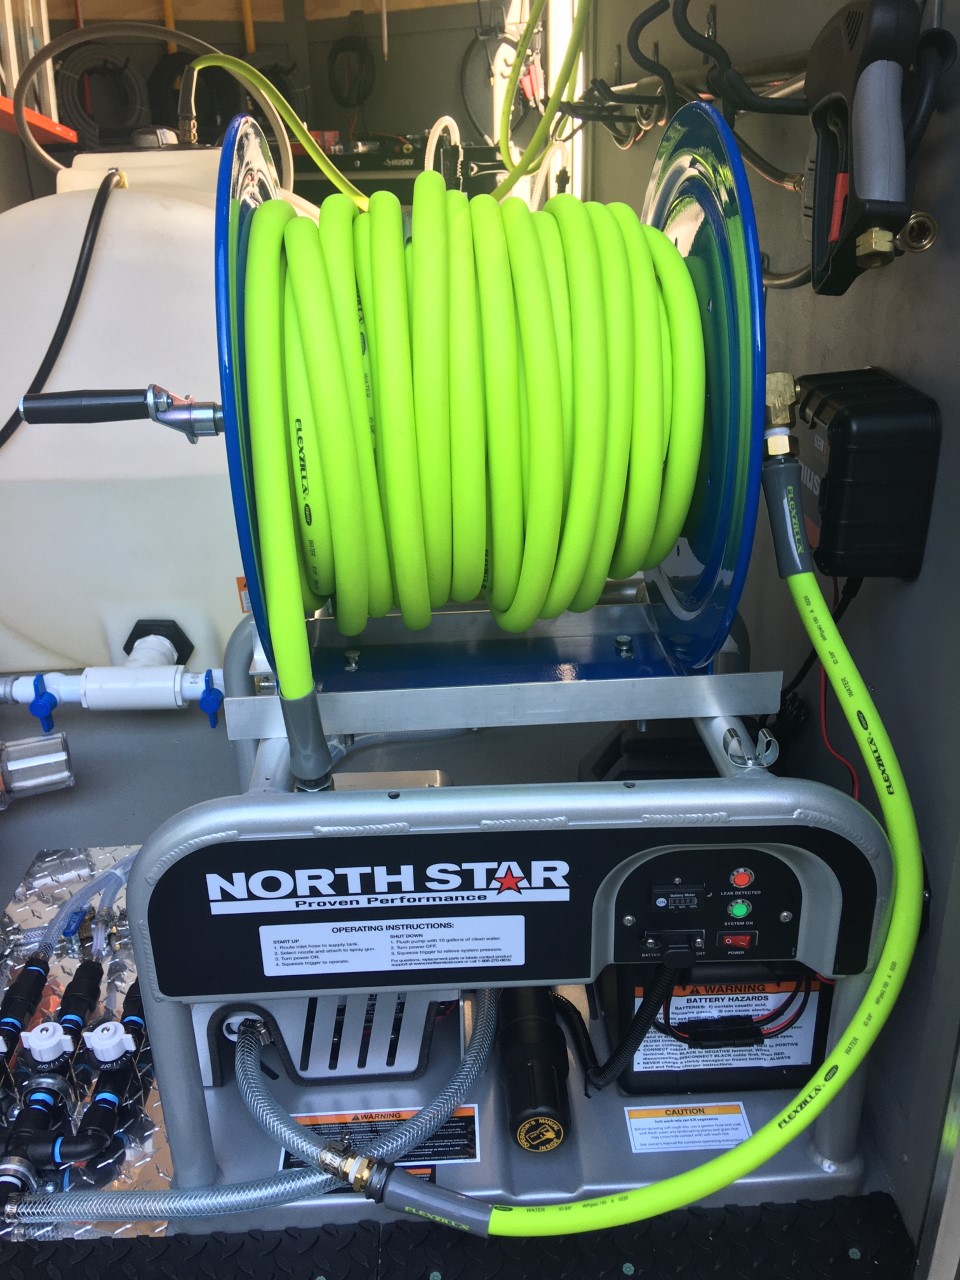
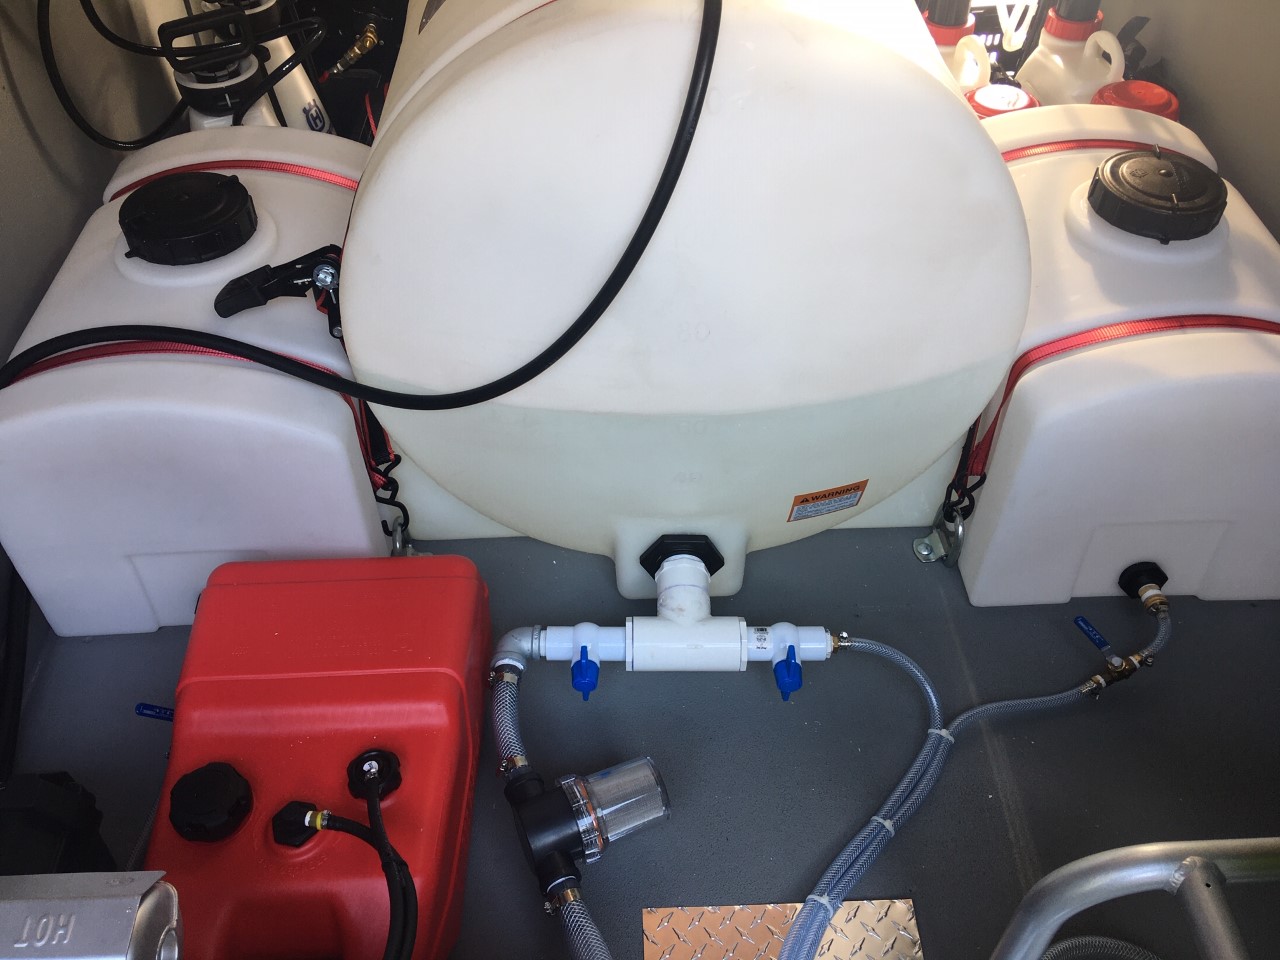
Seeing new and clean trailer builds makes me want an enclosed trailer all over again but my heart is set on a utility truck for long term. Great build. I would suggest changing the hose out from your buffer tank to your washers. Those braided hoses have a tendency to collapse restricting water flow. Get the flexible PVC suction hose. Doesn’t kink or collapse
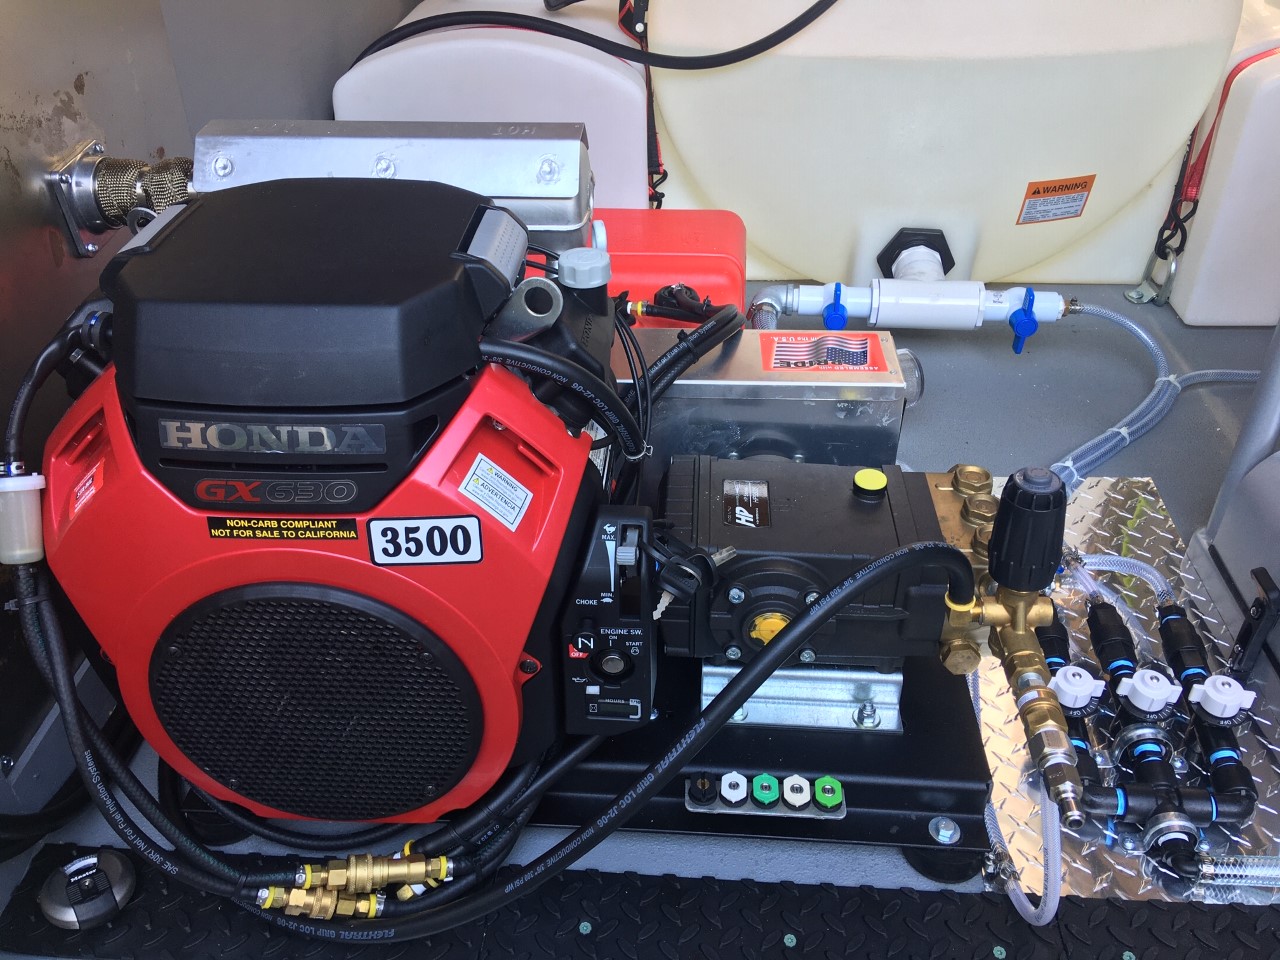
Real nice man, very thorough! Do yourself a favor and put a 3 way valve between using the proportioner and a direct tube to throw into a mix tank. weather you want to spray something different (I.E oxalic or citric acid, plant wash, final wash etc.) or in most cases, just want more spray power with a regular roof mix or whatever sh mix you make. I ended up not really liking it very much as its too weak. I have a 7gpm 100 psi 12v connected to two 12v yellow top optimas and using it through that thing is really restrictive. I prefer to just mix up a batch of whatever % and dump a drop tube into my mix tank. I keep a bulk sh tank connected to it, but have another 55 gal tank that I use for mixing (or more bulk on a big job and then use the proportioner for a bit until I get a little over half way down then fill up with water again and then switch to the droptube. Ive personally found that I am usually using about a 4-5% mix when using the sw gun anyway. If I want less its usually just downstreaming at that point,.
Thanks, I’ll probably do a preemptive strike and grab some to replace. By the way admire your entrepreneur spirit while serving. My stepson is just finished his first year in the AF, he’s at Langley as an F22 crew member.
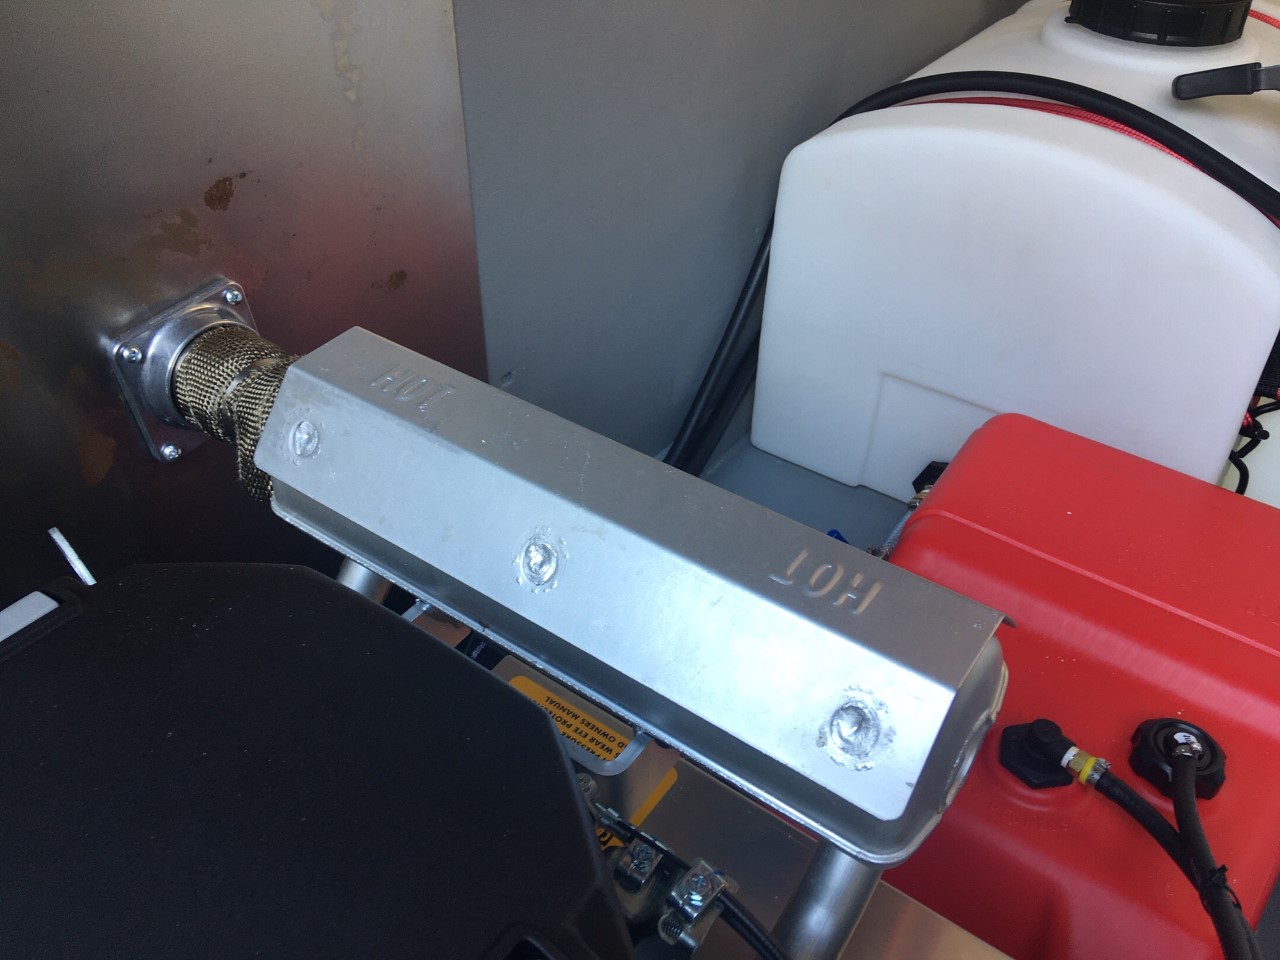
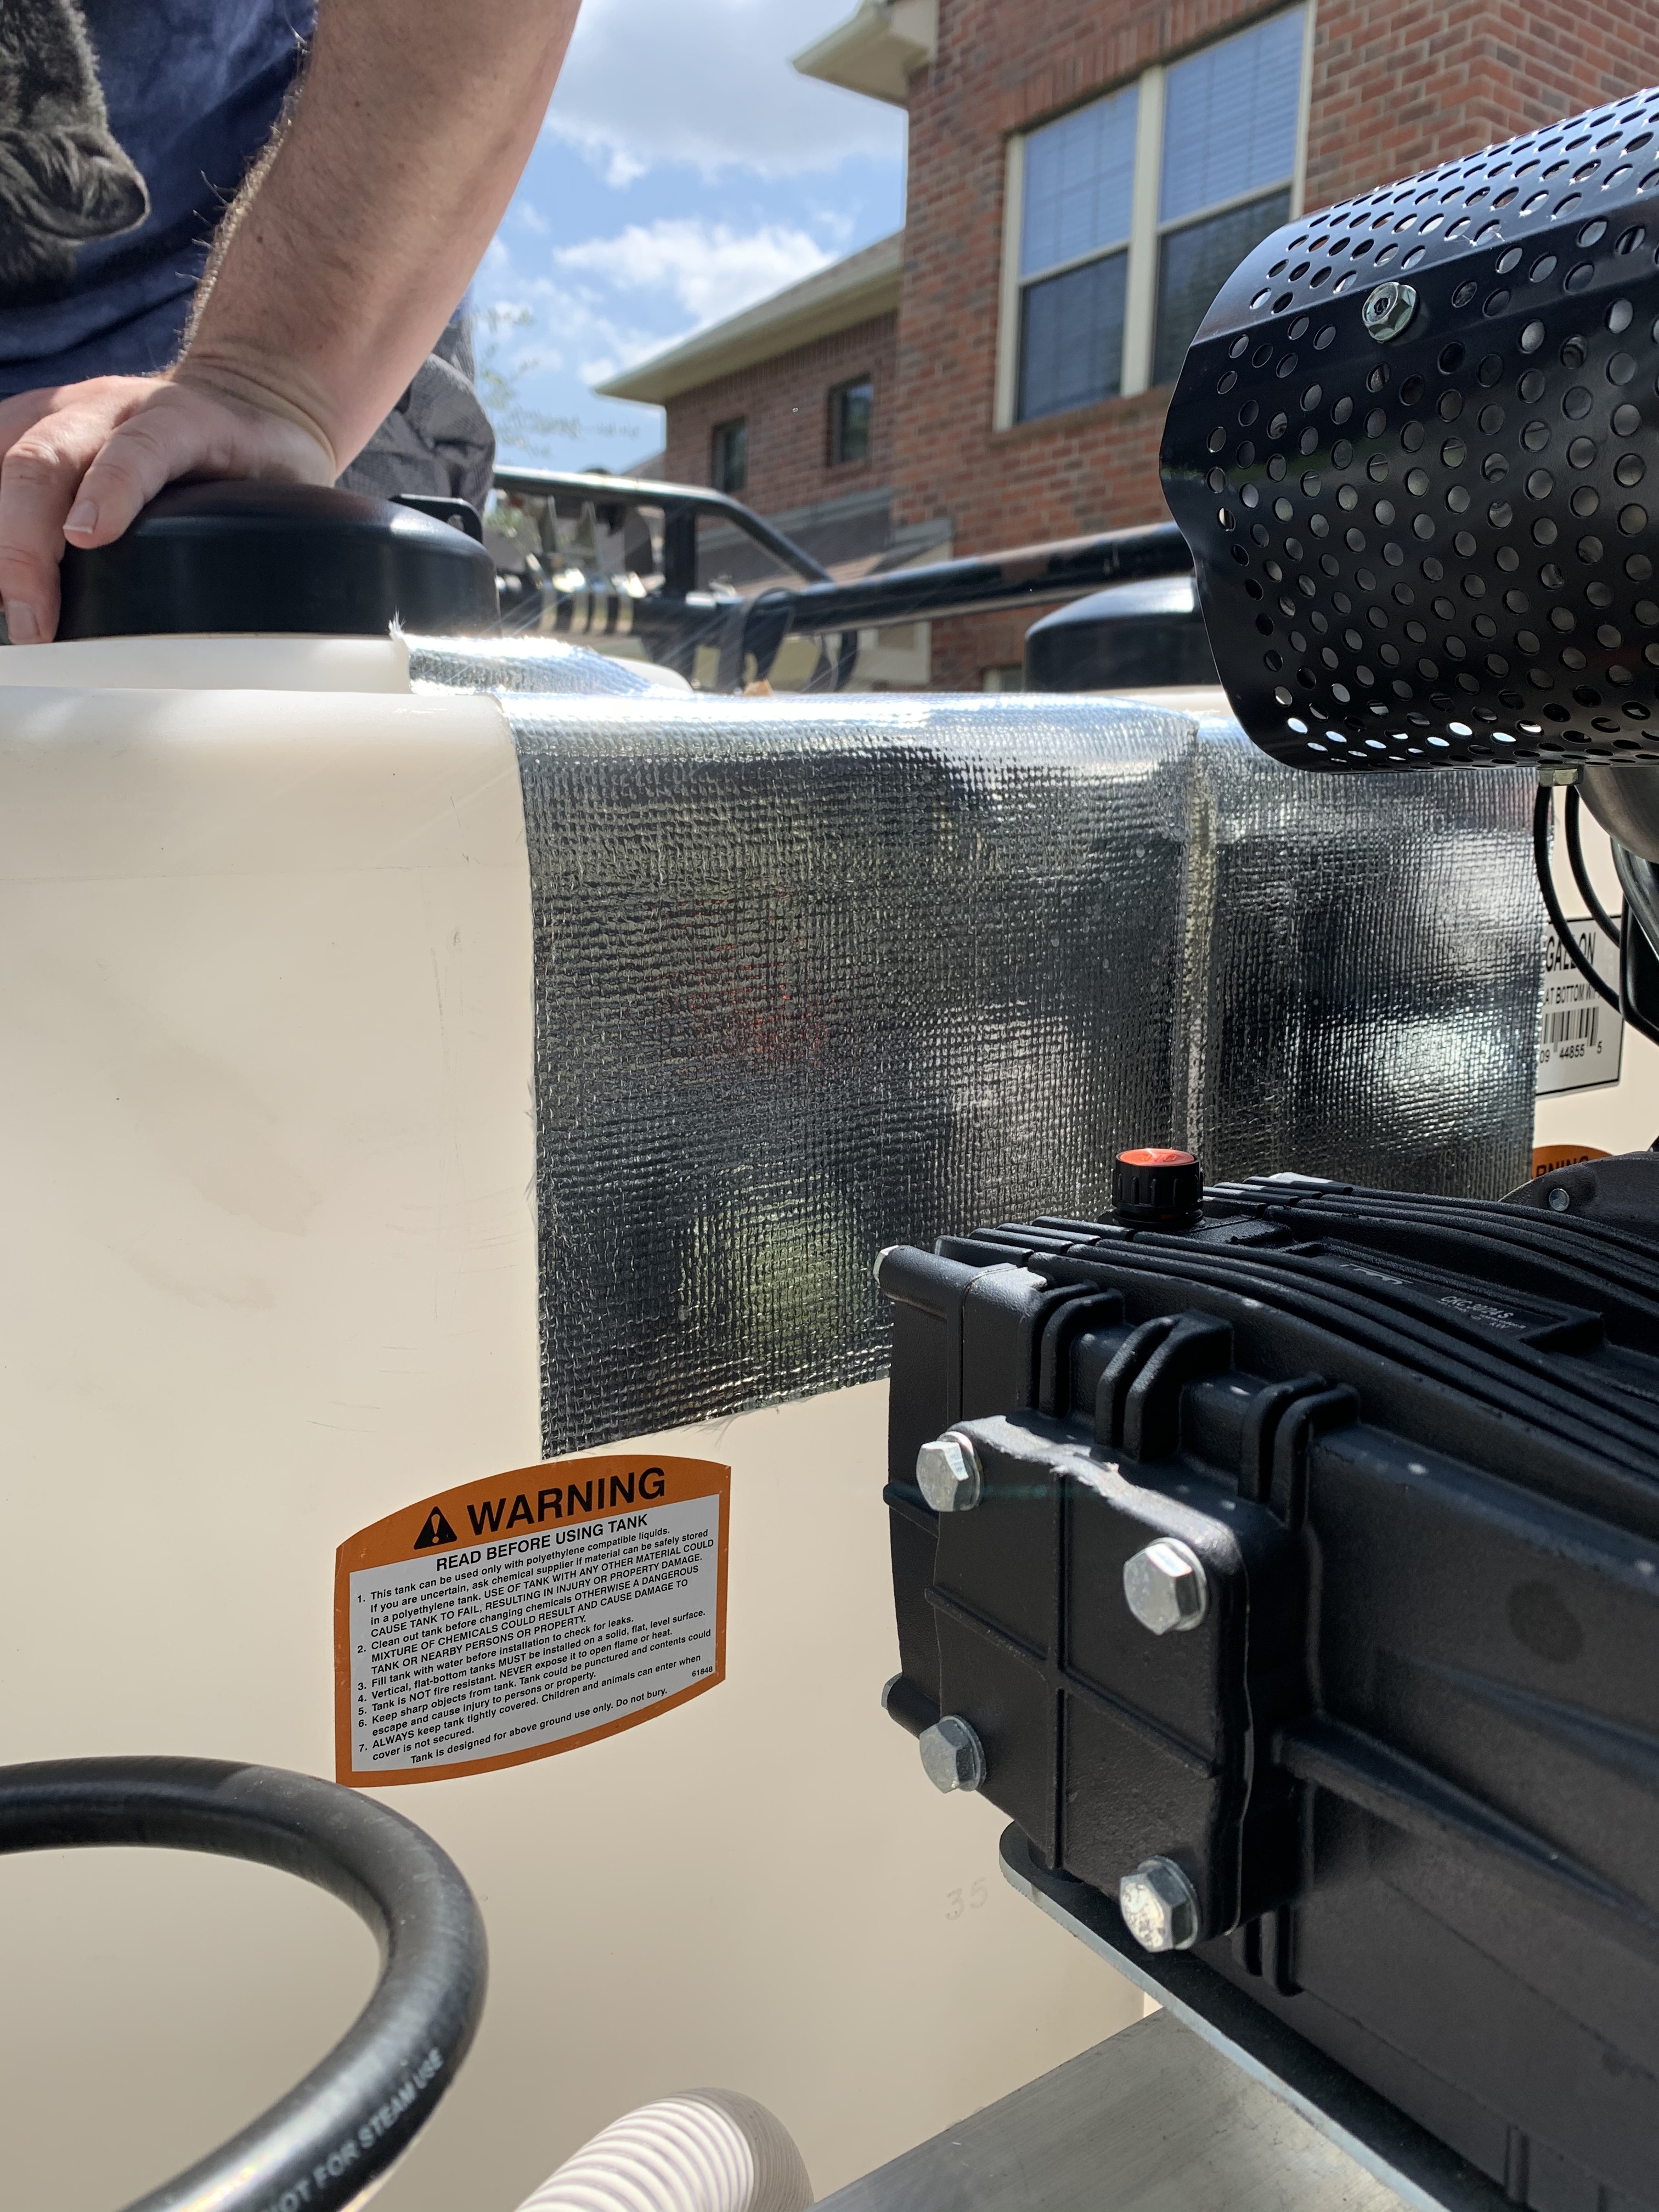
Maybe, but get the heat shield to be sure, what it’s made for. Even with the heat shield the front of my water tank gets fairly warm ad it’s a good 12" away.
I picked up my heat shield from Advanced Auto Parts for $24 - 2000 degree temps. Yours is 20x14 with an 1800 degree rating and mine is 24x12 with a 2000 degree rating. Close dimensions/specs.
@Racer pointed out my link is only rated for 400° direct heat.
Dude, you need to learn to read specs. Yours is good for 2000 radiant heat - direct heat it’s 400.
'Reflect-A-Cool, constructed of fiberglass material backed with a layer of aluminized reflective foil to handle direct continuous temperature of 400°F has many uses such as covering firewalls, marine engine compartments, RVs, in the tub of a racecar where typical mechanical fasteners cannot be used and has many industrial uses"
Their’s is 1800 deg direct heat, ie wrapped around the muffler which is what he needs. A piece of plain old aluminum foil will reflect about 95% of radiant heat
For what you’re using and how, yours probably should be ok. Plus it’s not going to blow up. You’re not trying to contain it, plus you’re just getting heat from the butt end of the muffler whereas his plastic gas container is kind of getting the entire side of heat. He could possibly wrap that end of his tank with the same and might be ok, but personally I would feel better about containing as much as possible at the source in his case.
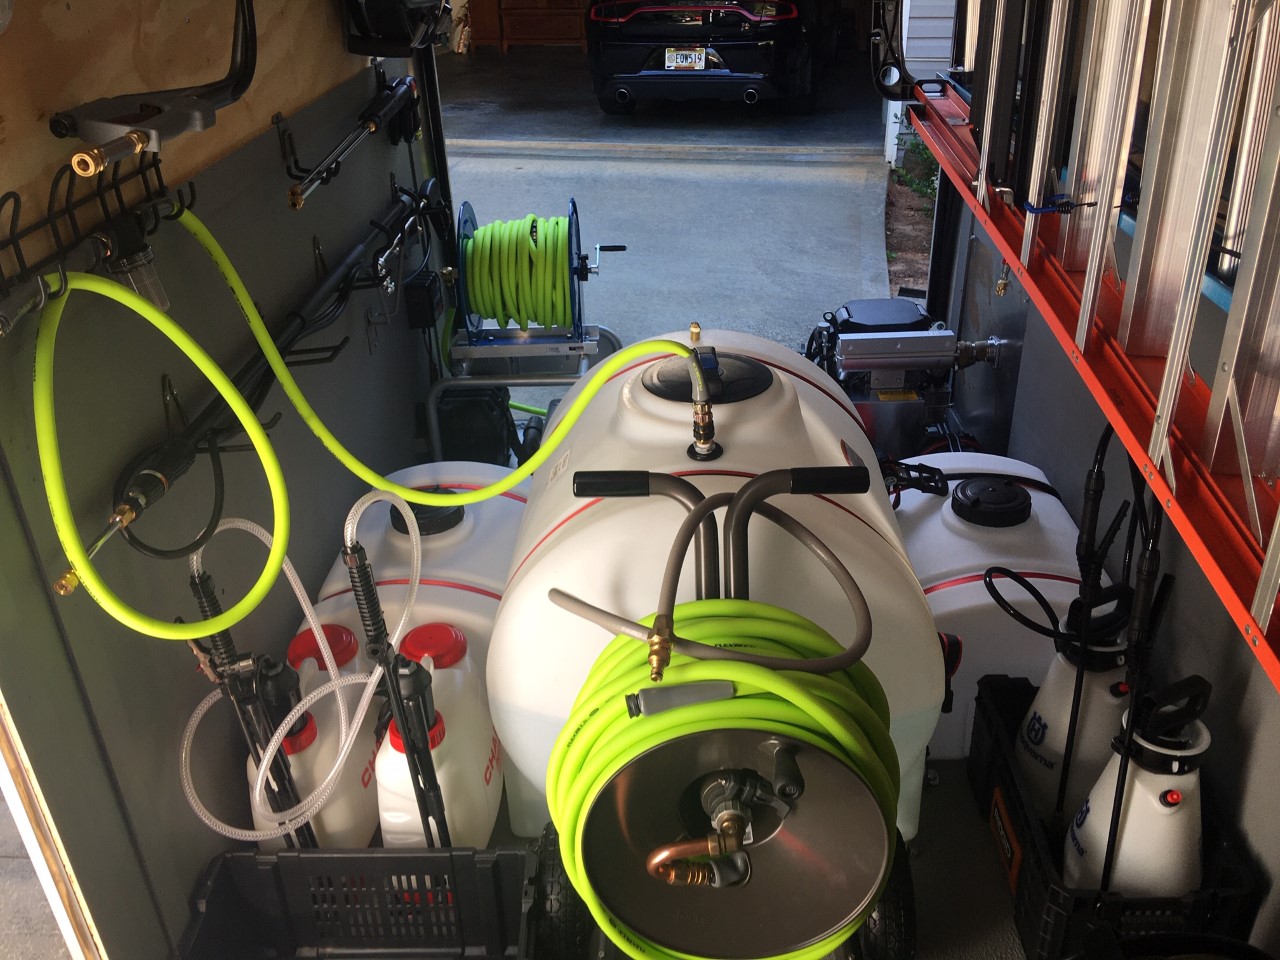
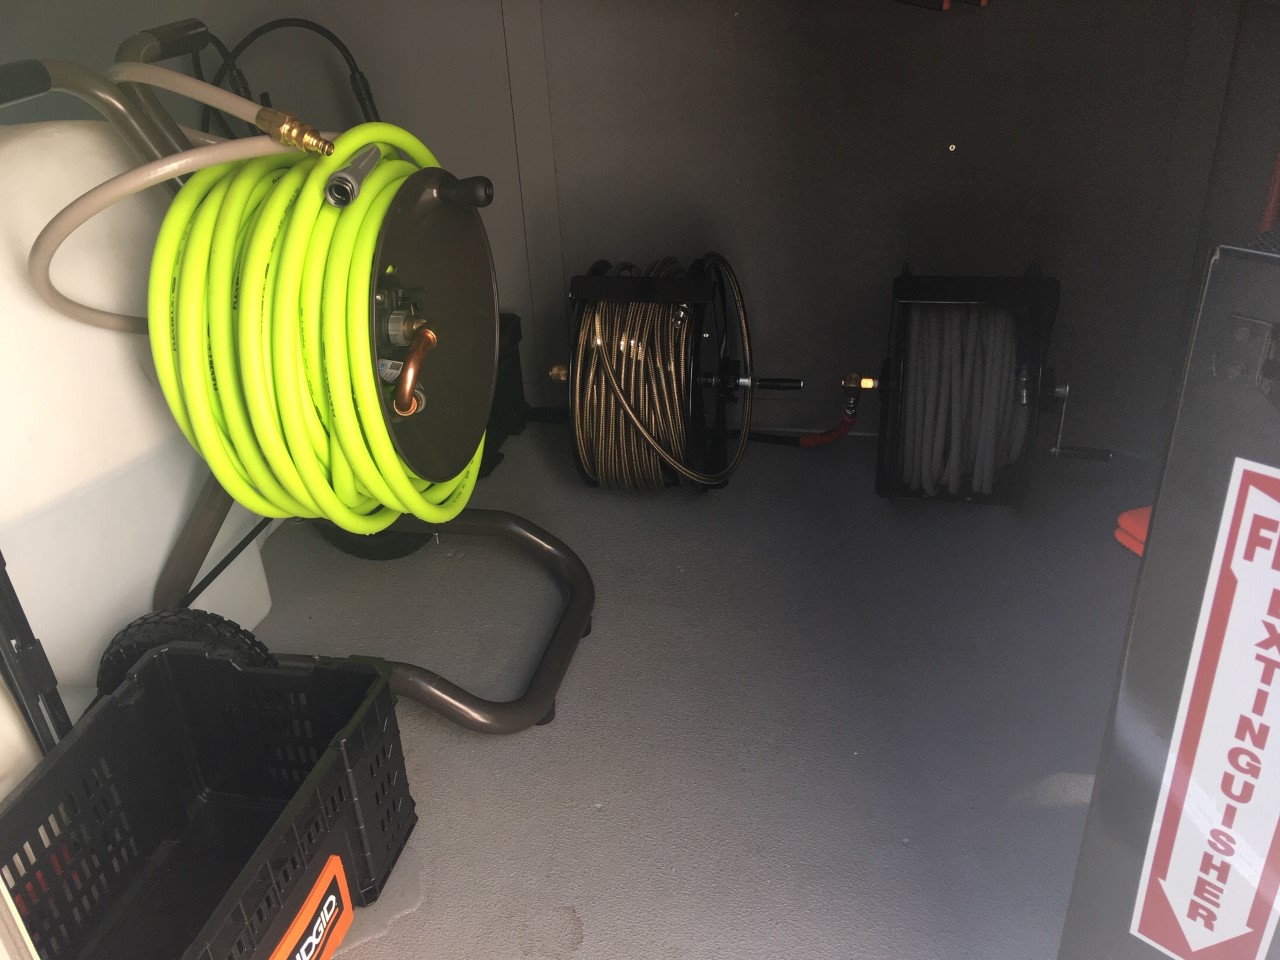
@APW62 I like how everything is neat and not cluttered…but I can’t help but cringe thinking about those reels at the front of the trailer on the floor…it makes my back hurt just seeing them there.
I’d do one job and I’d be headed home for my heating pad lol
Wow… That’s a great setup you got there. Looks very professional and gives a good image for you and your business. You can’t beat a fully enclosed trailer setup. Your equipment will last longer, stay cleaner and require much less maintenance as it’s all protected from the elements.
I’ve watched hundreds of pressure washing trailer setups videos on YouTube and nothing looks worse than having an open trailer setup scattered with filthy looking equipment showing extreme wear and tare and age due to it all being exposed to the elements. Can’t understand why so many people leave their hard earned equipment exposed to the elements whether it be in an open trailer or open pick-up.
I have a setup very similar to yours all enclosed in an 2m x 2.4m enclosed section on my 3.6m tandem trailer. The only components out in the open are my gutter vac waste tank and vac hose reel. The engine & vac blower are on a skid fitted with a cover.
Equipment is too bloody expensive to let it deterriate prematurely exposed to the elements.
Having a well protected and much looked after setup gives such a professional image to clients and pays off as I get a lot of repeat business and referrals from previous clients.