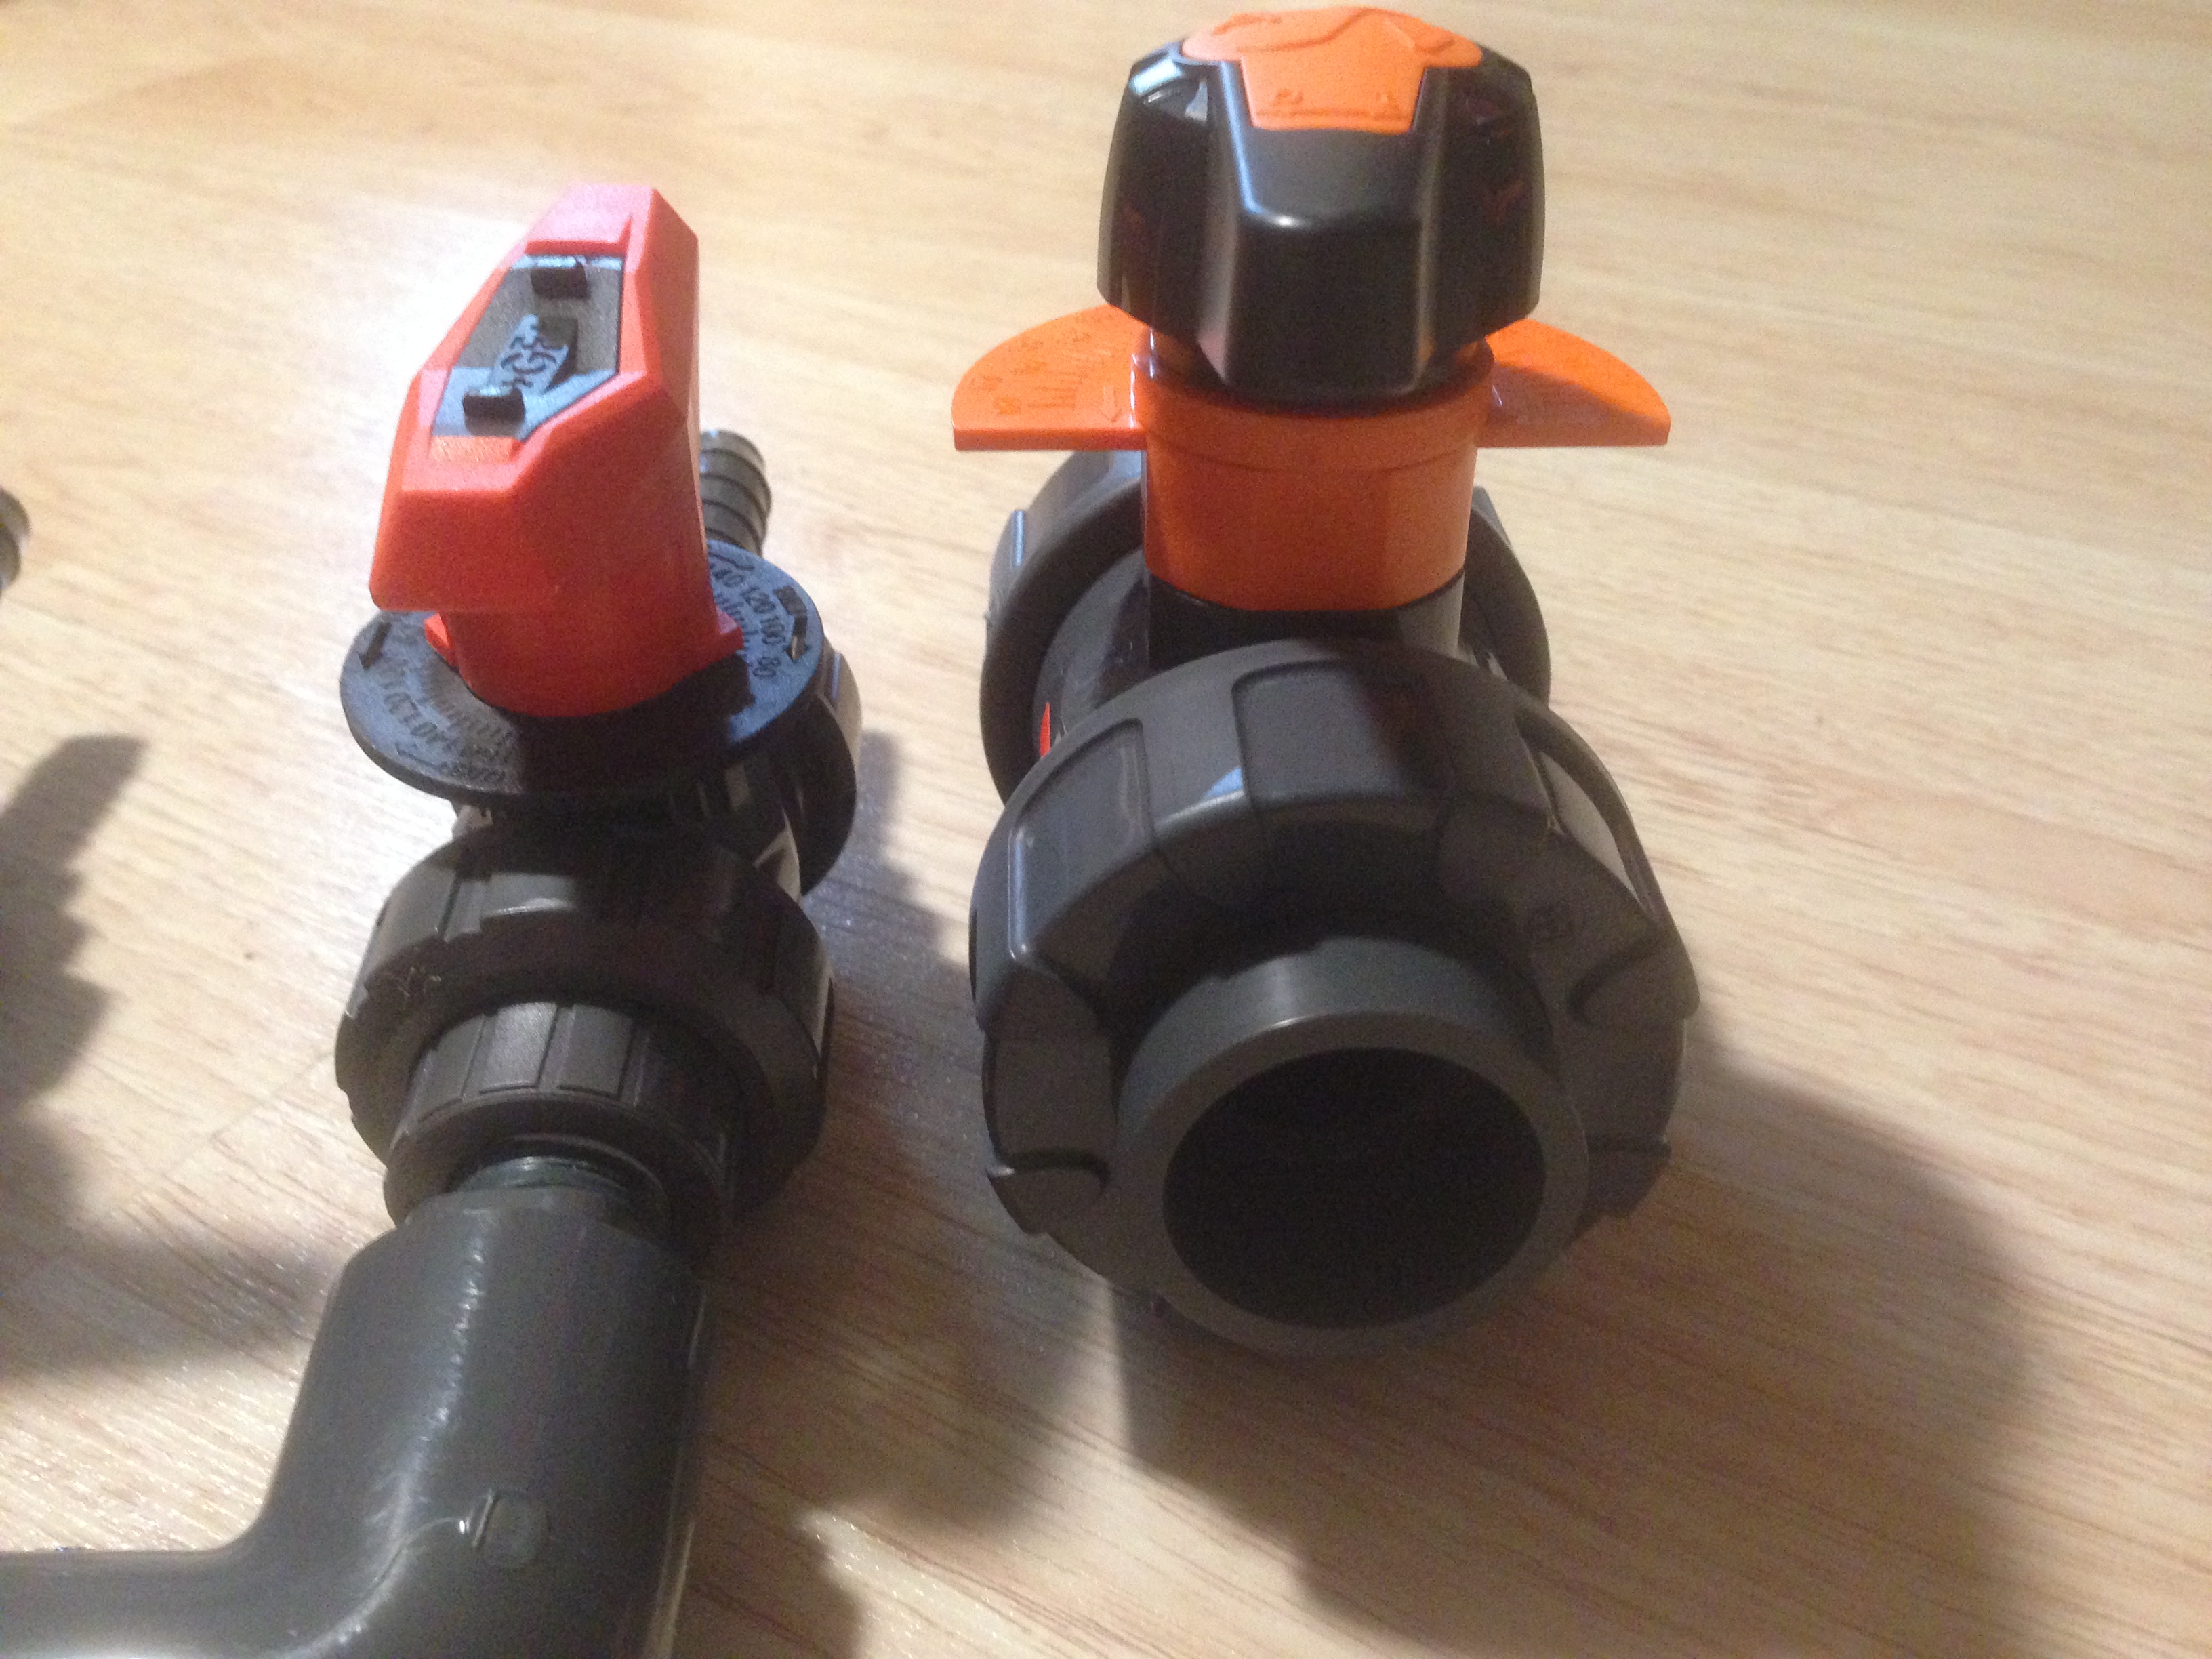
Why you have your valves upside down? Must be a California thing, lol
Why are they upside down? The arrow for direction of flow points top to bottom, inlet to outlet.
1 Like
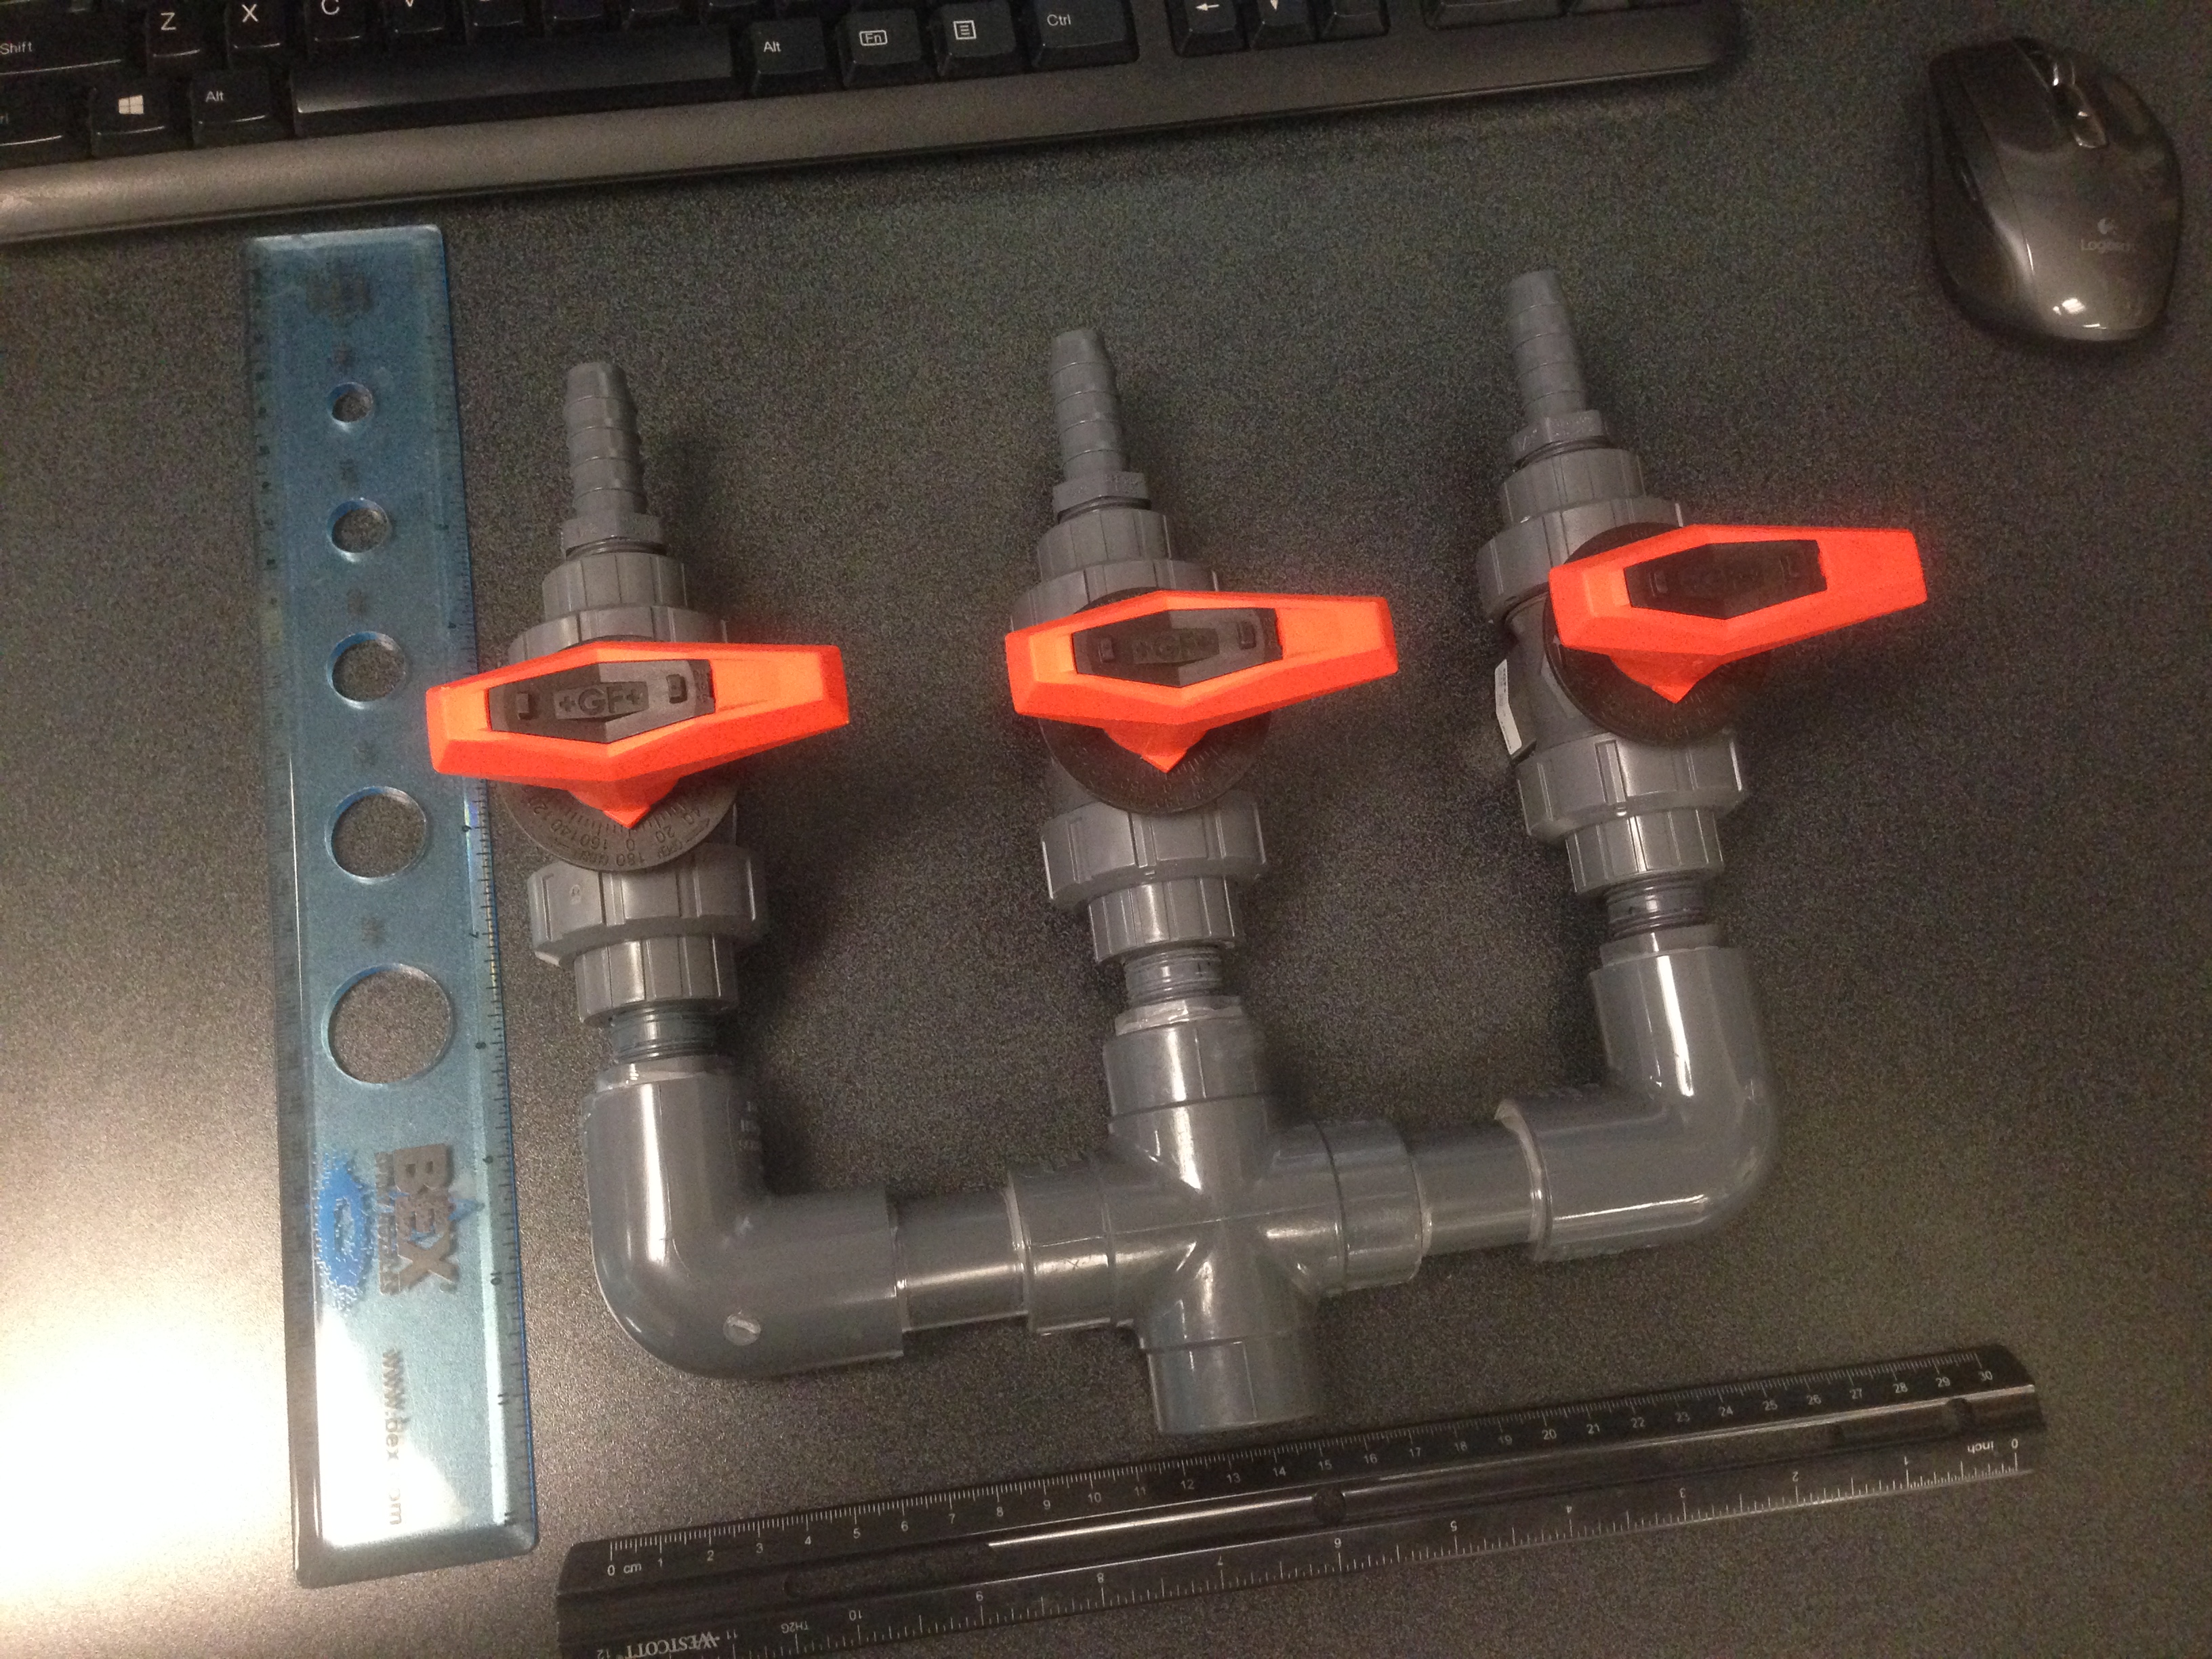
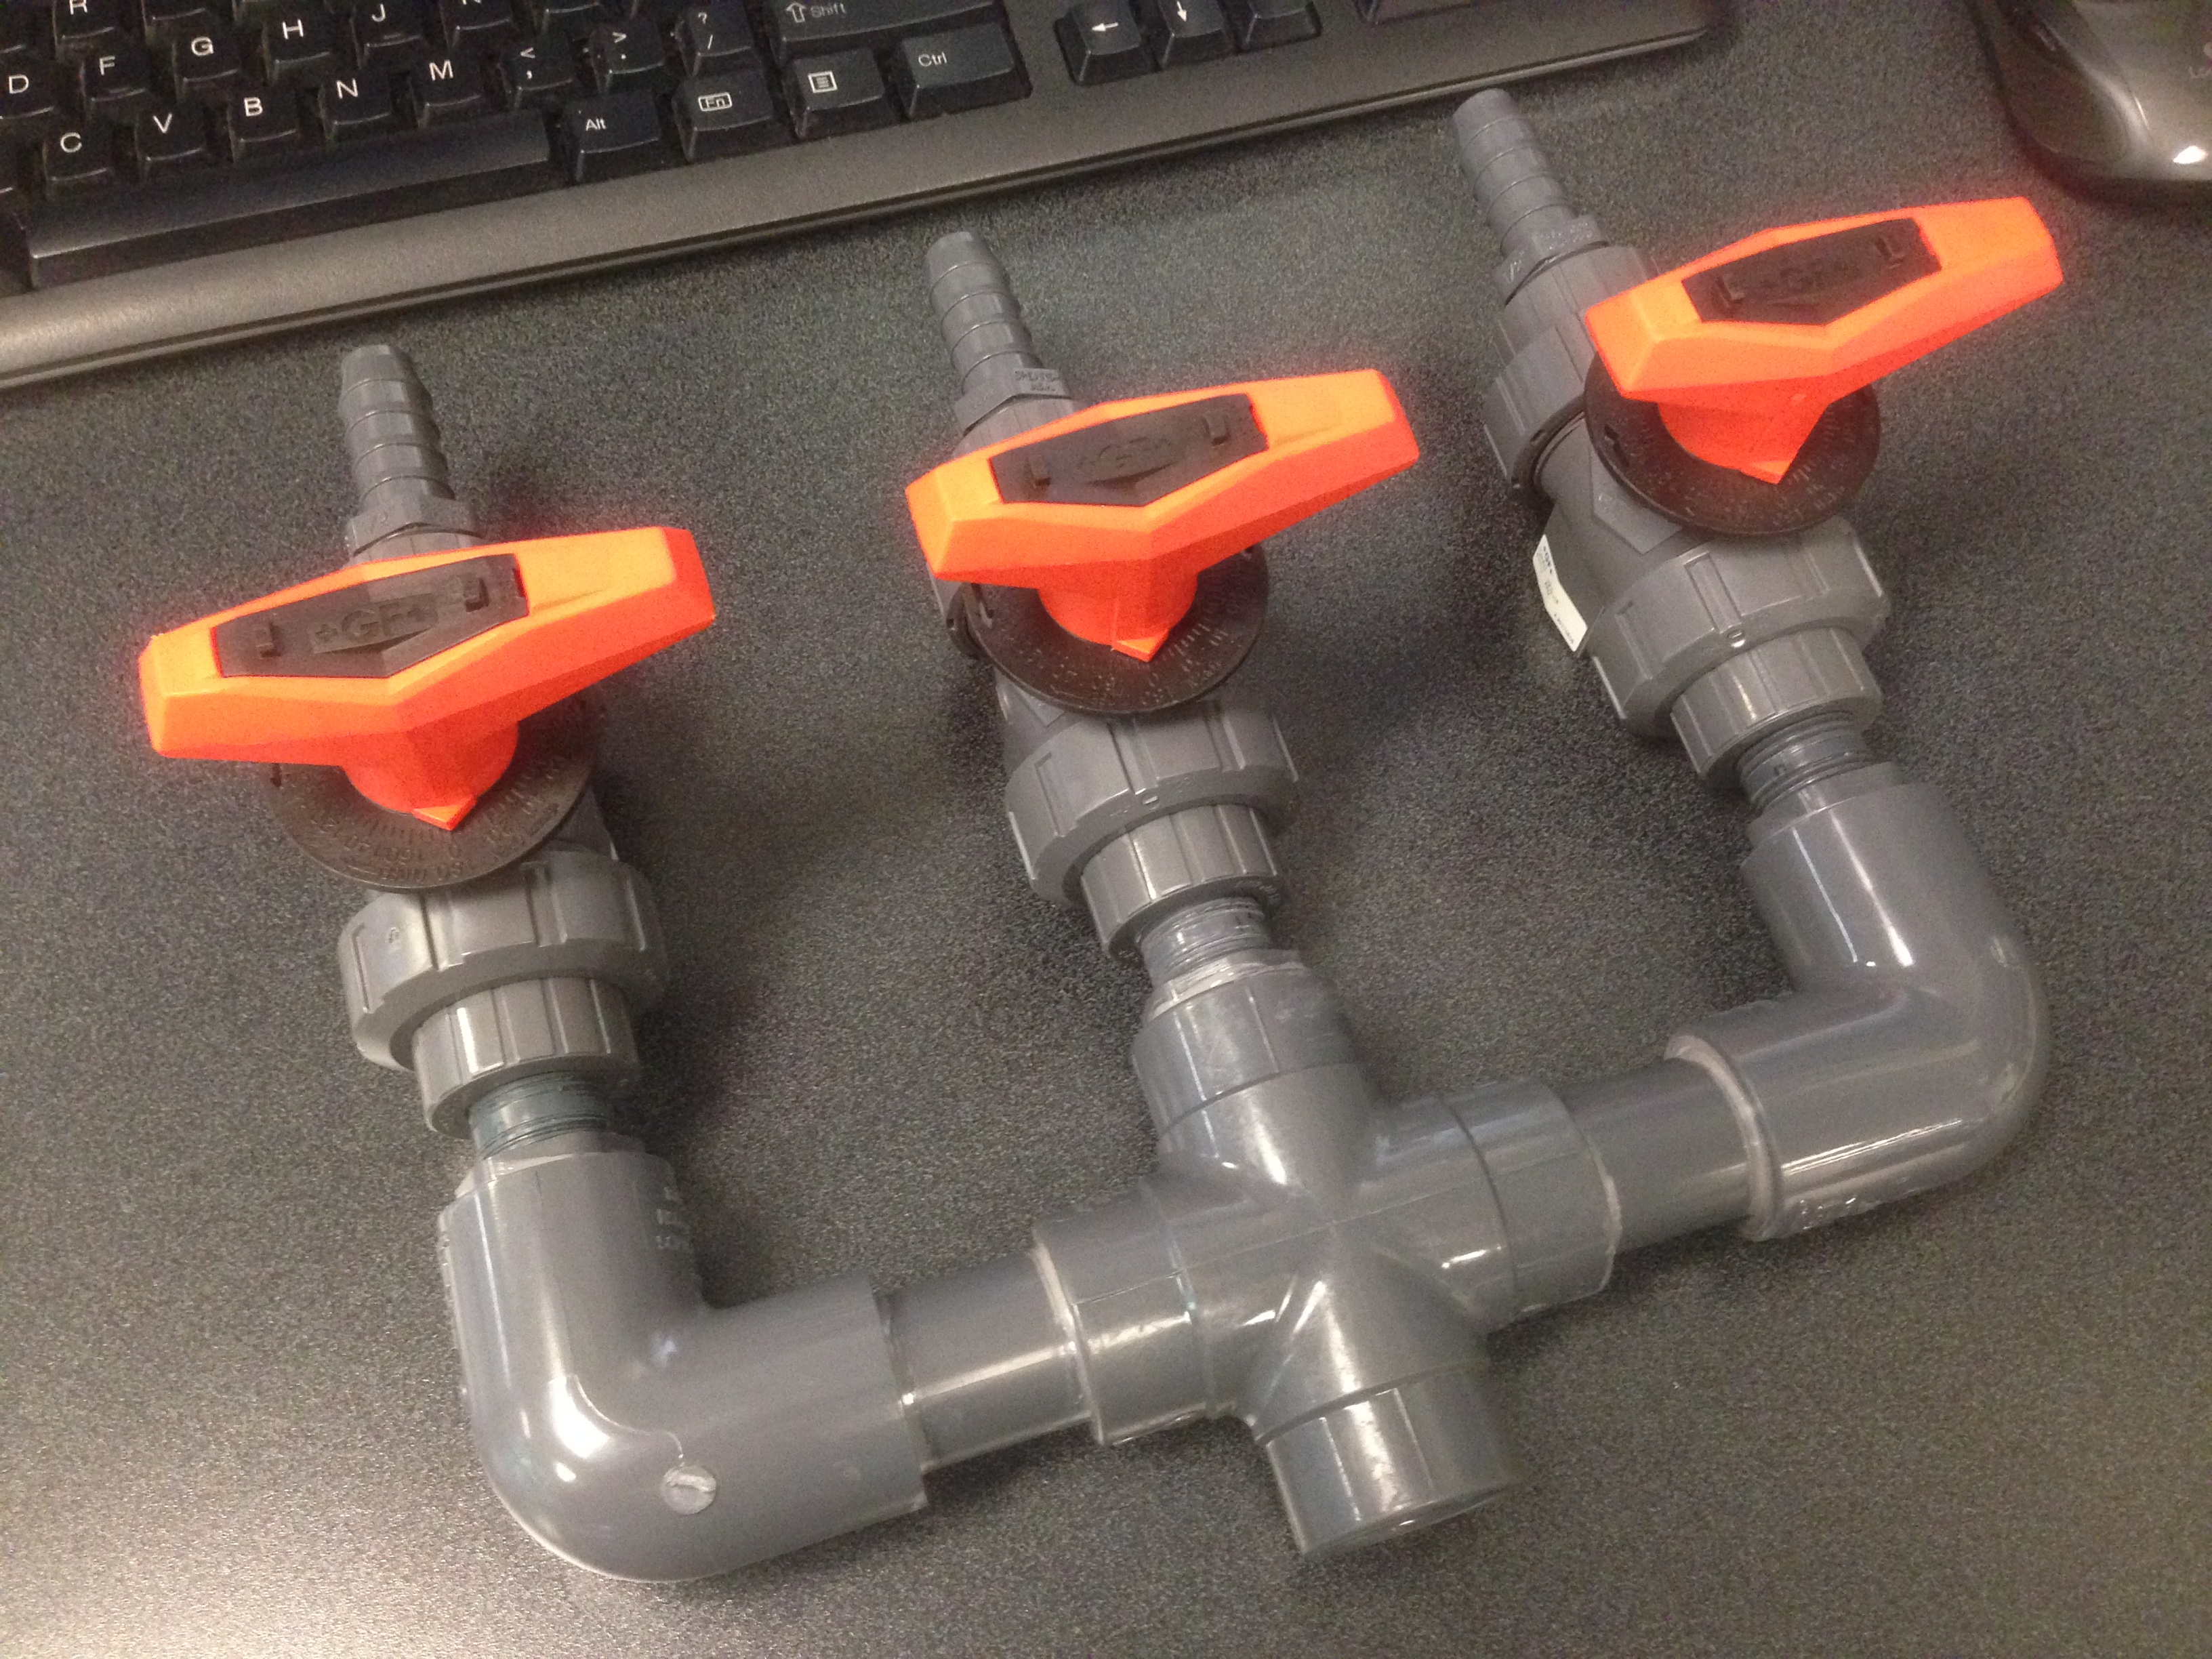
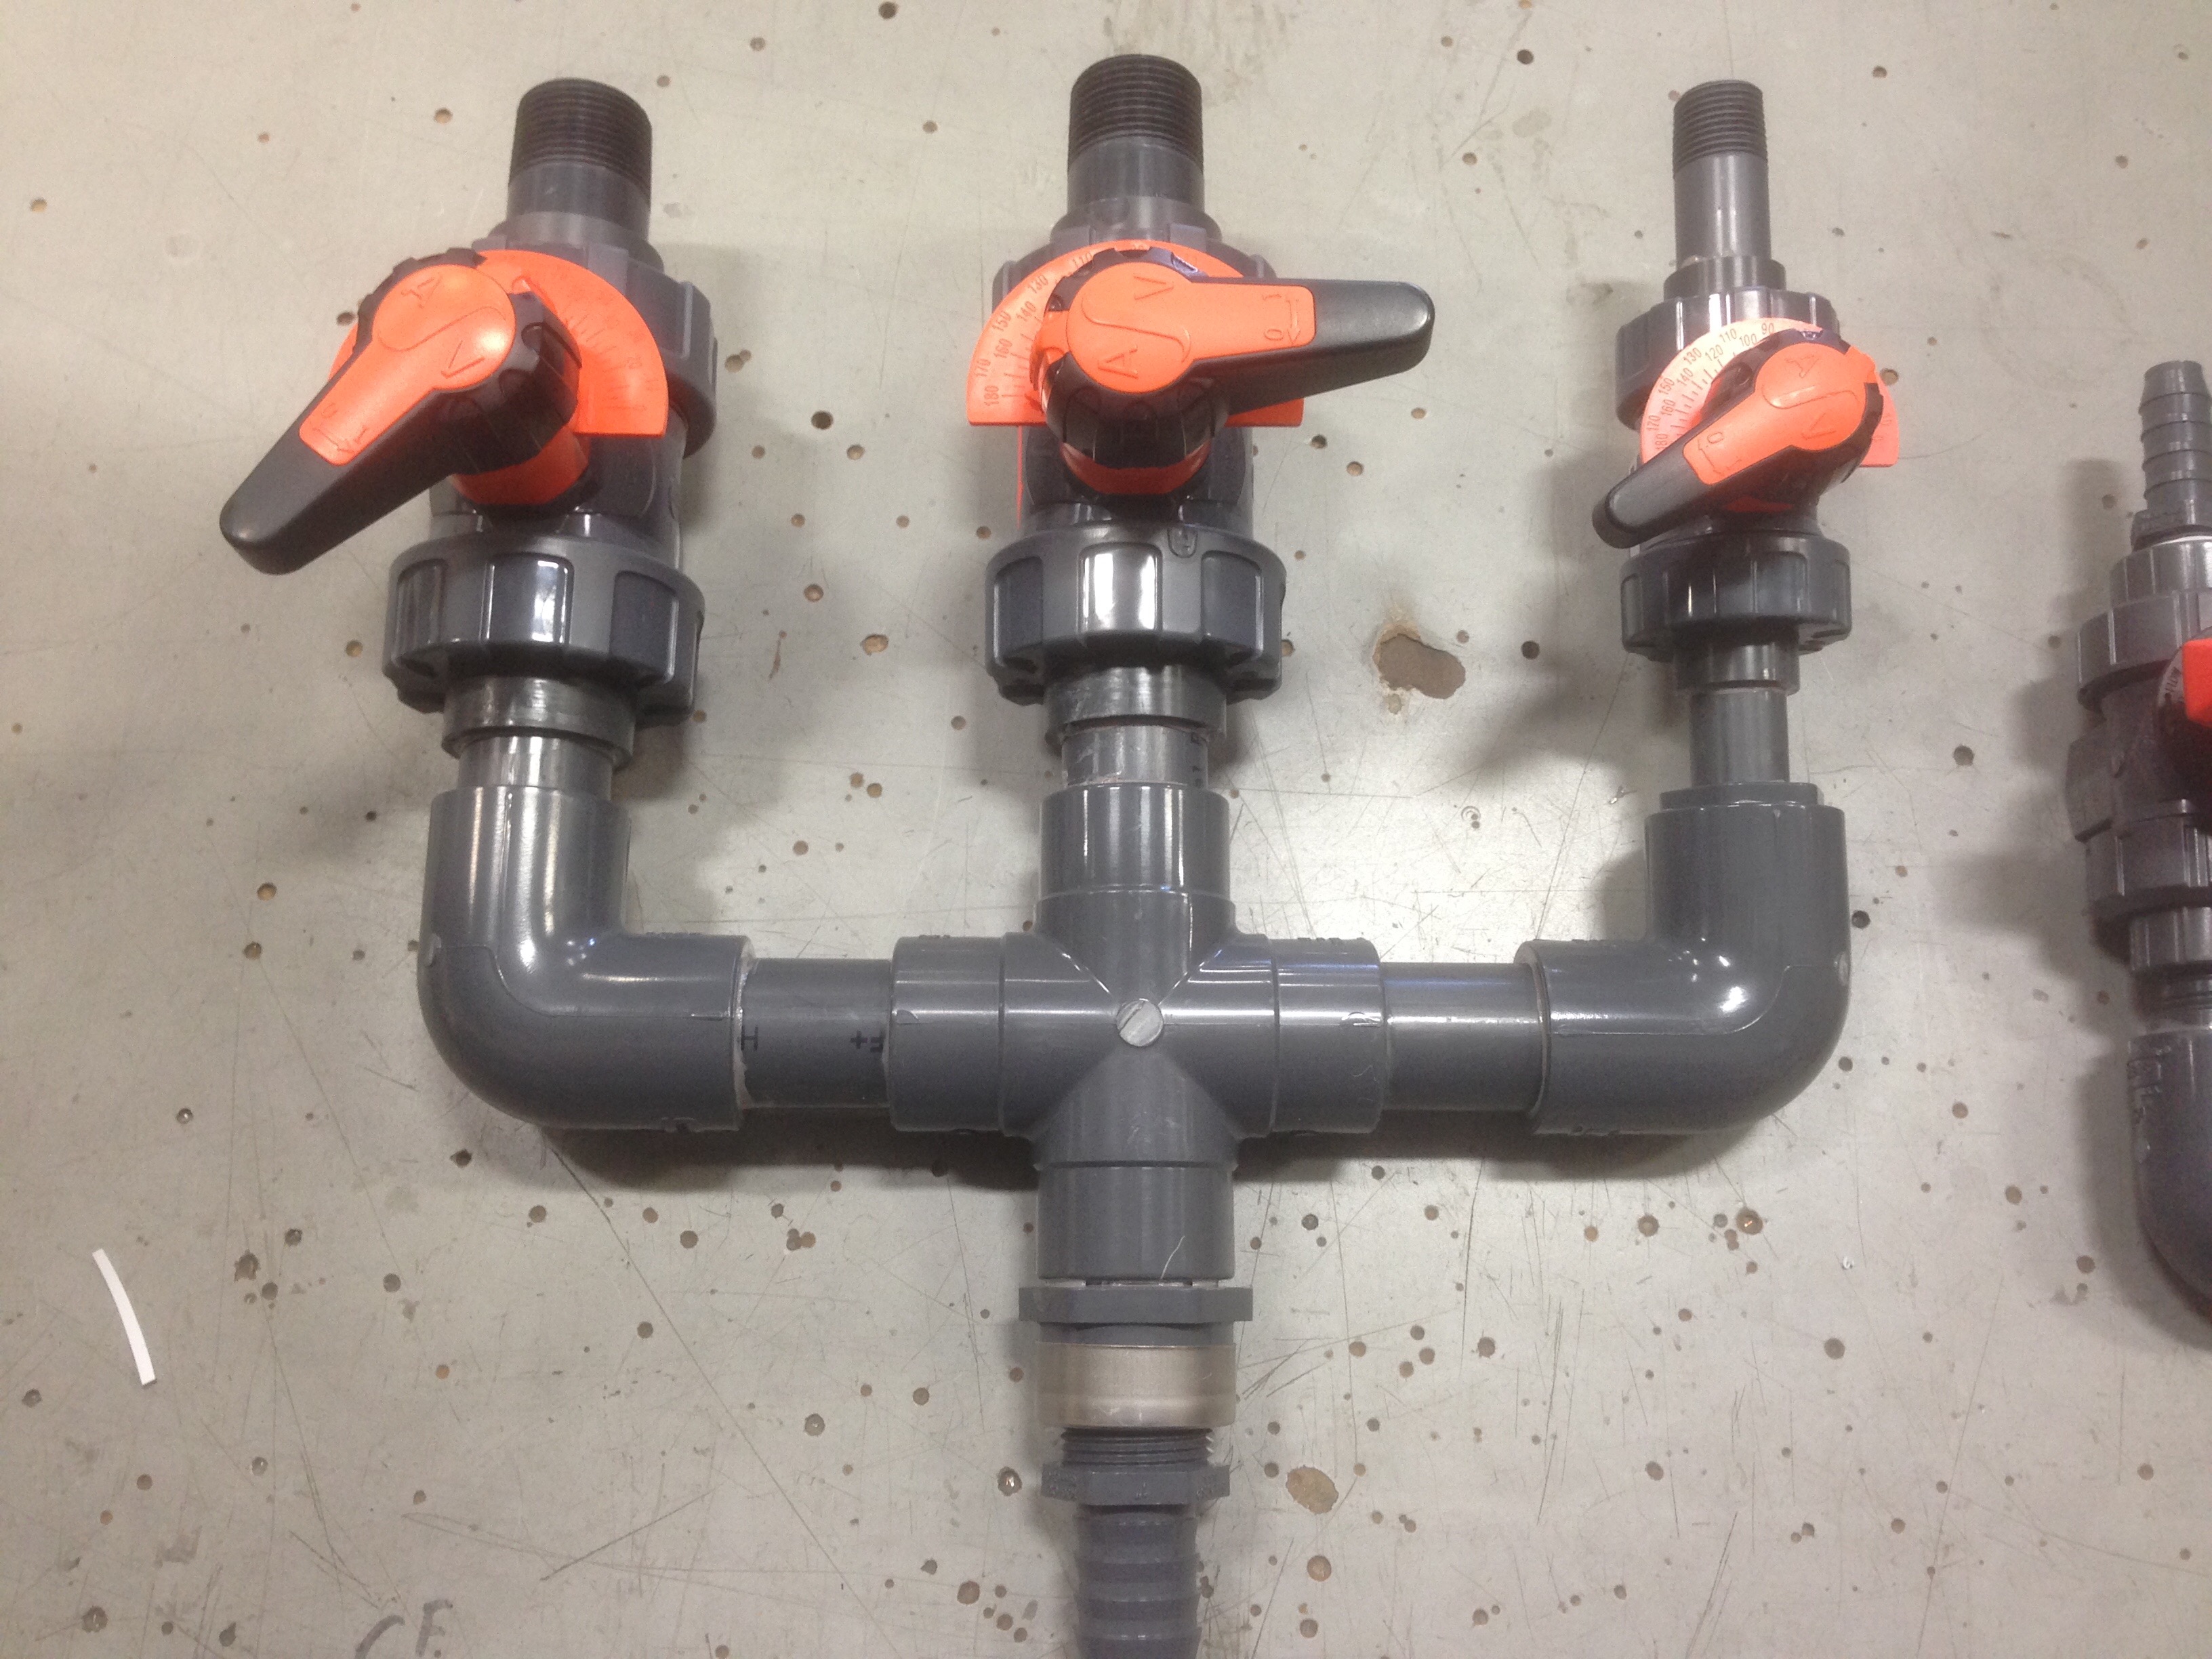
Almost finished with the 1/2". Manifold is glued up. Missing one fitting still for the outlet and need to thread seal the threaded fittings. It’ll be finished then.
Rulers are to give visual idea of the size of it. Very reasonably sized.

3 Likes
this is gold 
2 Likes
FEEDBACK NEEDED
Looking for feedback from anyone and everyone interested. Please respond if you have any opinion at all, good or bad, A or B, 1 or 2, whatever, just give me feedback please.
Things with the design and part selection is coming together really quickly. There are a few final details to iron out, and it looks like there might end up being some options to choose from in the end depending on what someone wants, but the question is this:
Is anyone at all interested in having Plastomatic CKM Diaphragm Check Valves on their 3 supply lines going into a metering system? The benefits of these check valves is that they prevent water hammer, they are quieter, they have no metal components, they will never corrode, they never need replacing, and they don’t have to be mounted vertical, they can be mount up, down, right, left, diagonal, whatever.
The downside to these valves is they cost more. I don’t know for certain yet, but it could raise the overall cost by $150 or more over choosing the hastelloy spring check valves. You’d pay more up front, but never have to worry about it failing or getting stuck. Keep in mind all check valves will be able to be replaced on the fly, so if you kept a spare hastelloy spring check valve, this might never be a problem.
So is this worth keeping on the table as an option or should I toss the component all together and only use the hastelloy spring check valves?
I appreciate any suggestions, thoughts, feedback, responses, whatever you’ve got.
1 Like
so with 3/4 throughout will the 90degree elbows your using on that first sample effect the flow?
Shouldn’t at all. 1/2" elbows might. But not 3/4" elbows. The issue with this one is the the 1/2" metering valves themselves. Too restrictive.
1 Like
How much taller is it going to be with the check valves?
How much taller than what?
If you are referring to the 1/2" setup above, it depends on the check valves. The 1/2" diaphragh check valve is 3.8 inches tall. The 1" is 4.7" tall. If using the hastelloy spring check valves, I’m not sure. I contacted the manufactuer, Specialty Mfg Co, and they are sending me samples of their Polypro hastelloy check valves. They are sending me 2 3/4" and 1 1/2" check valve to play with and try out. I’ll be able to put them on one of the metering systems and take some photos once they arrive.
The pictures most recently posted of the one I built does not have check valves. I’m going to put the sample hastelloy check valves on that one.
Another member expressed interest in buying a 1" system and opted for the diaphragm check valves. Once he and I figure out the details and I build his system, I’ll be able to get photos up of a complete setup for everyone to see.
Than the pic you have here? Or is this with the check valves?
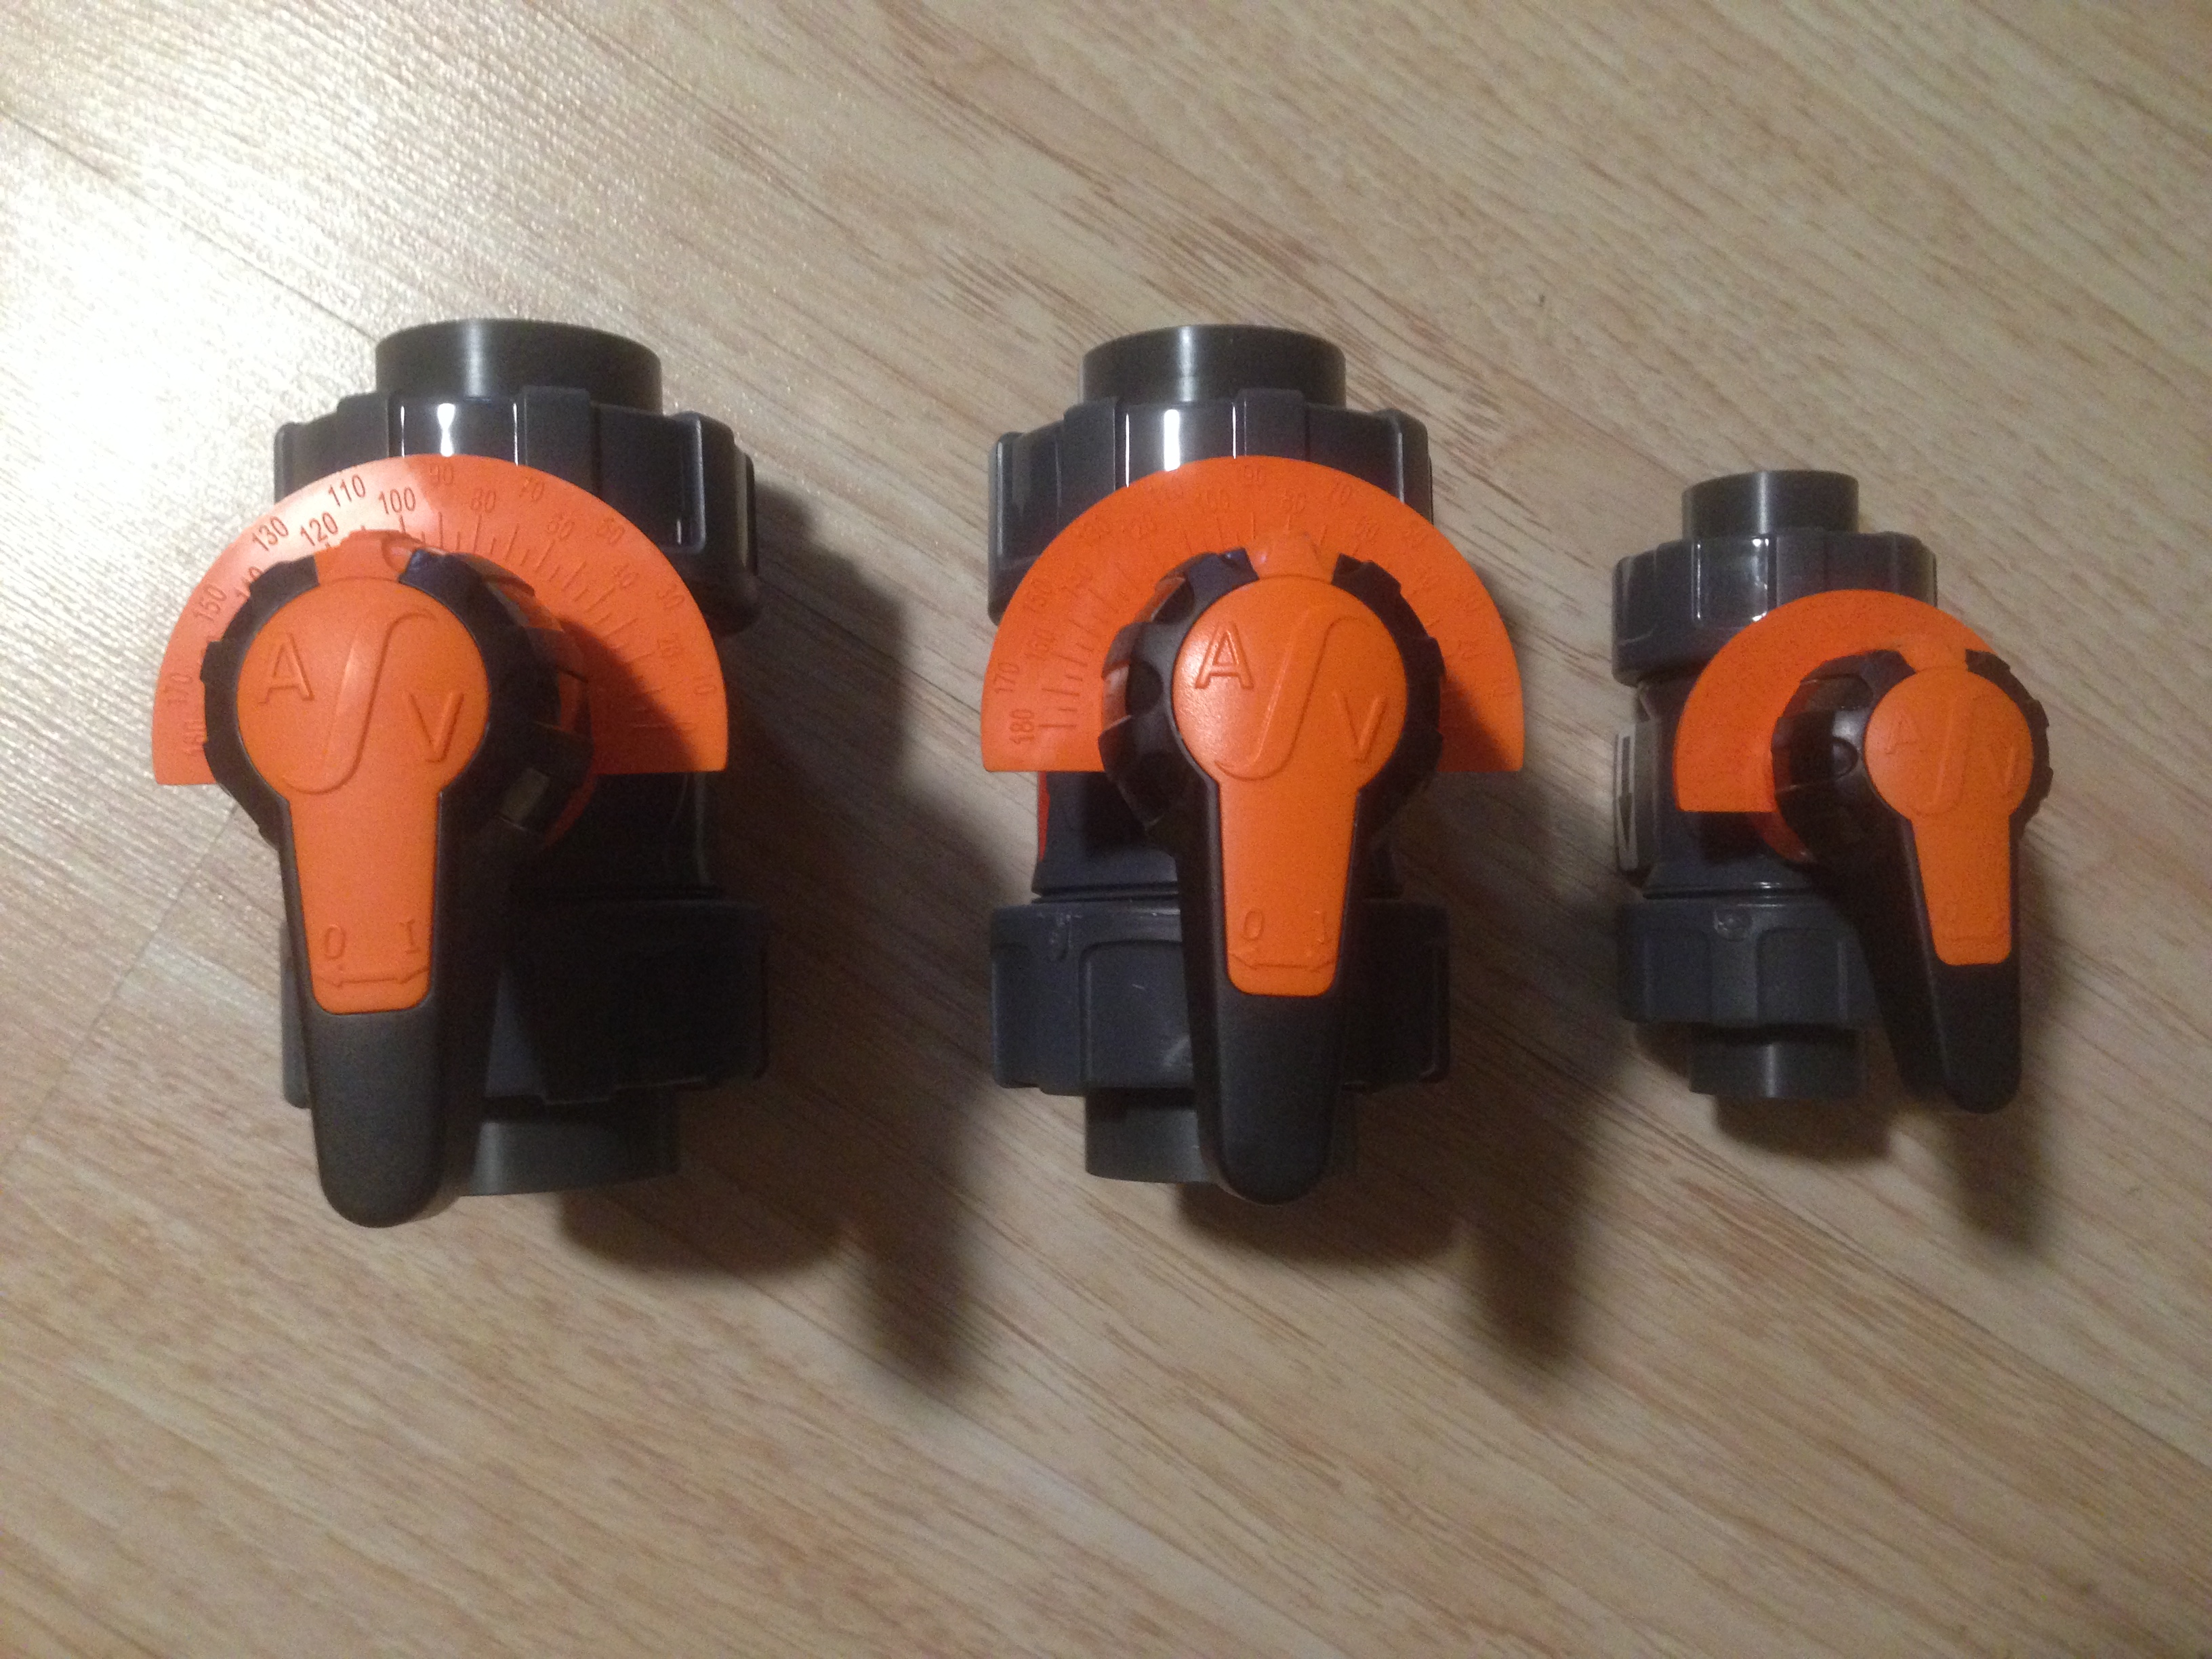
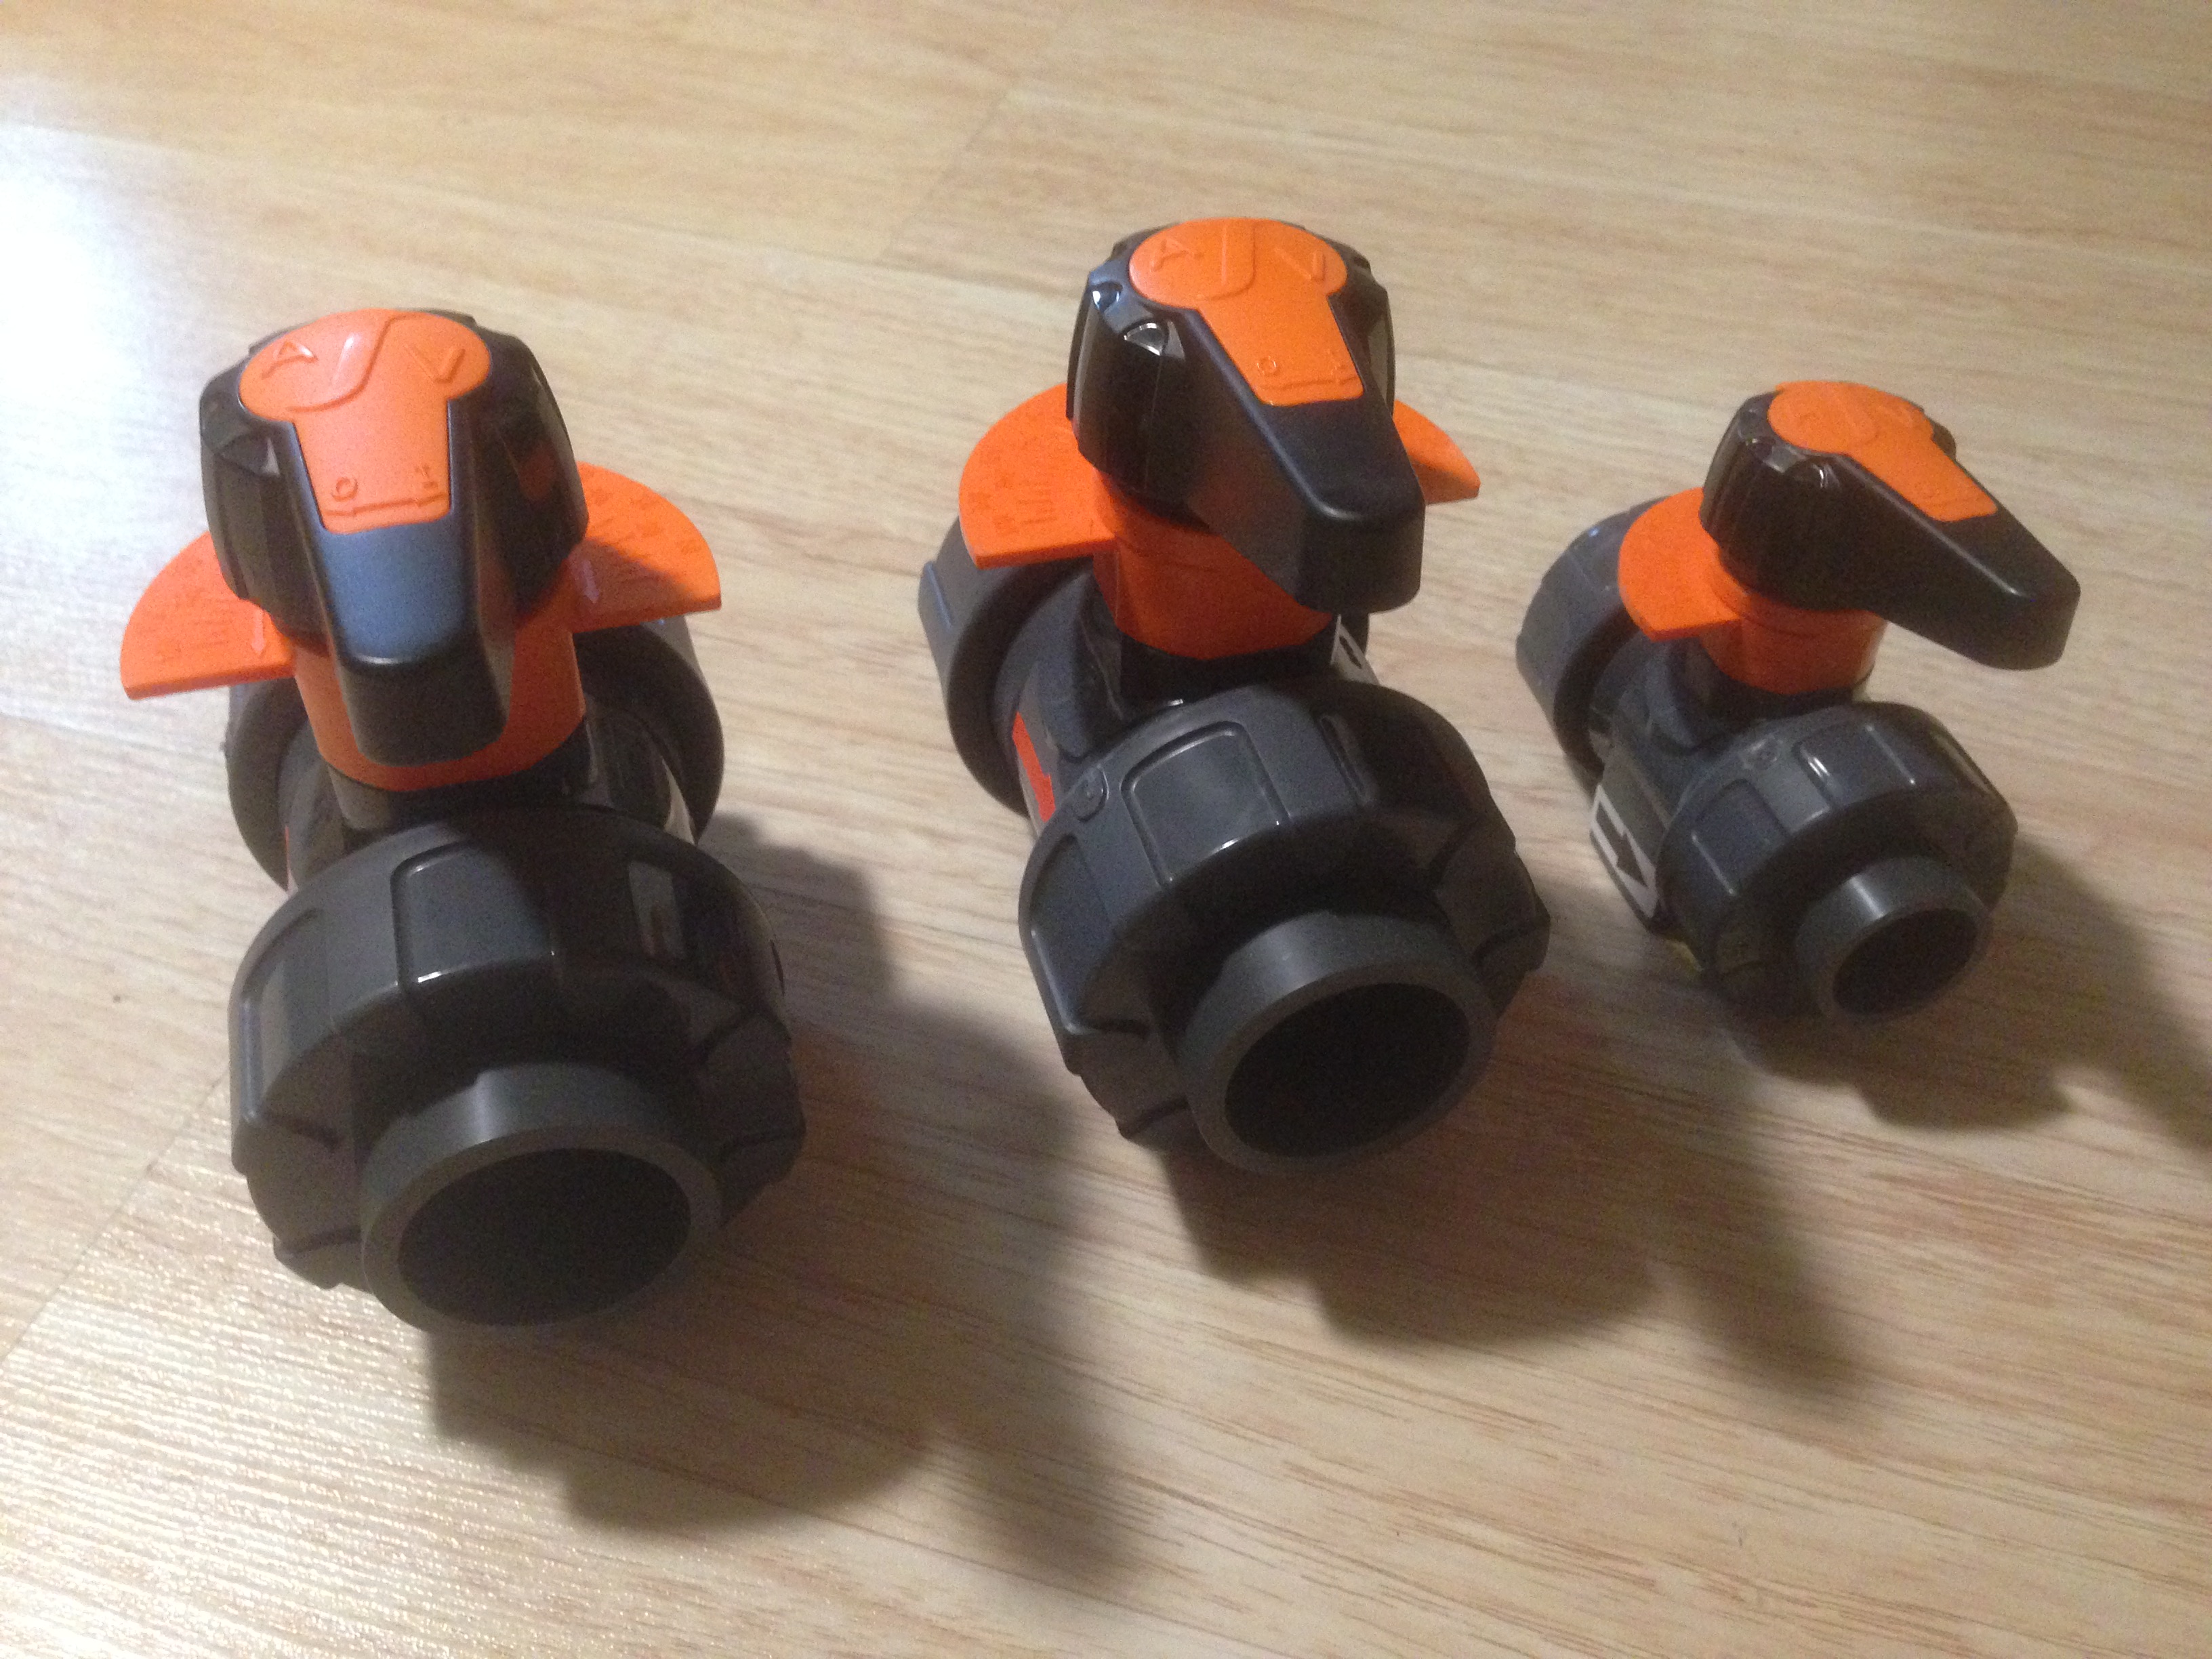
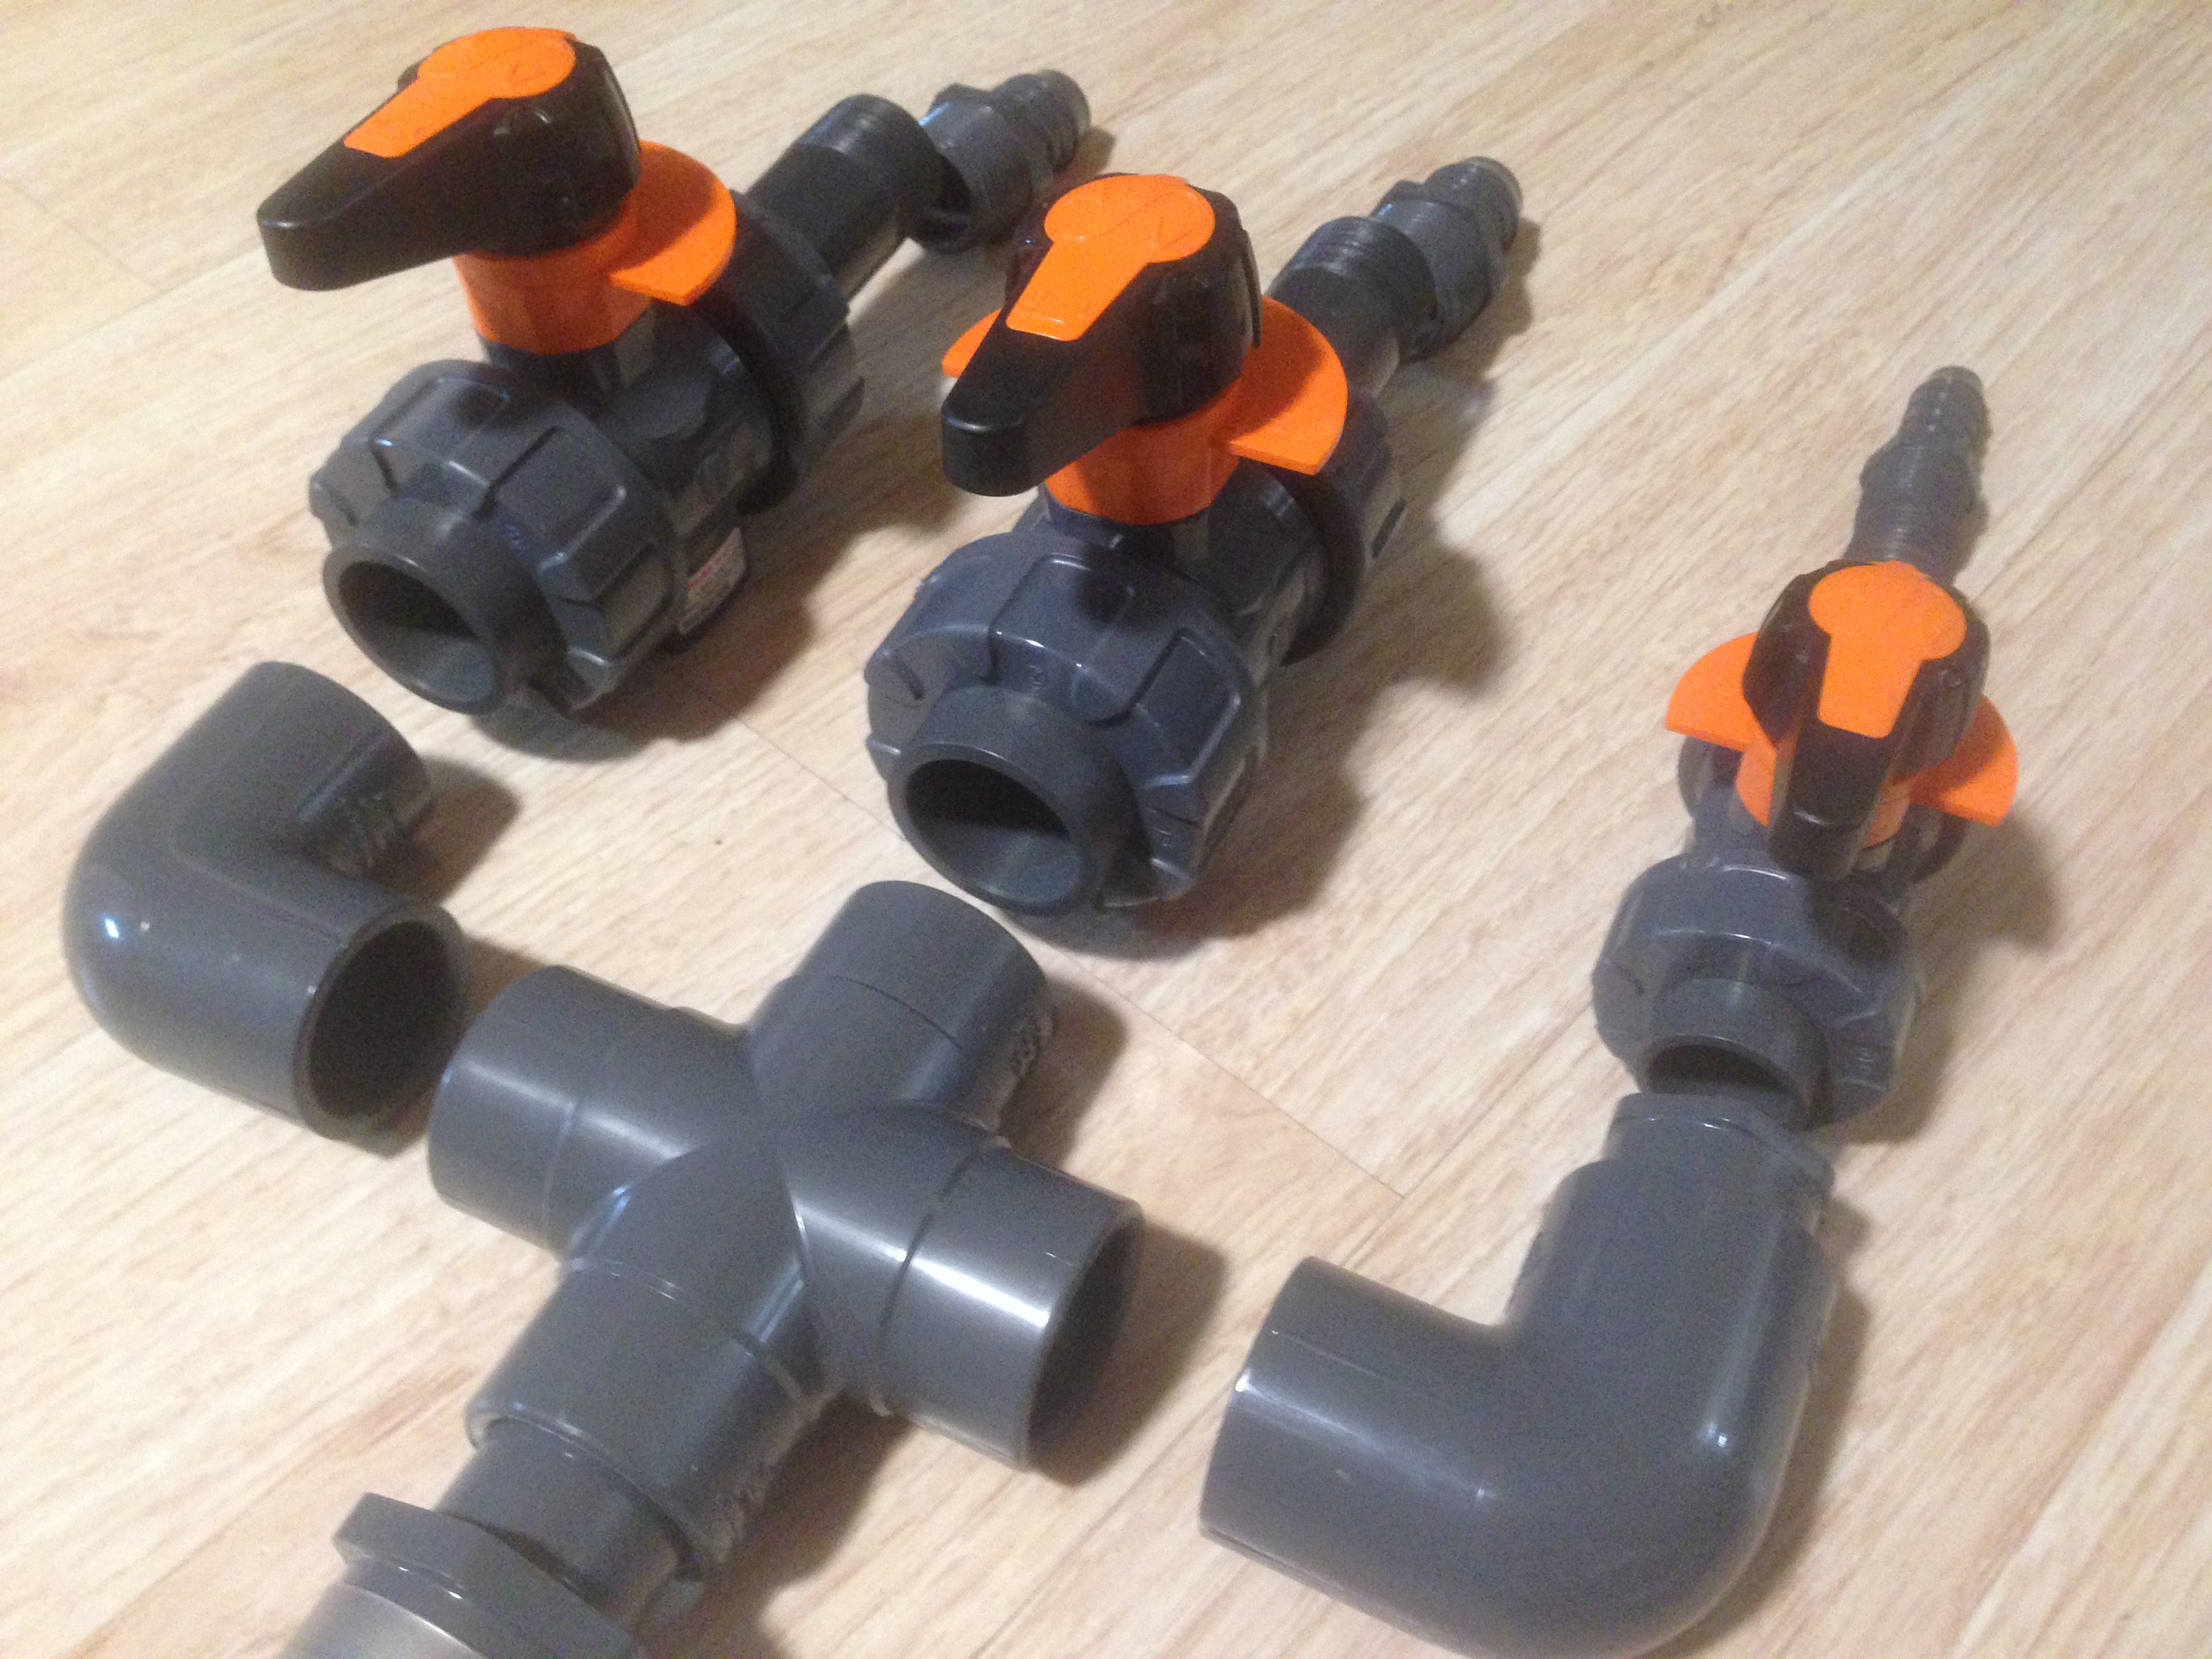
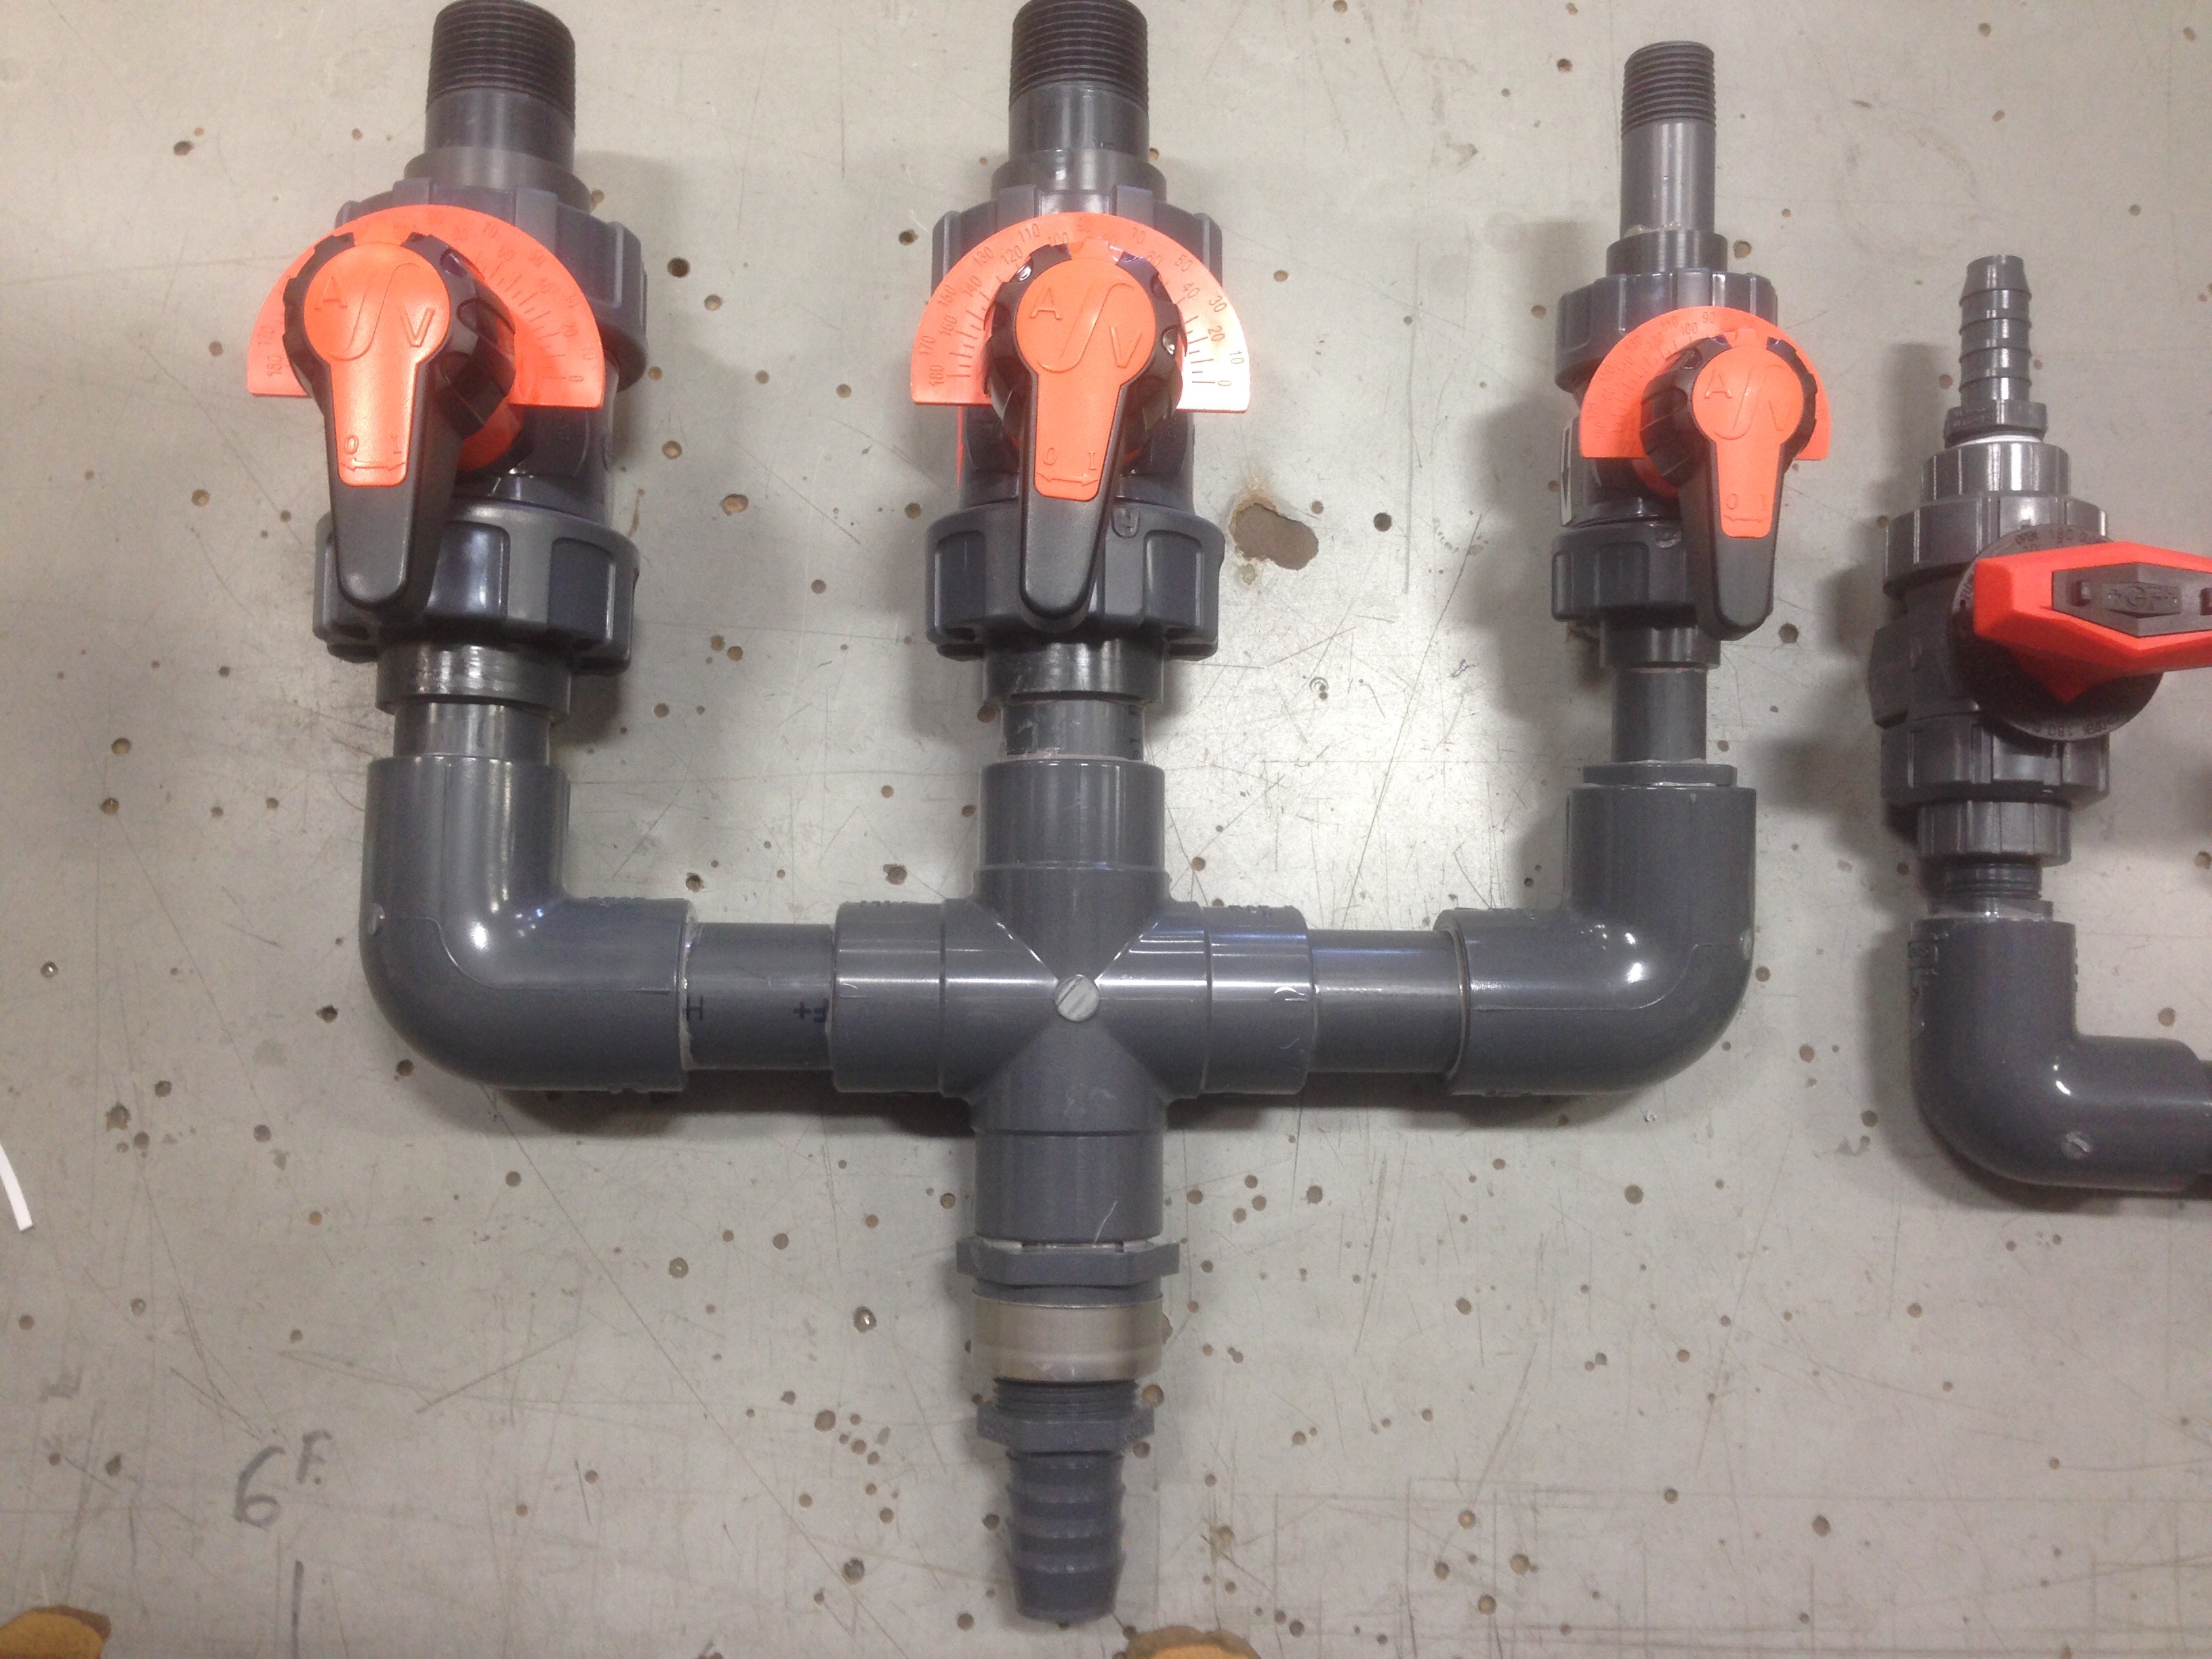
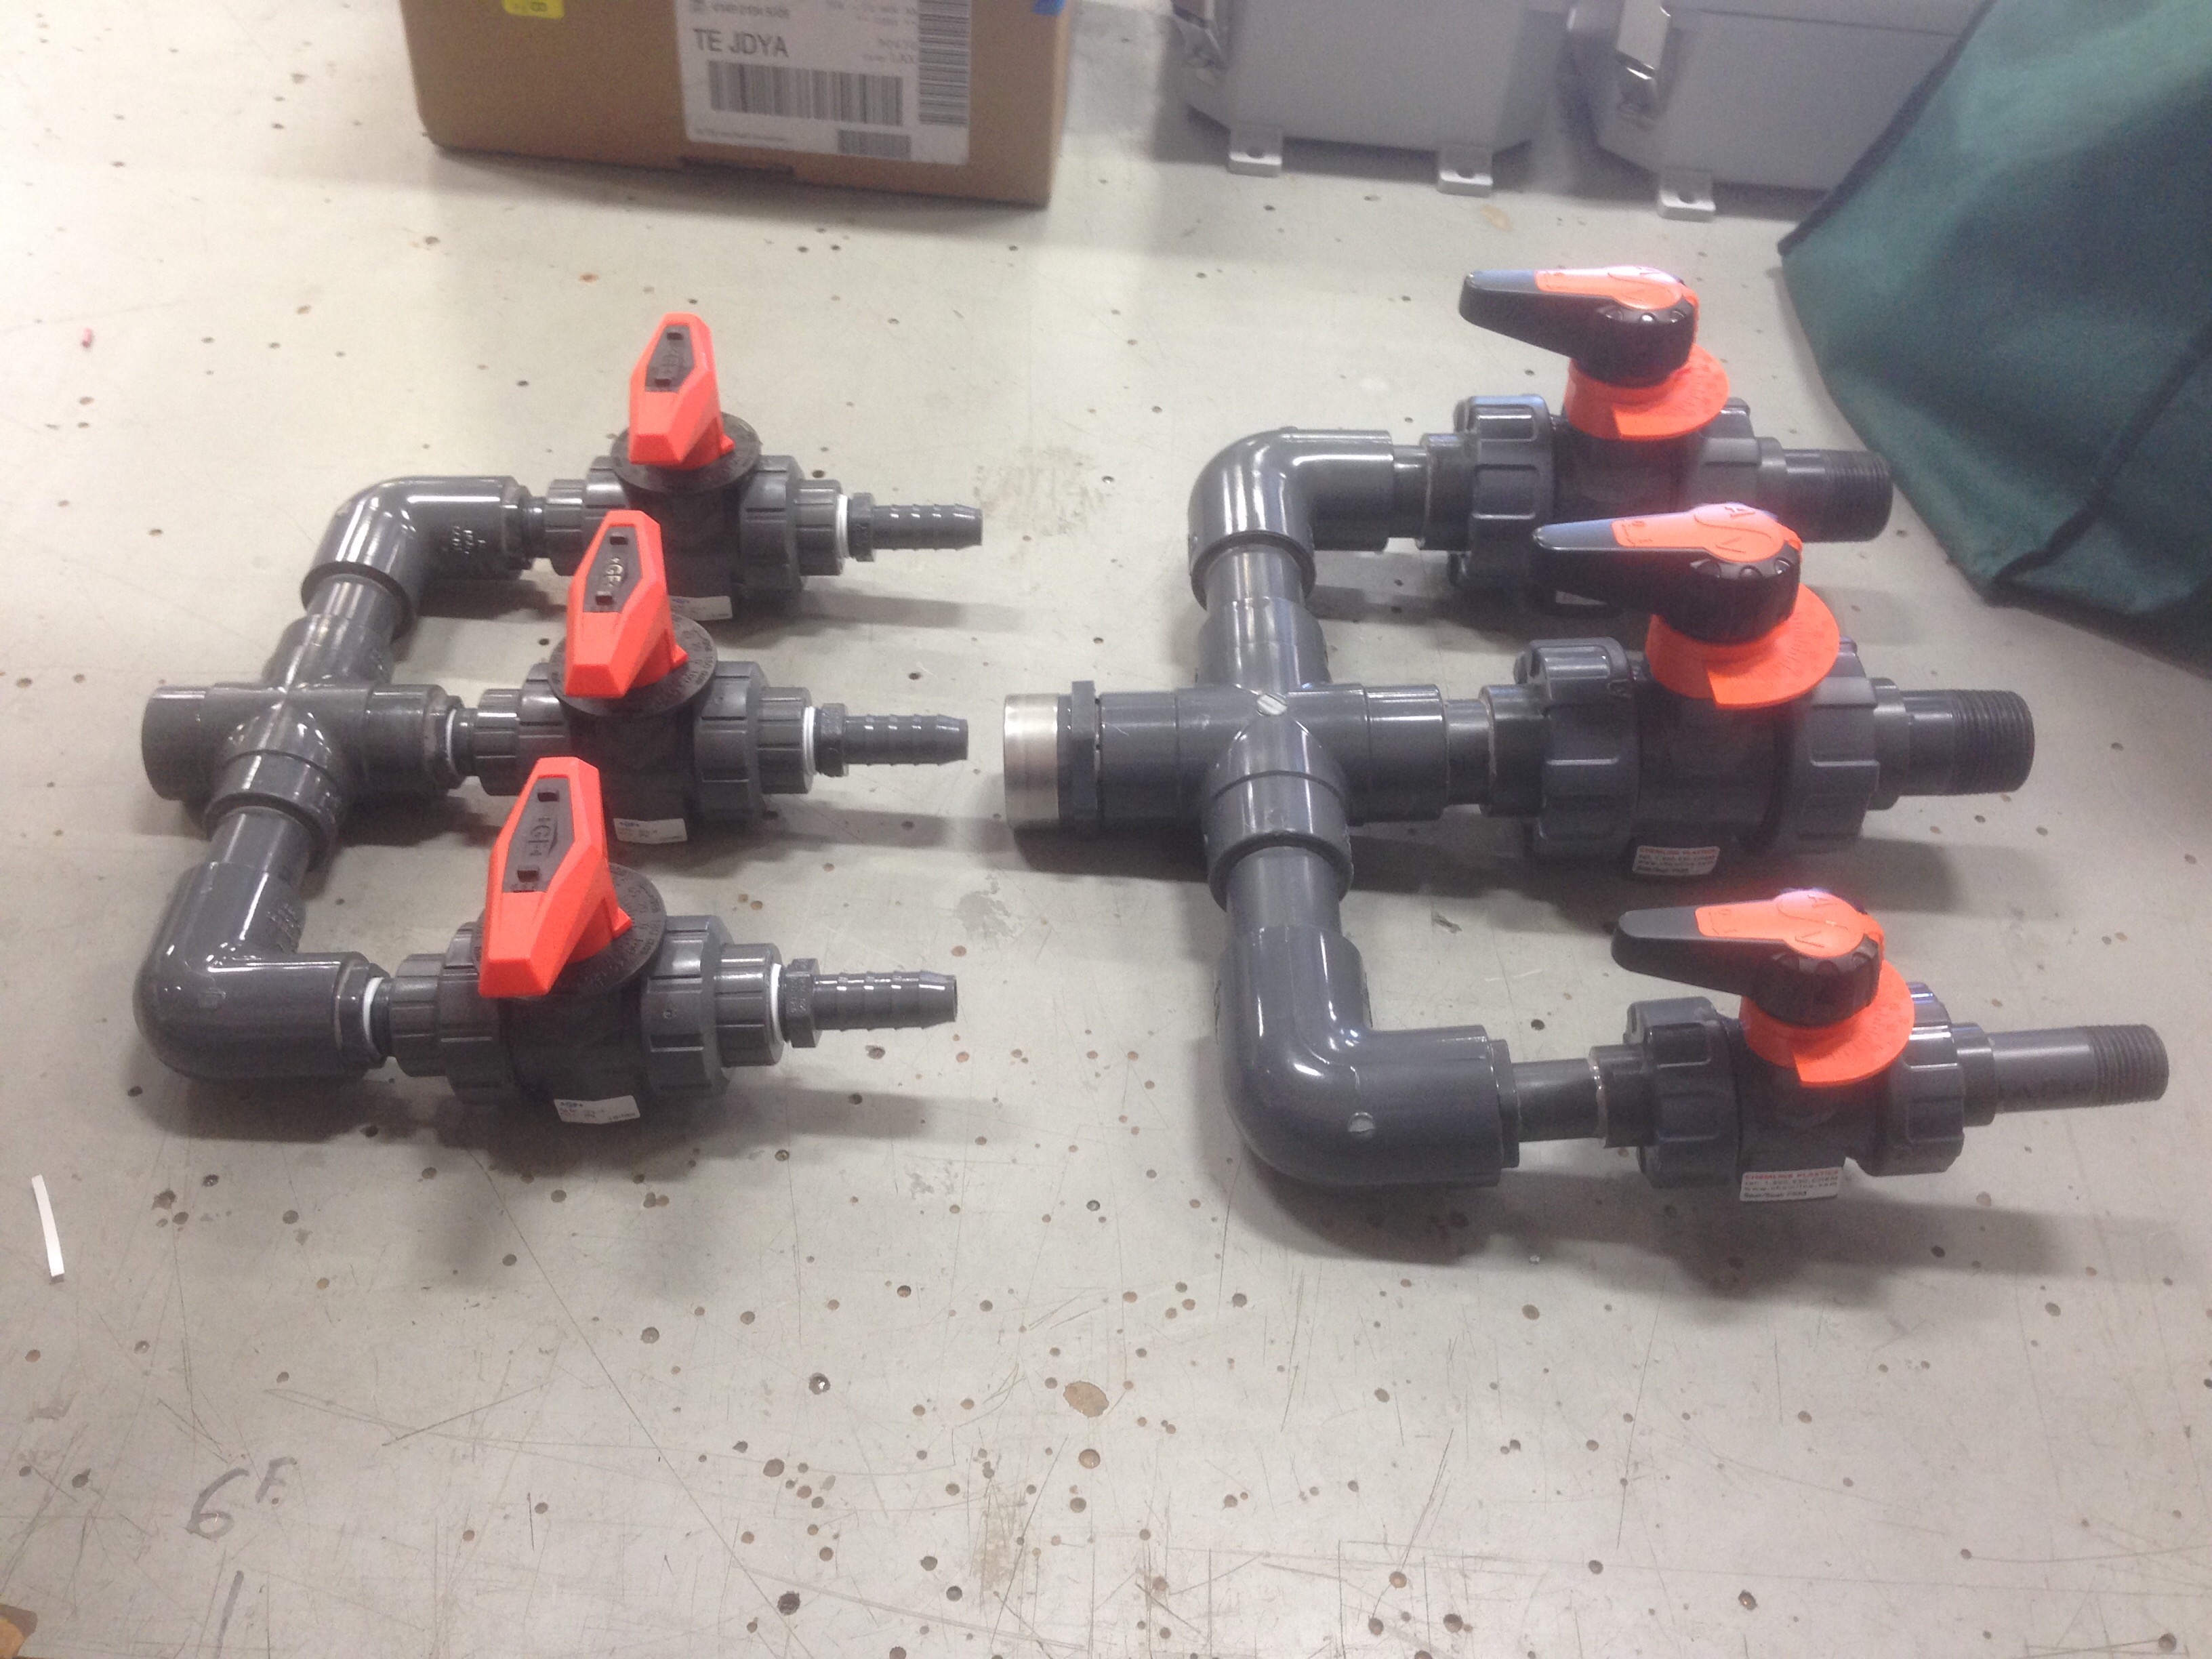
@tireshark, check out what just came in!
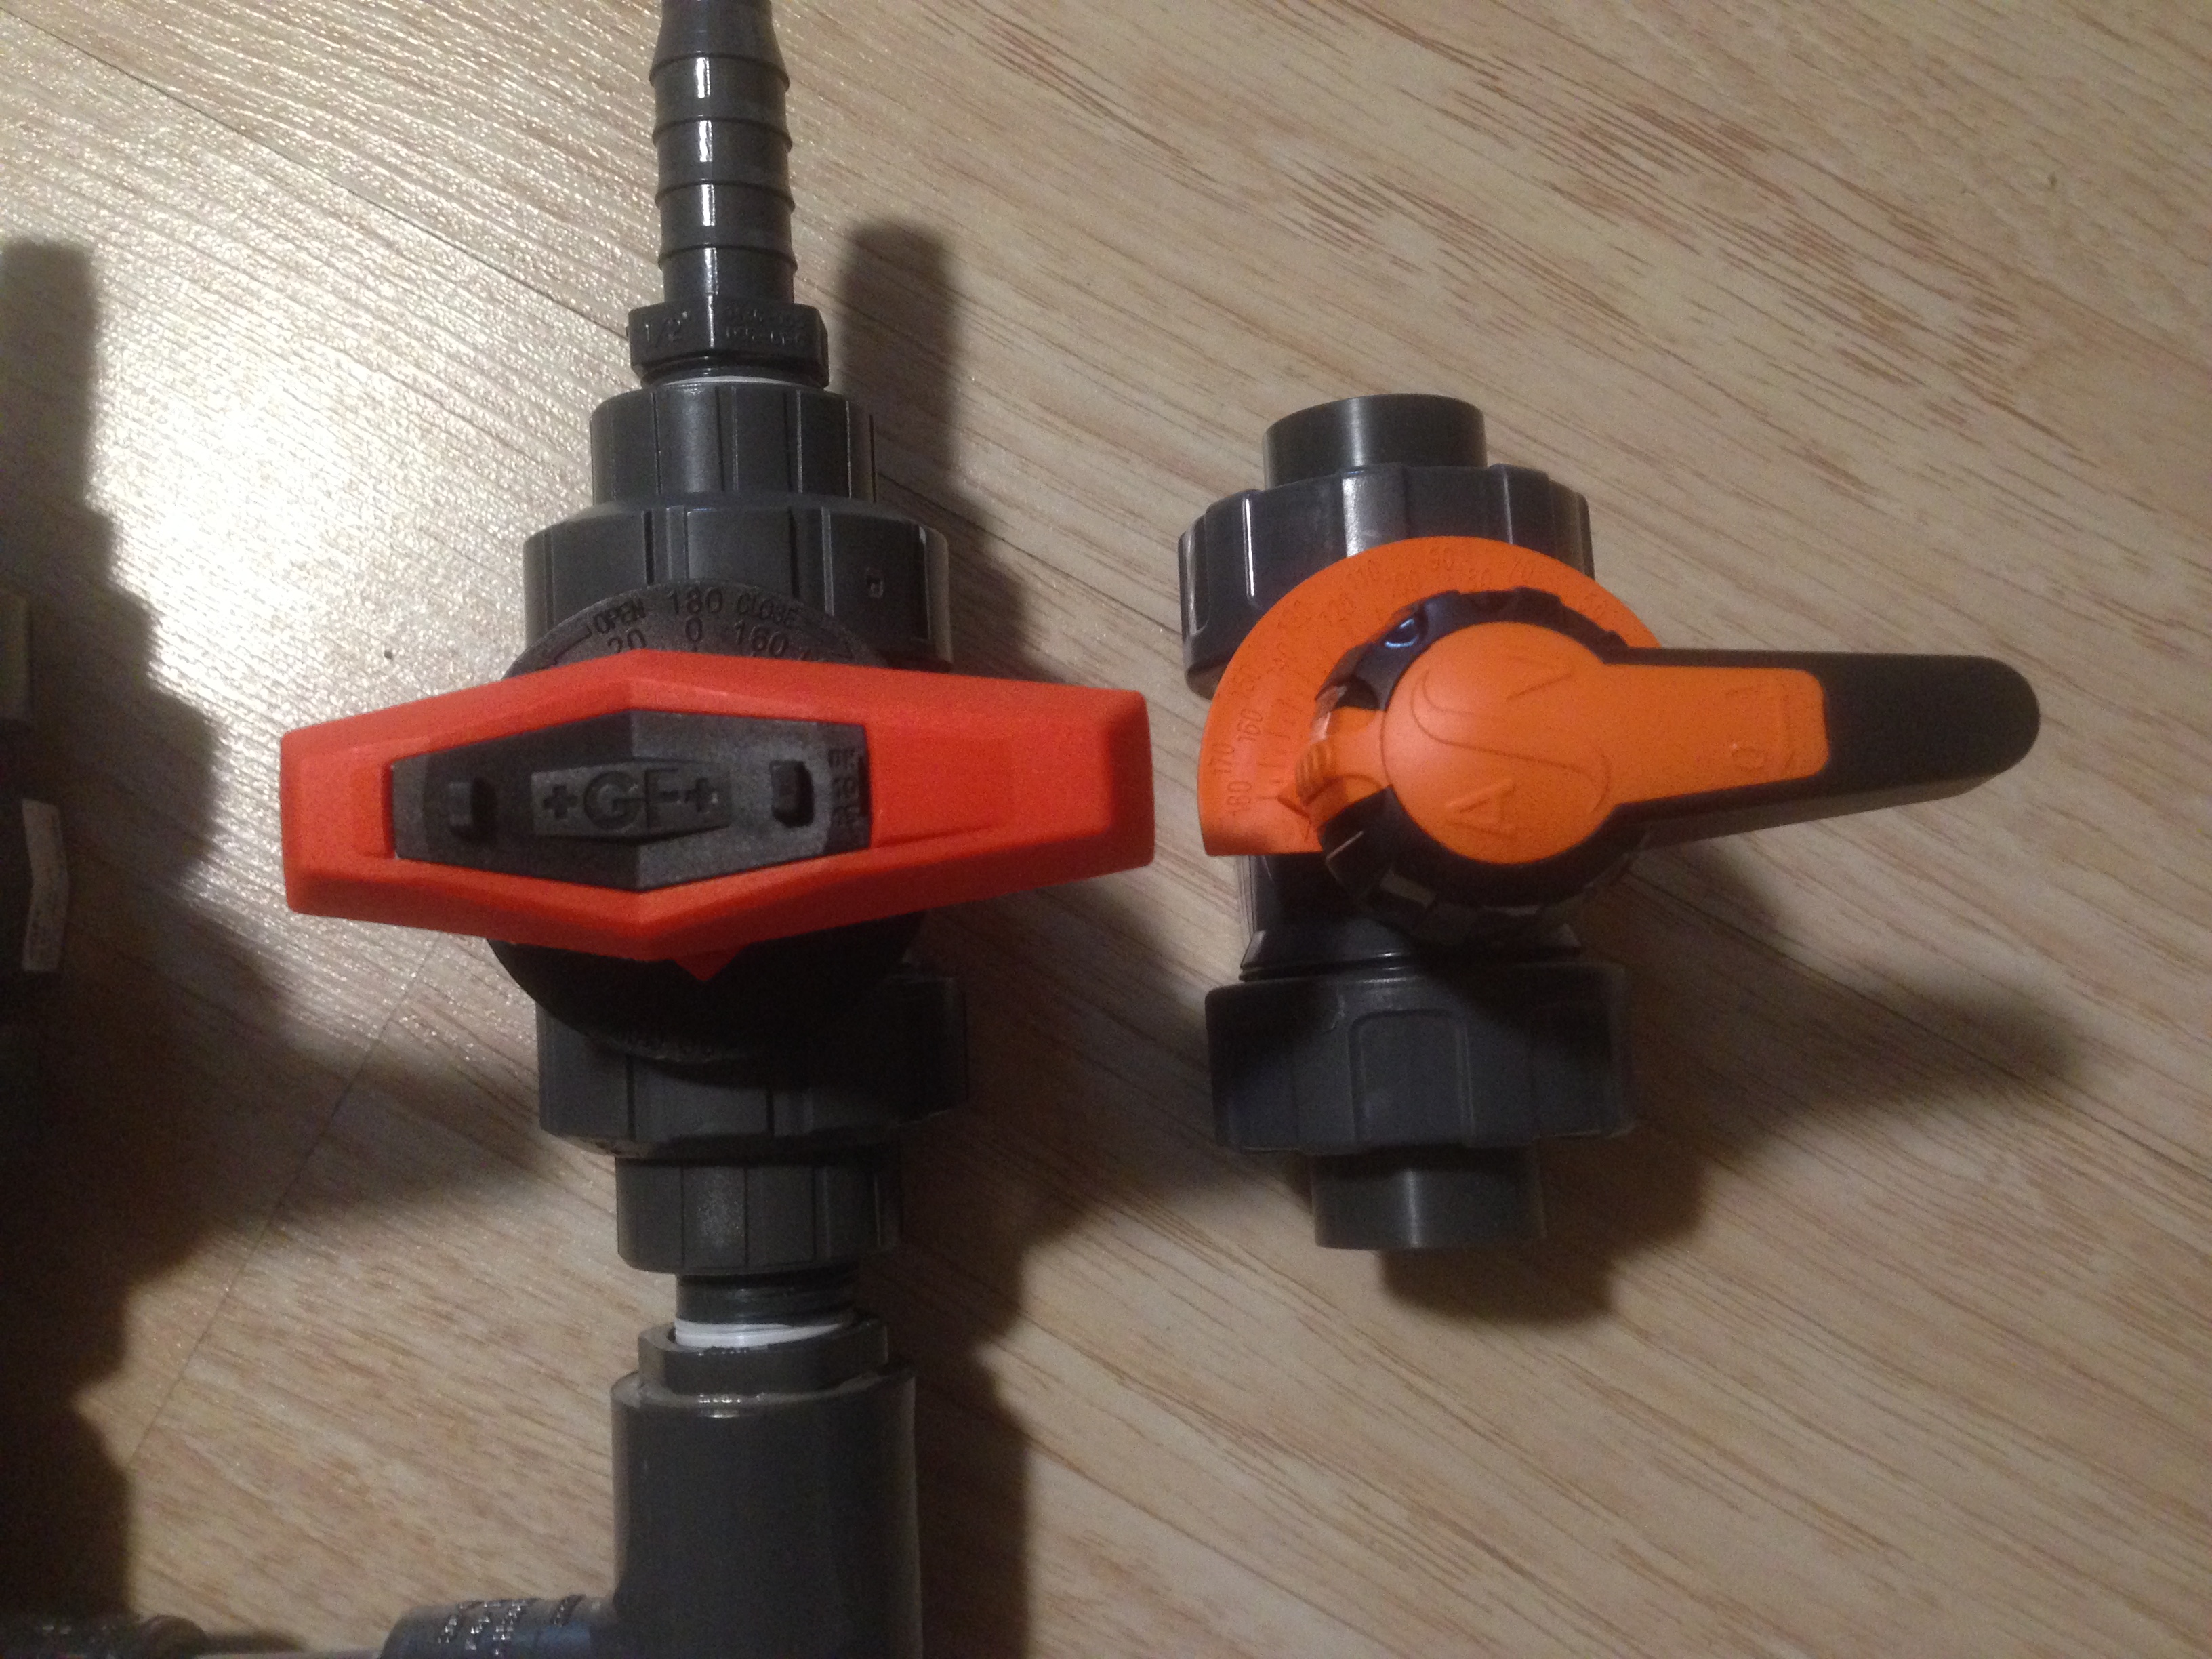
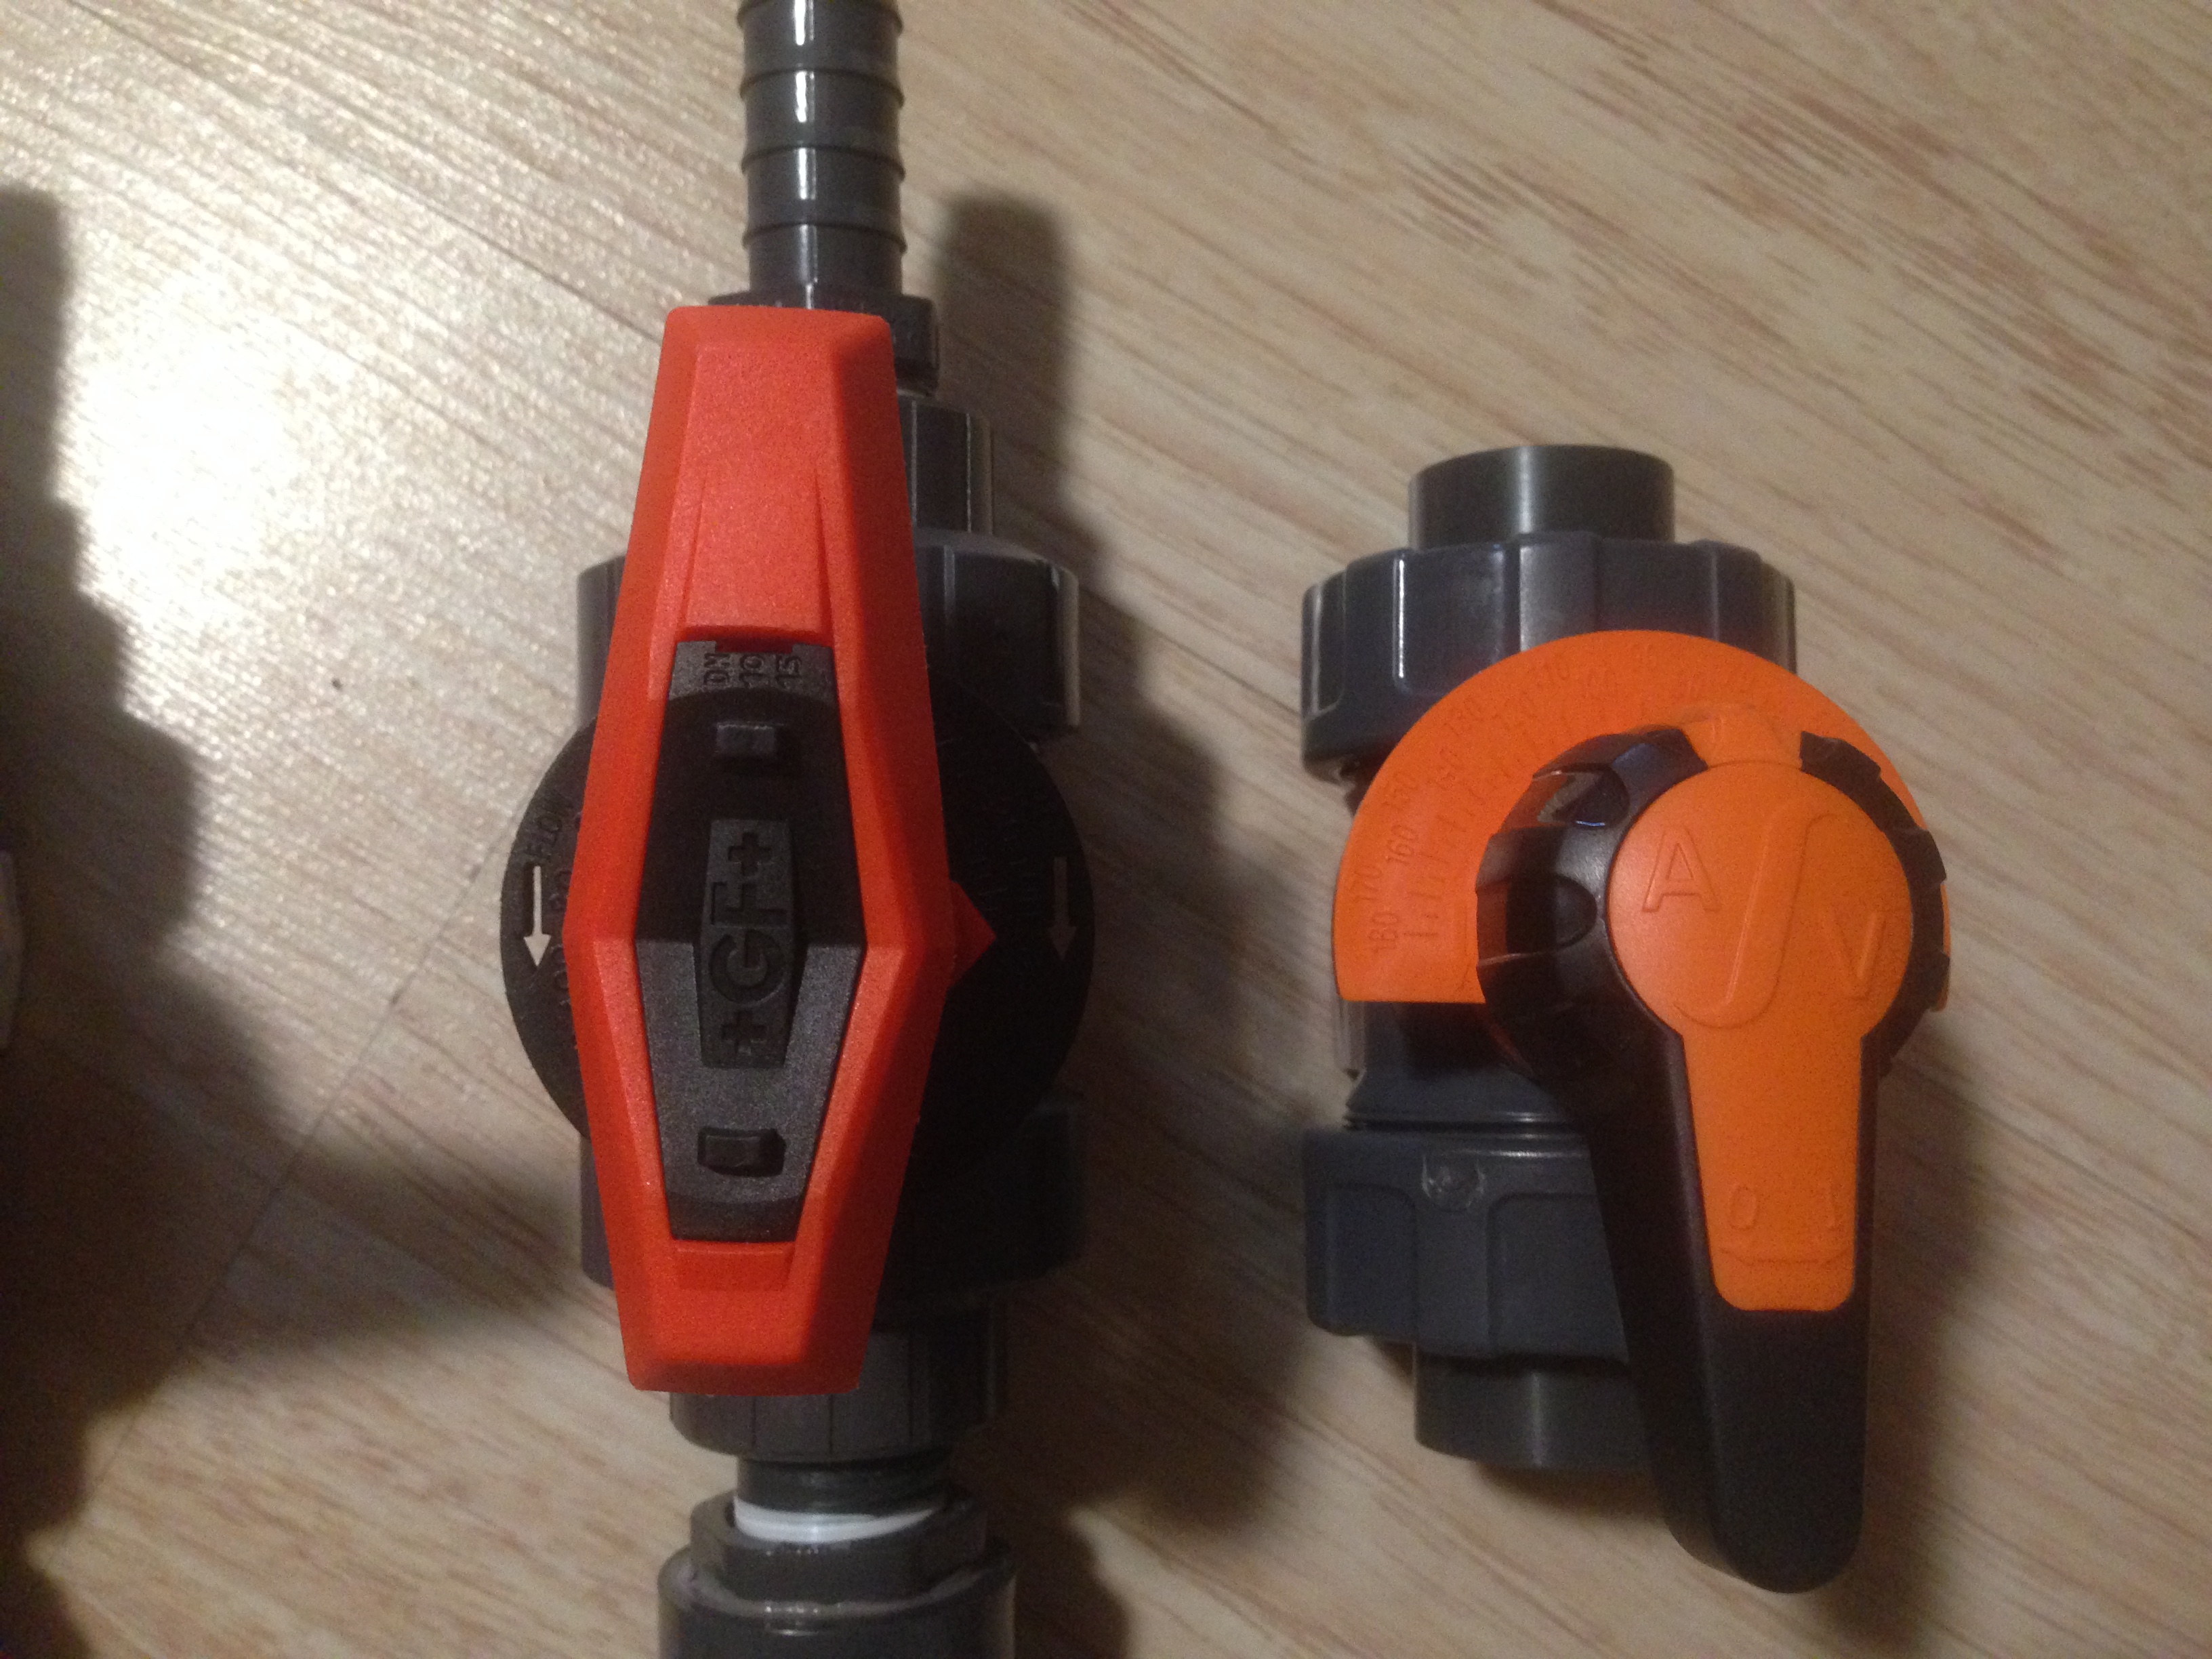
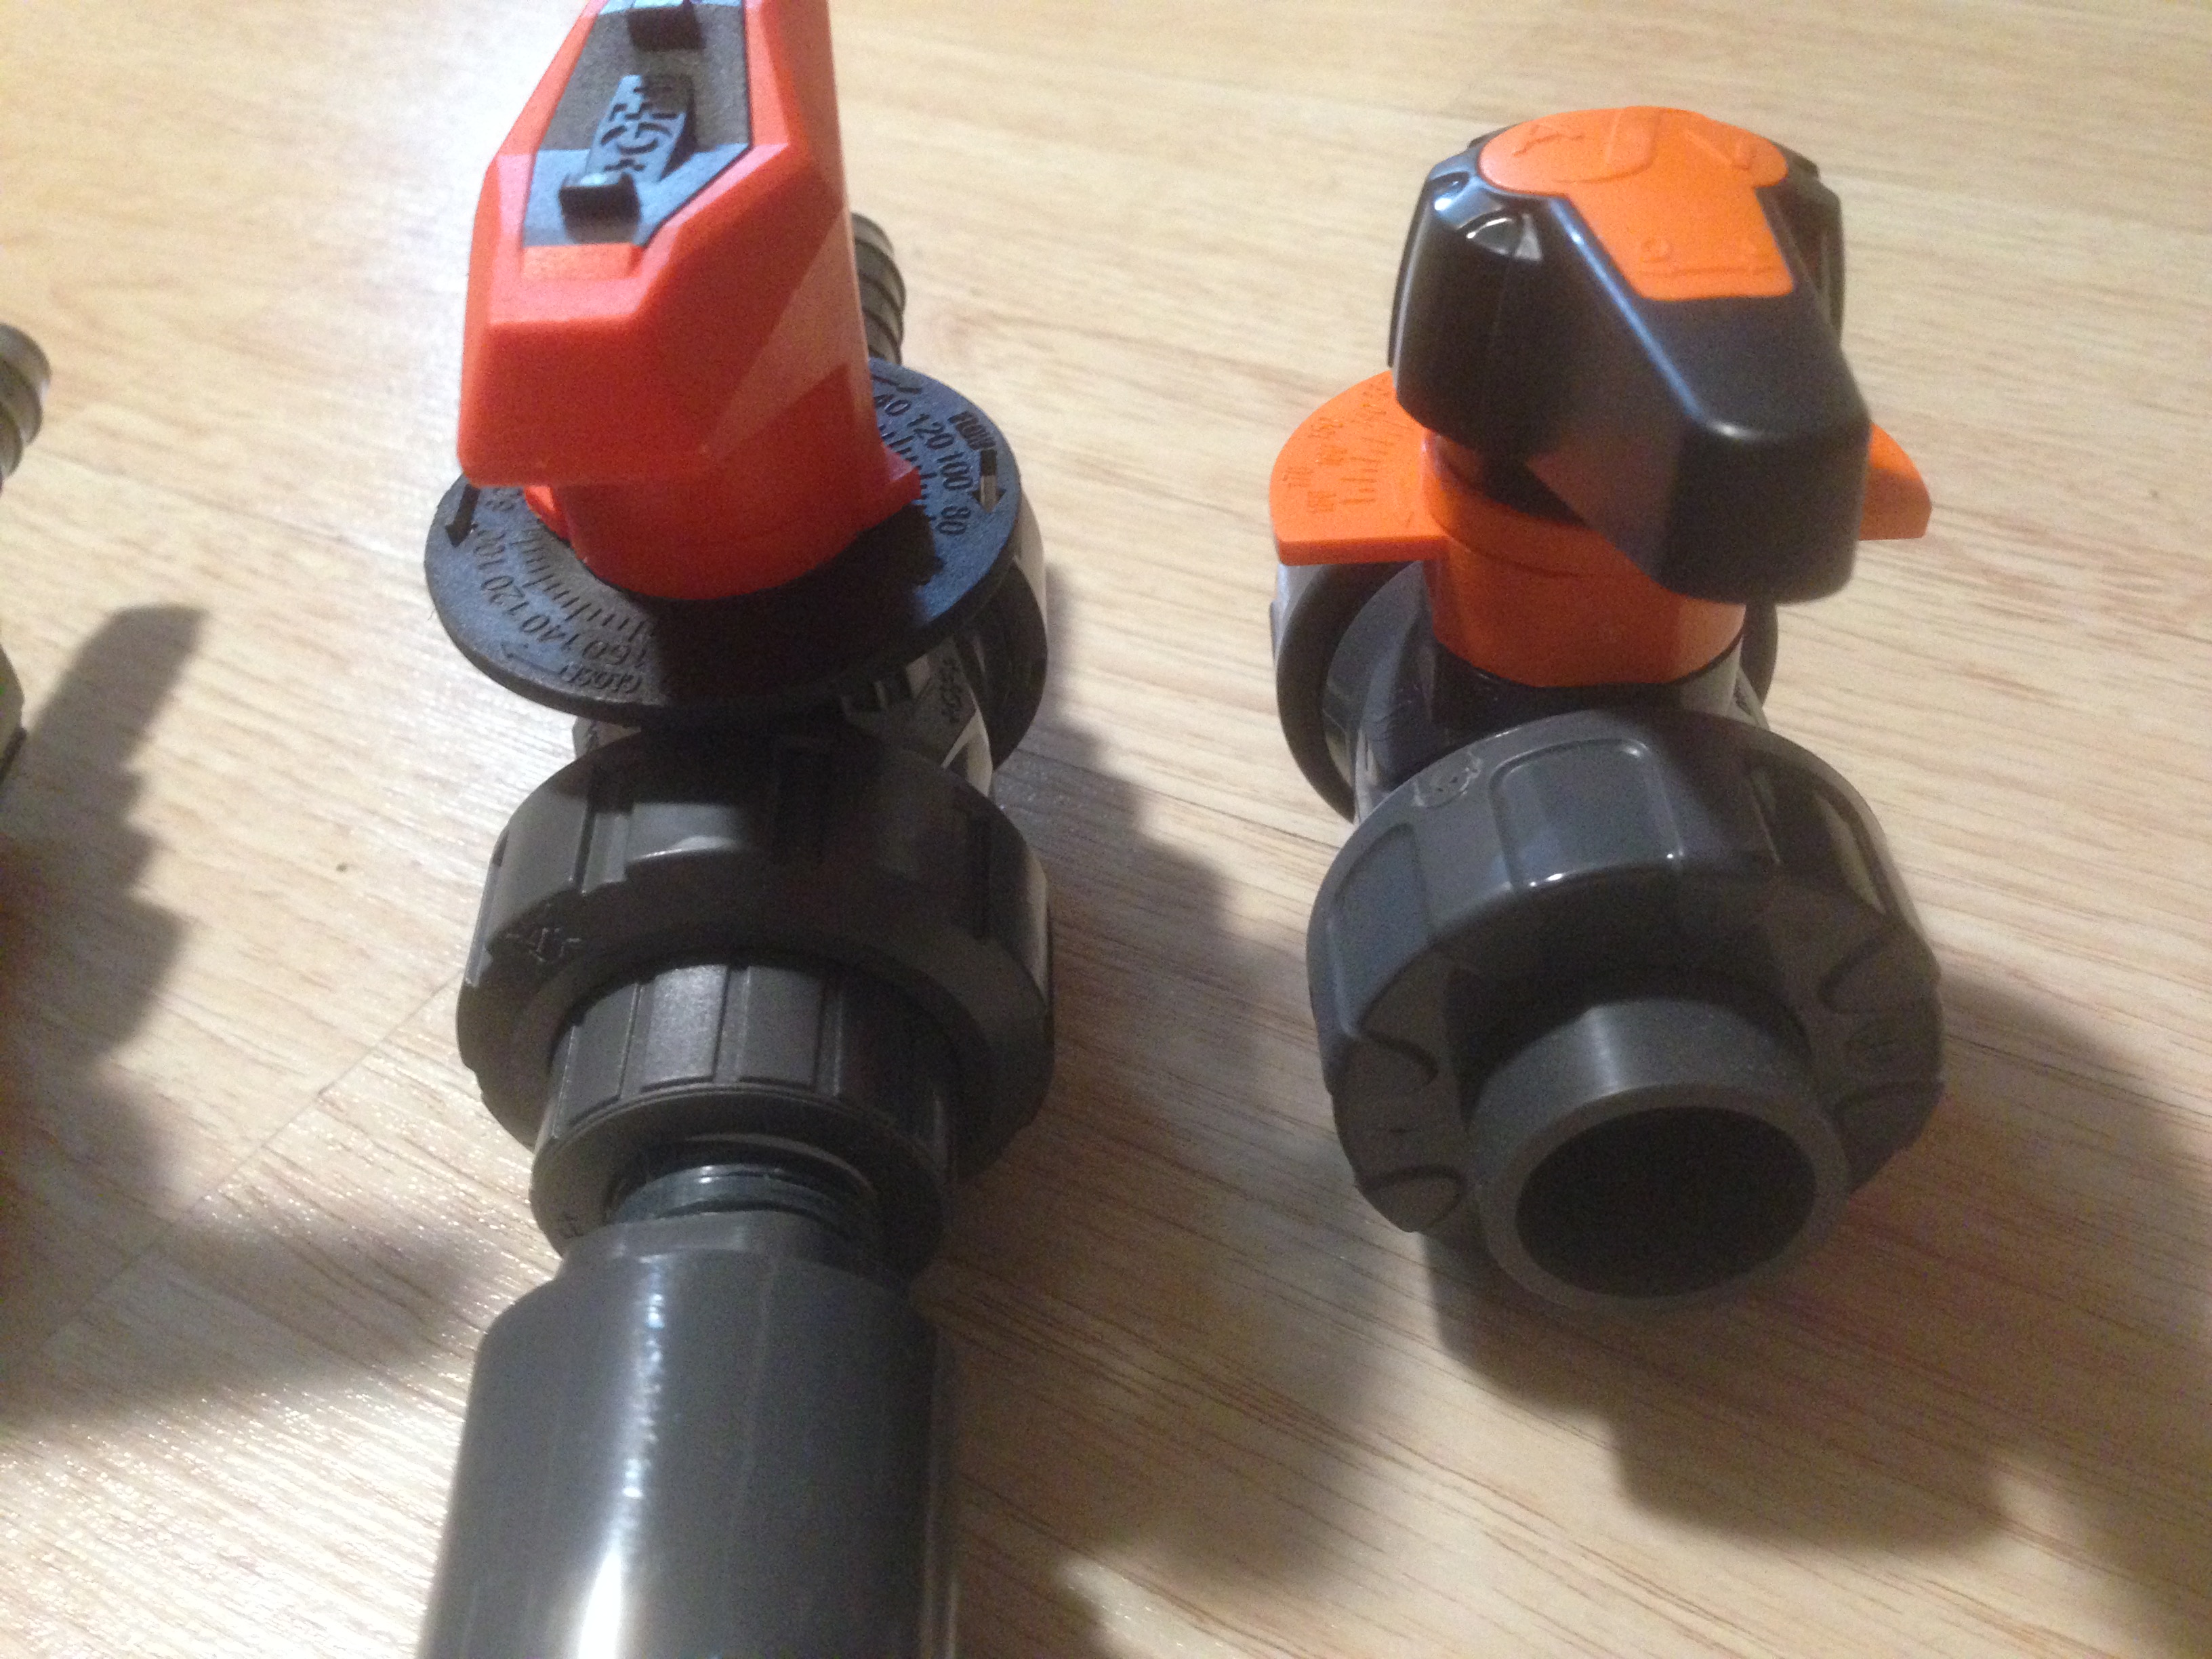
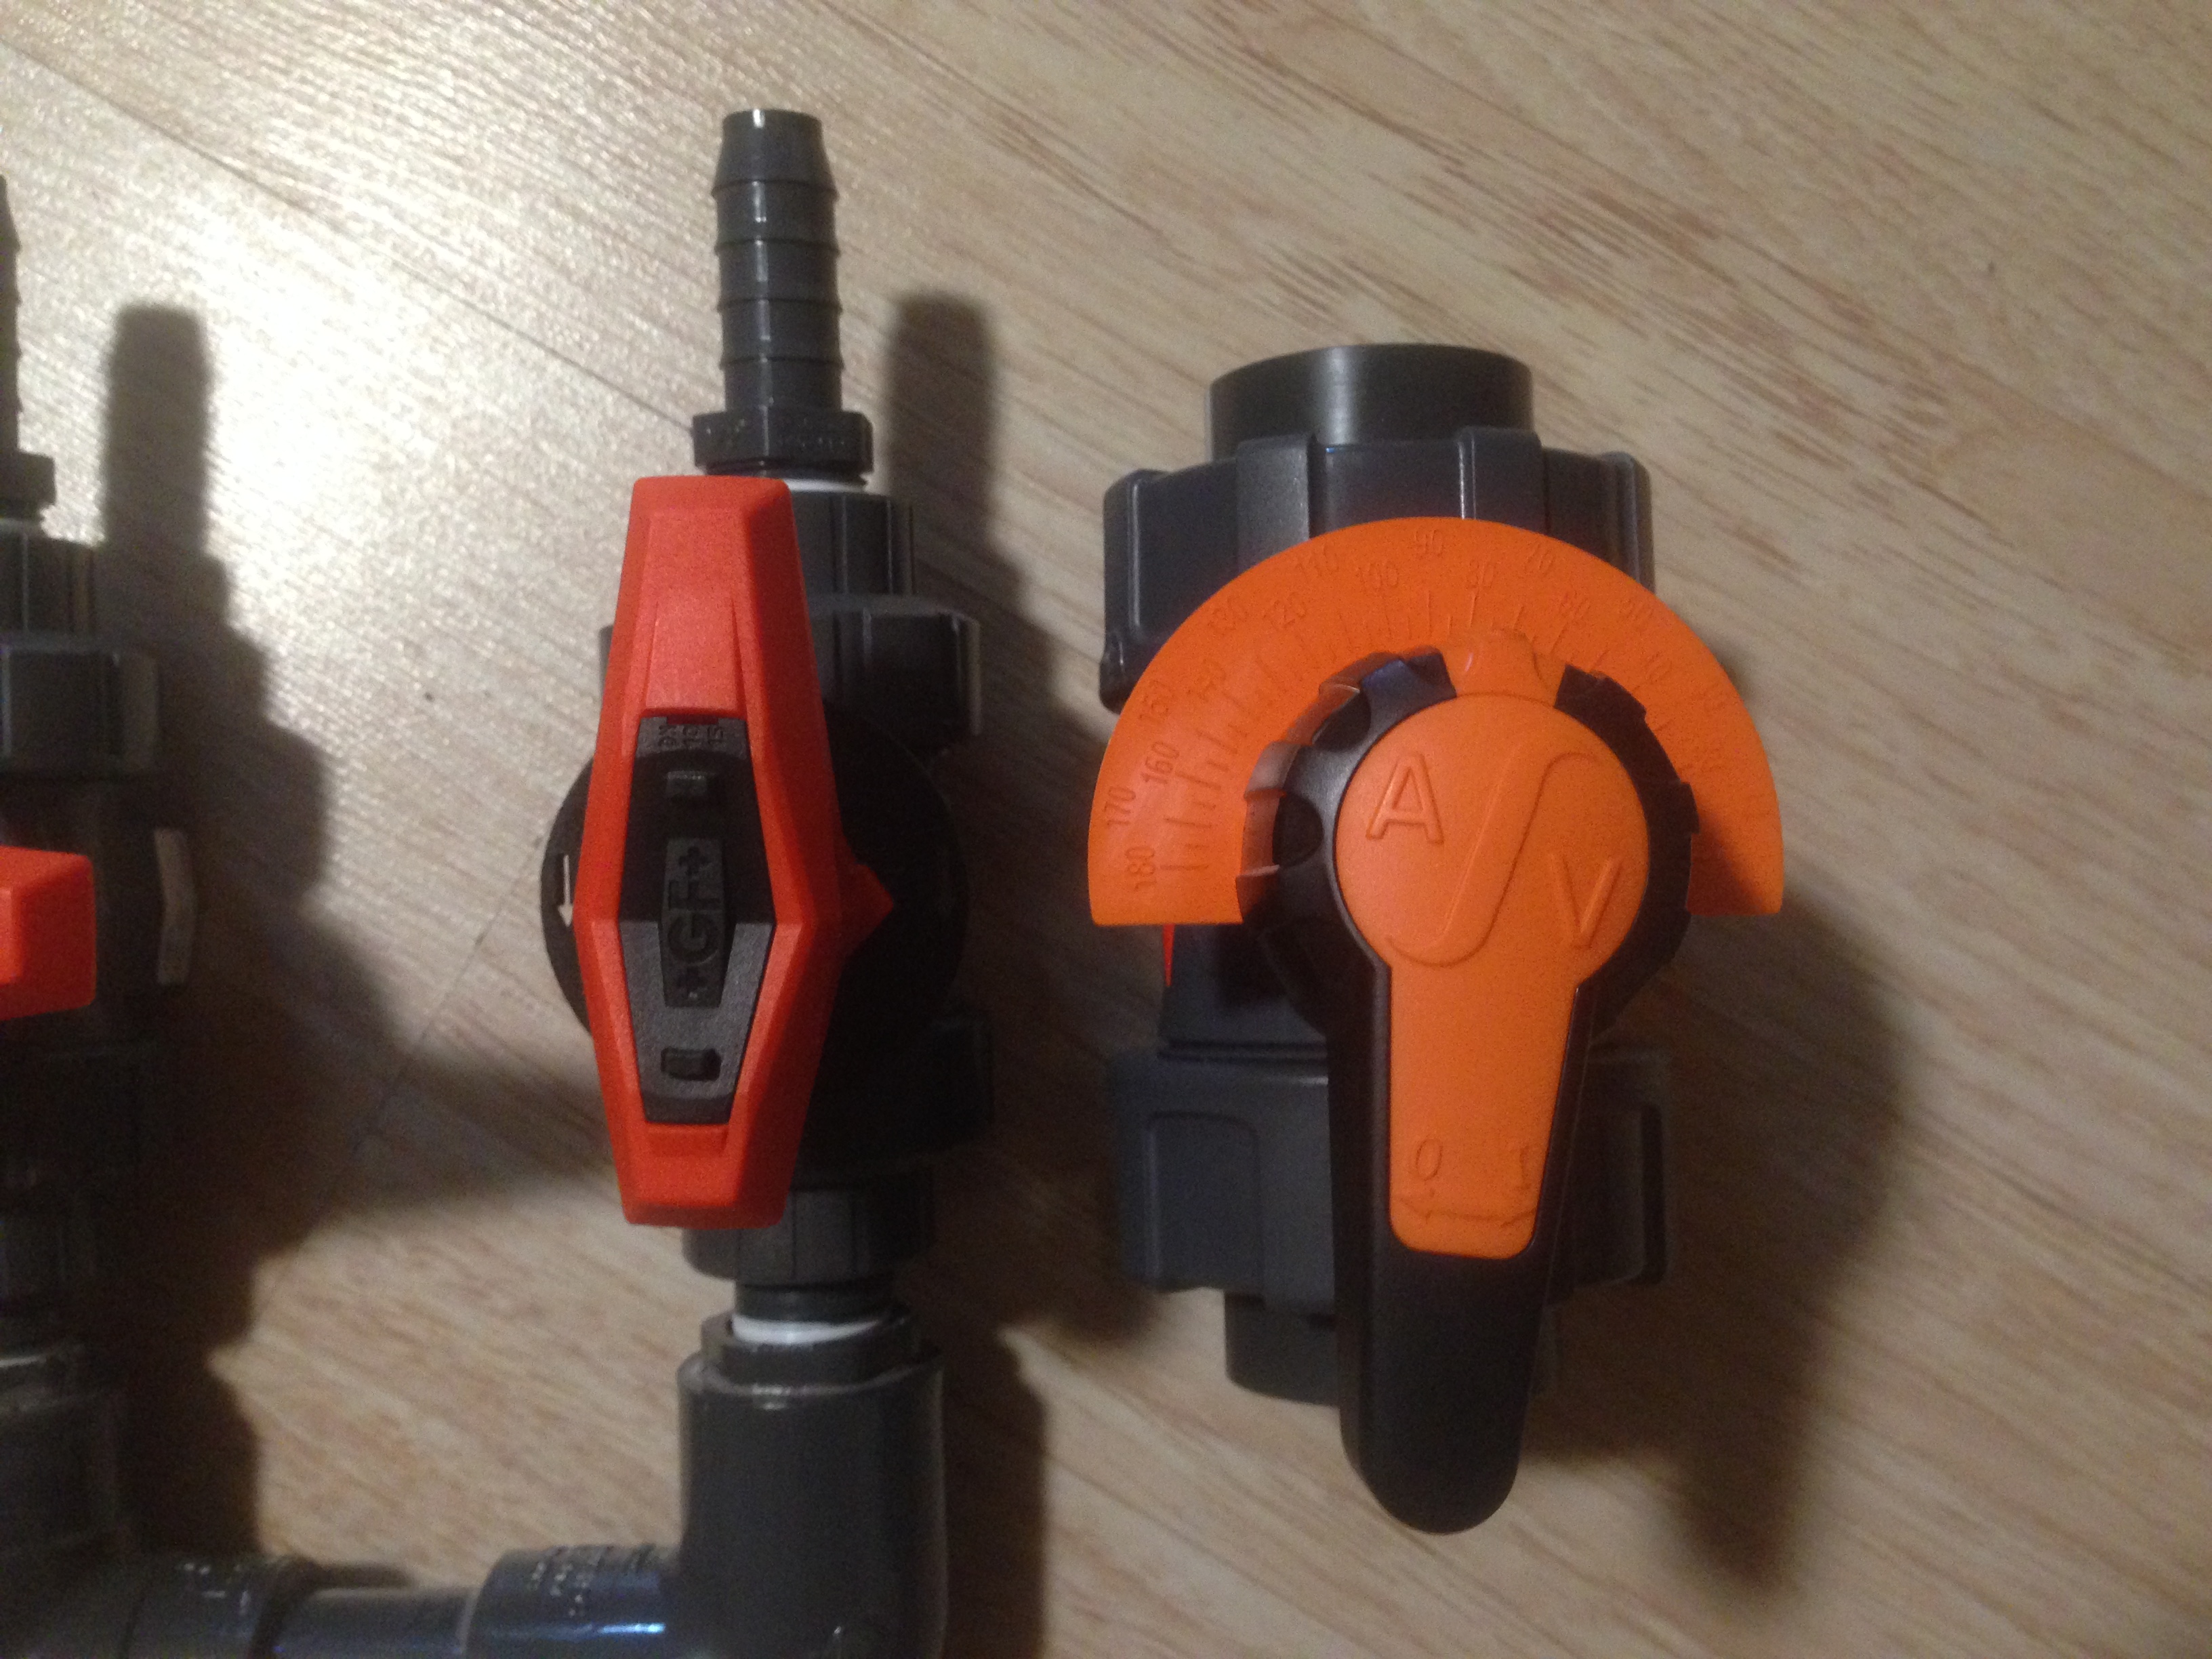
Two 1" metering valves and one 1/2" metering valves. The quality is really great, and I love the handle design. Plus the scale is actual big enough to read and half of it is not upside-down like the GF valves.

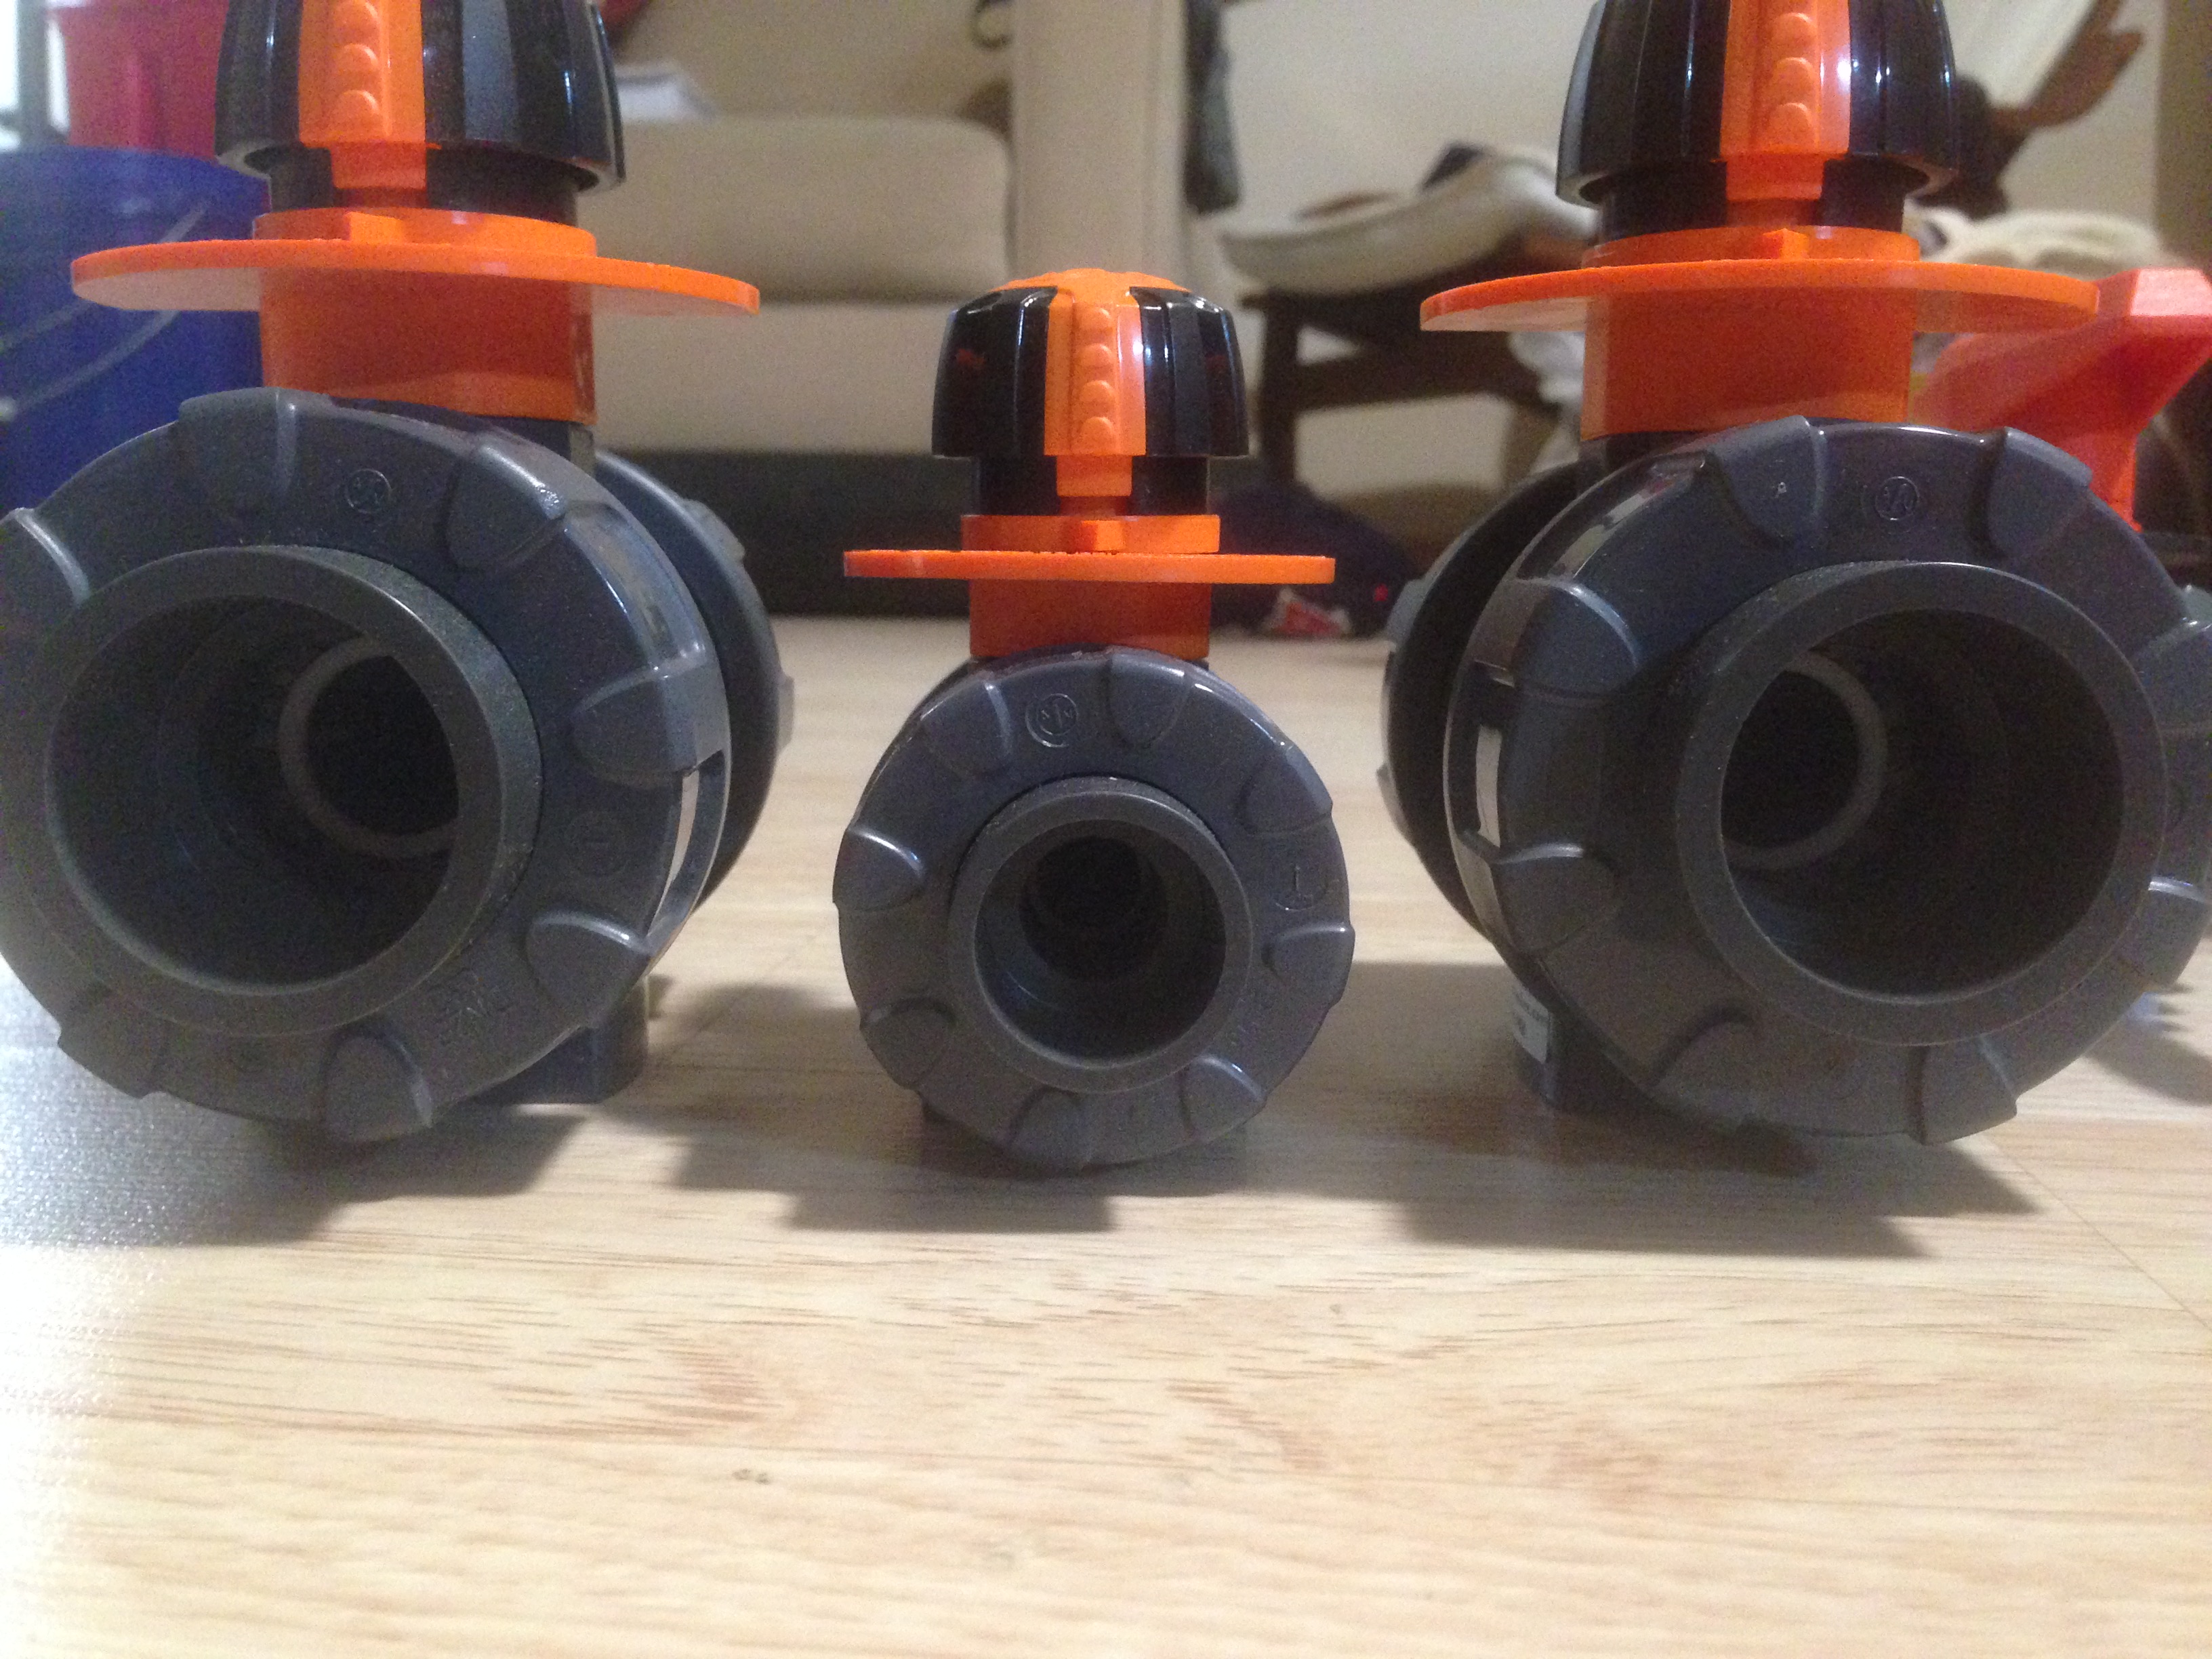
3 Likes
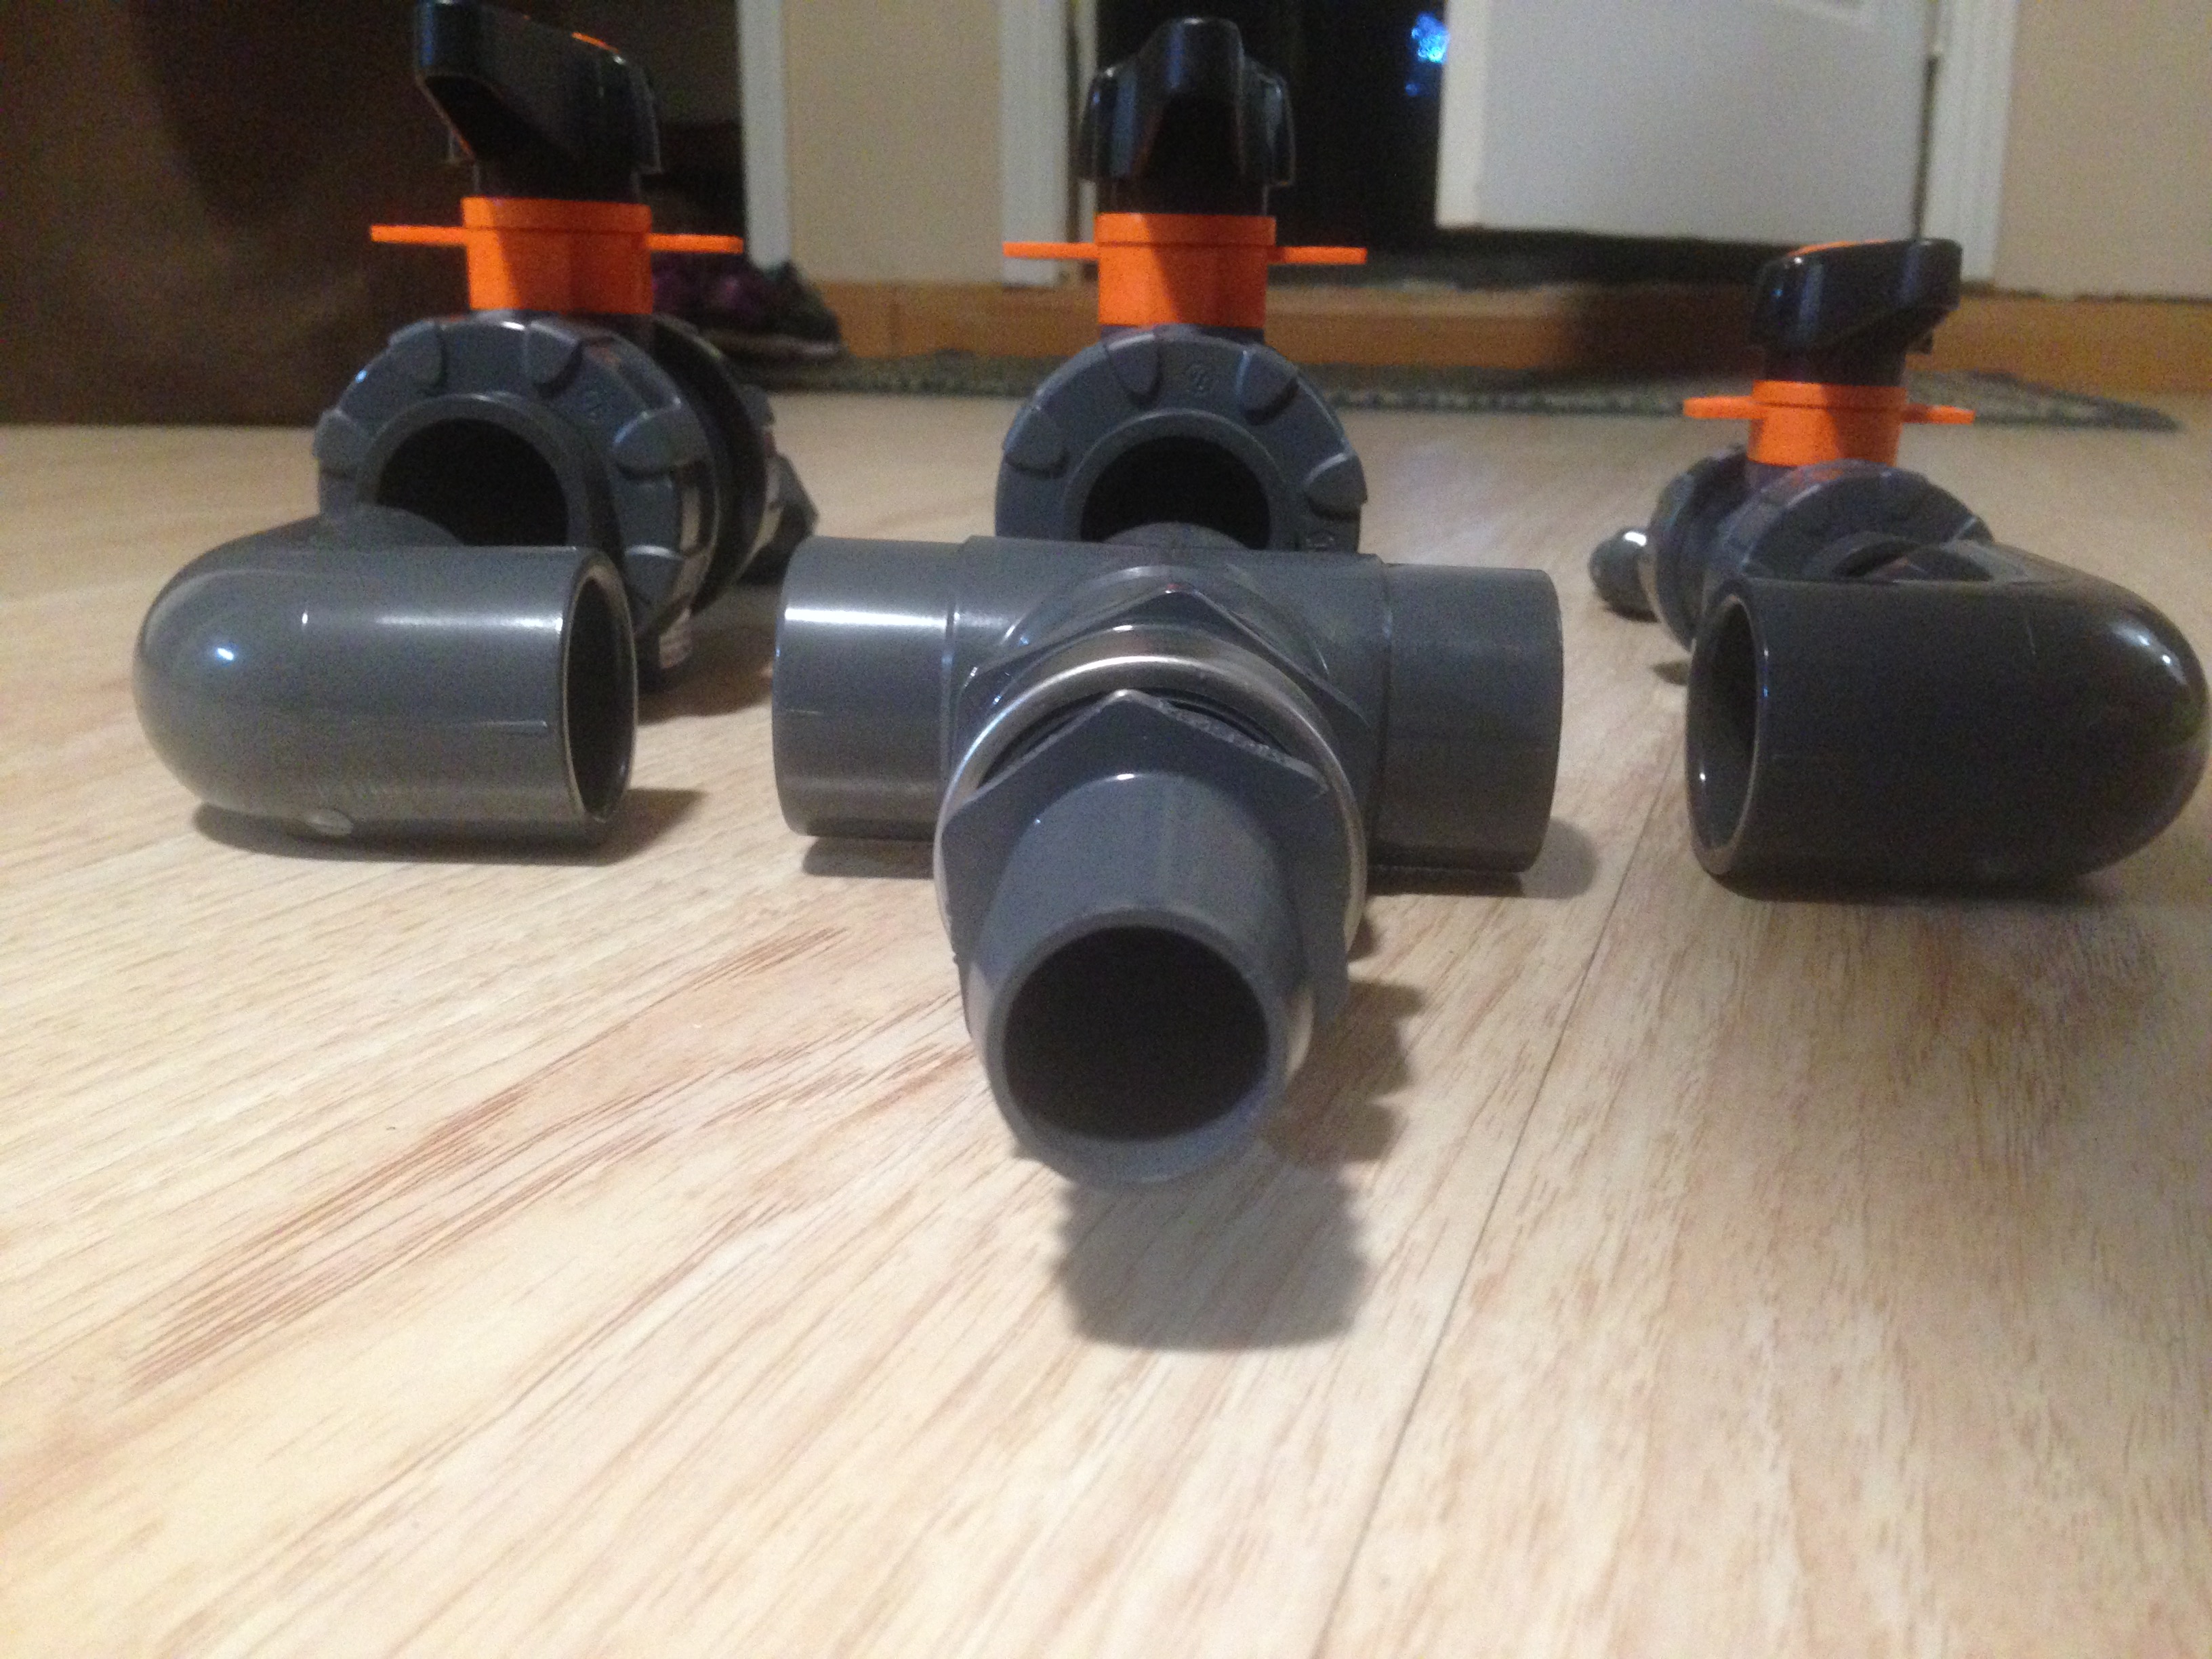
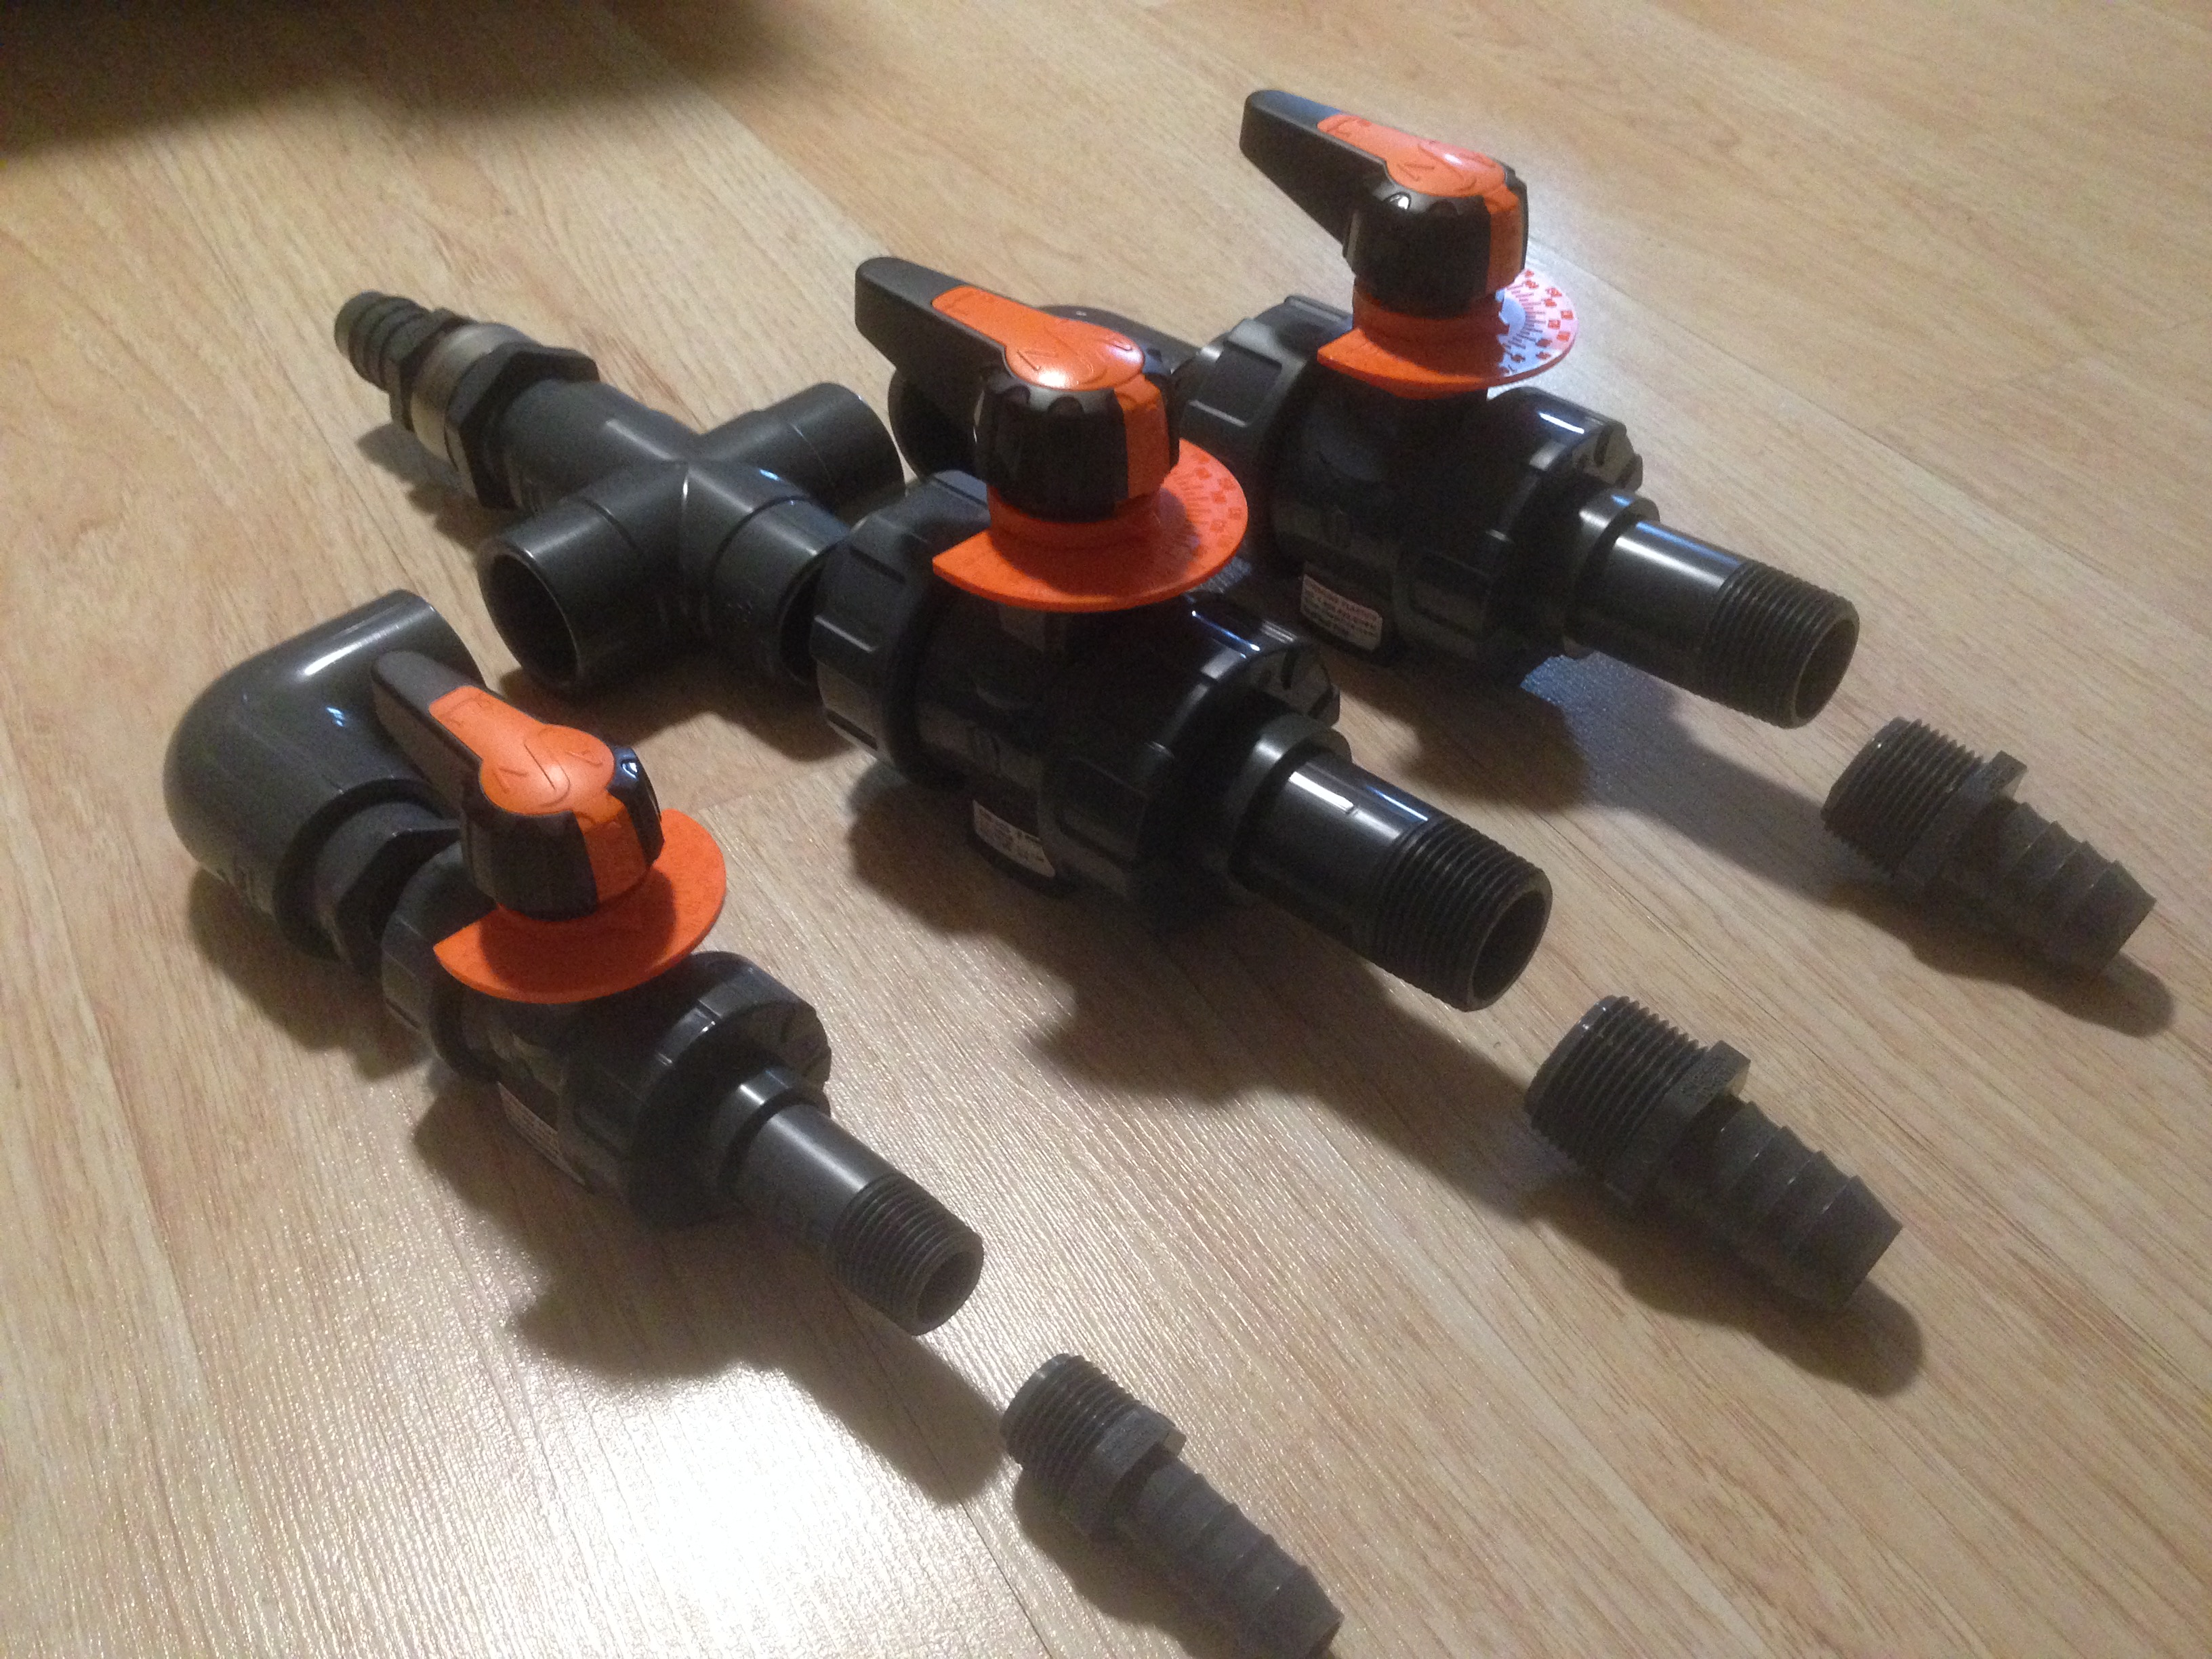
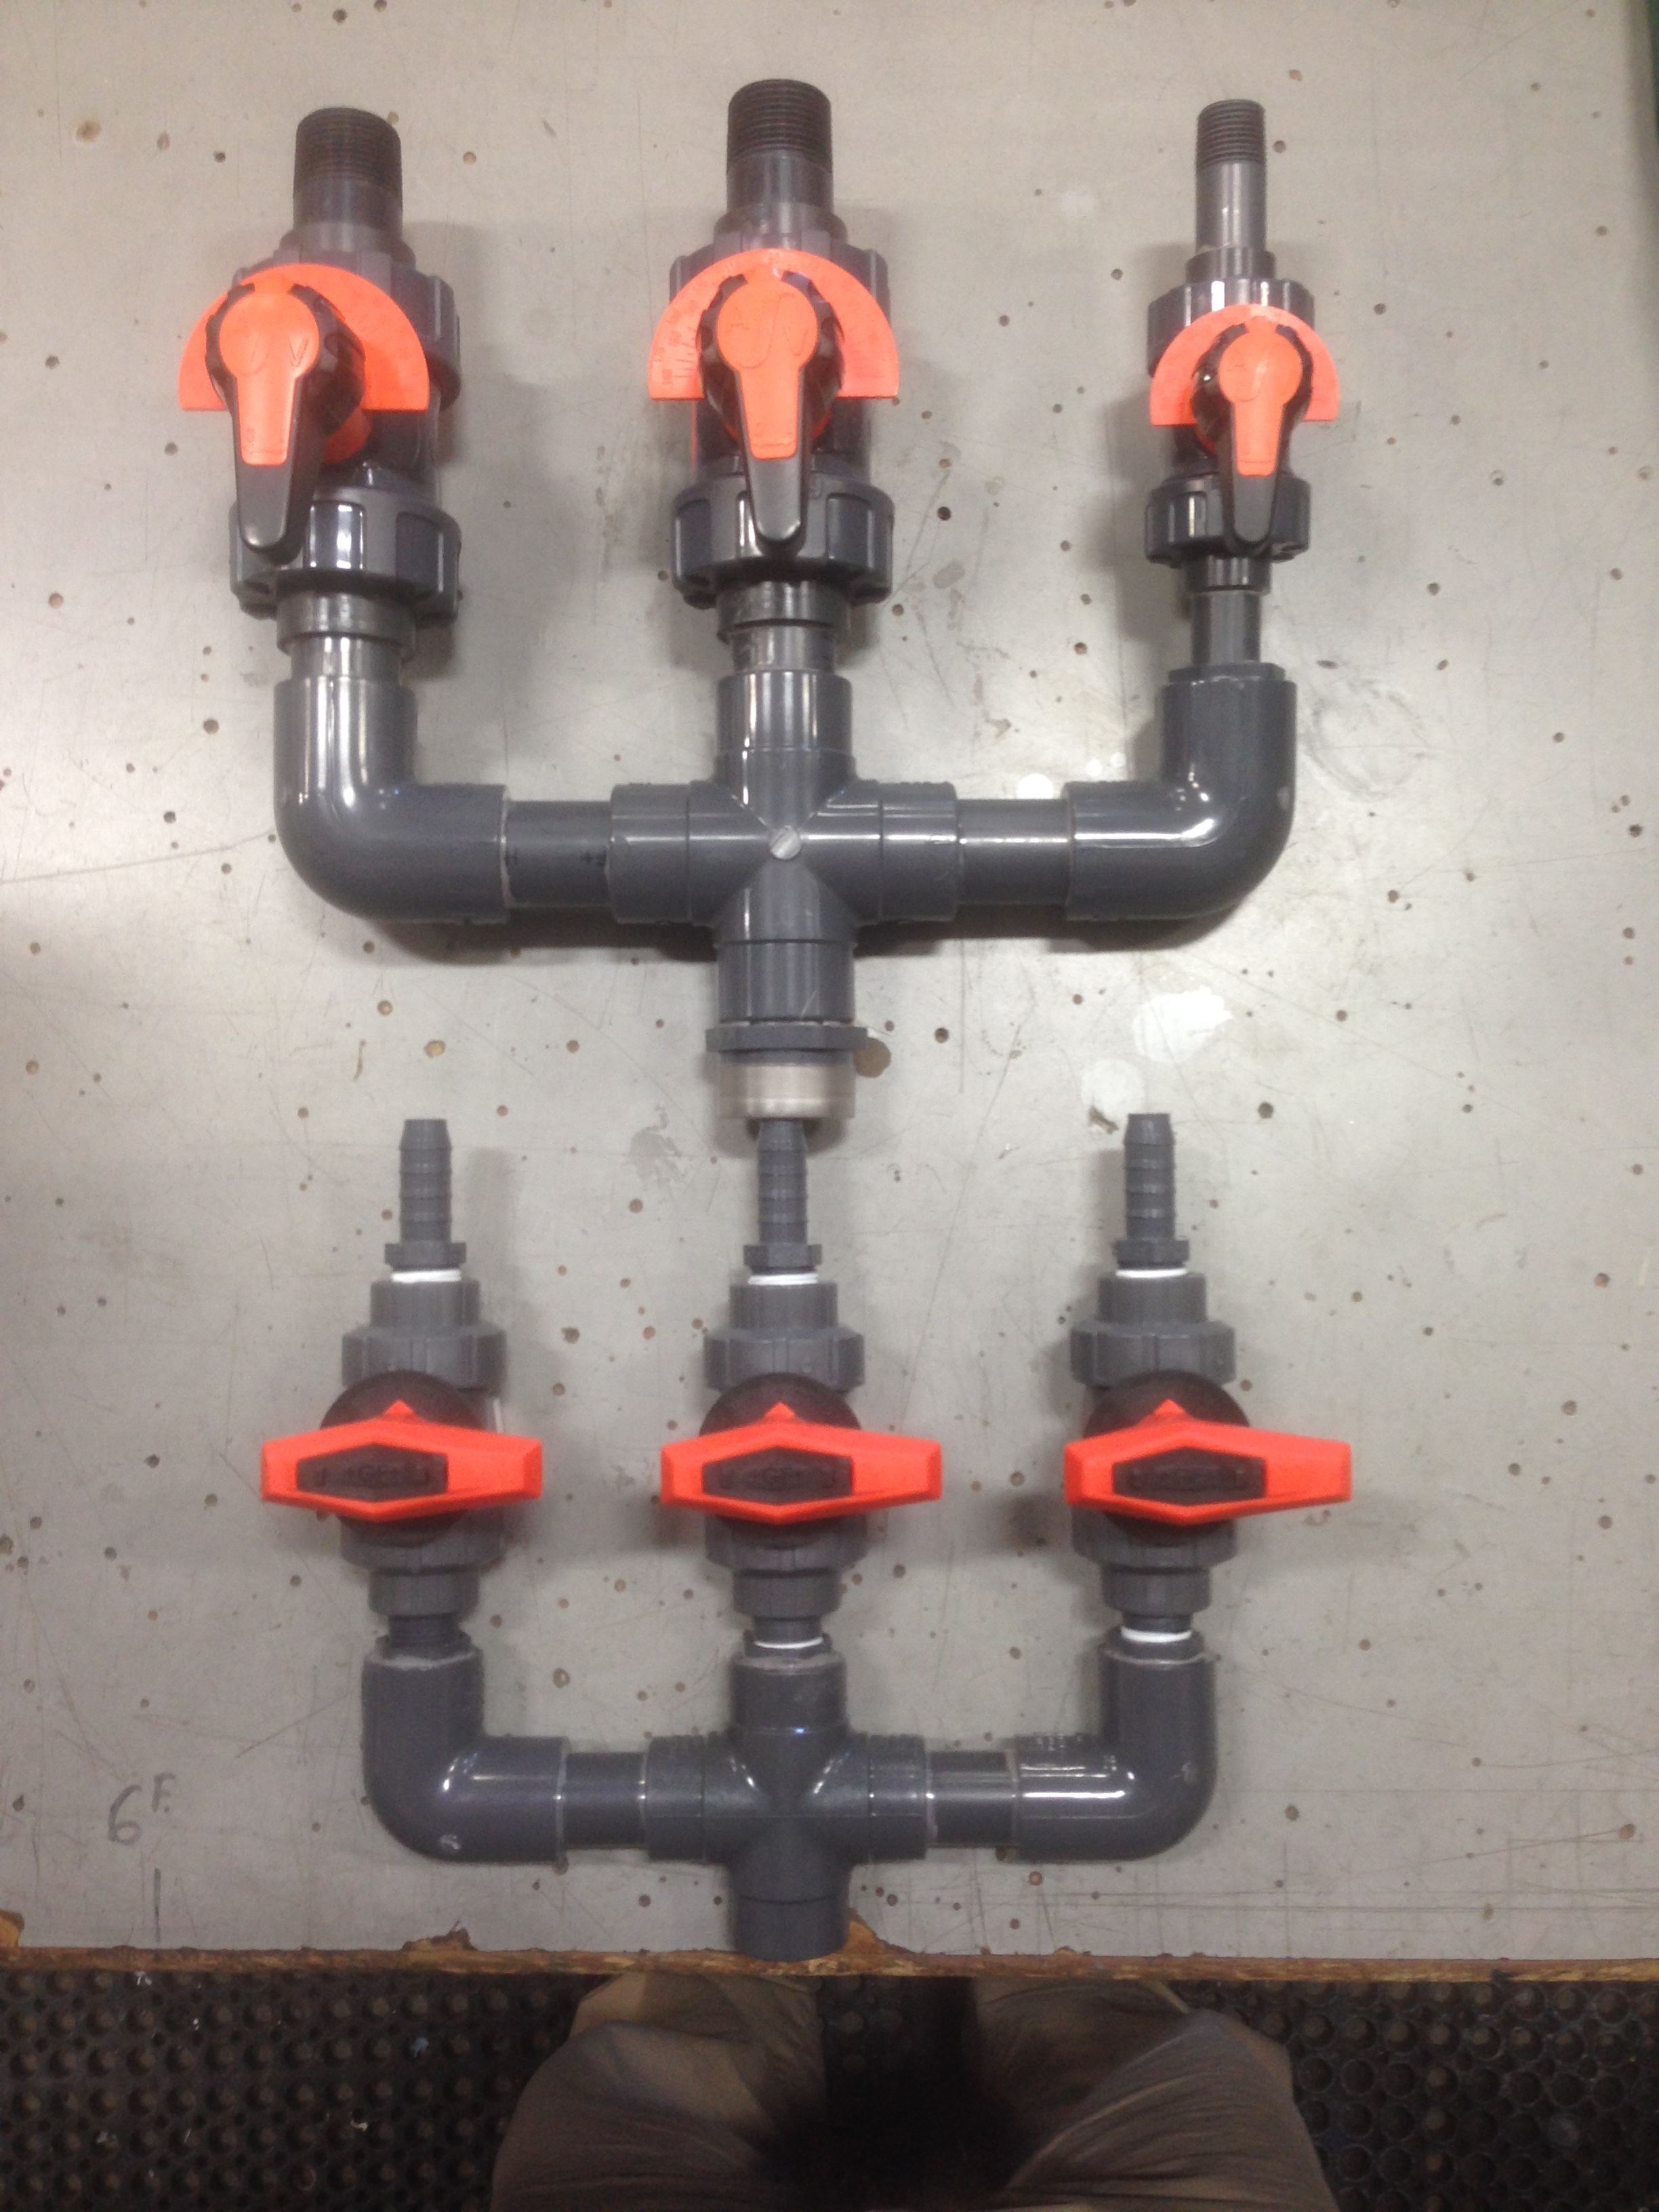
I won’t be able to fully assemble until tomorrow when I cut the pipe to size and glue all the fittings together, but here’s a rough idea of what it’ll look like once it’s together. The check valves are being installed after it ships.
The idea of putting the small valve on the outside is so that water can be supplied down the middle and have a straight shot through the cross fittings, since water is the greatest component, we want it to have the least restricted flow possible.
I could put the smaller one in the middle for symmetry’s sake. It’d satisfy my OCD lol. But for maximizing performance, this is the best setup. And that’s what we are trying to do. Maximize flow, minimize restrictions.


4 Likes
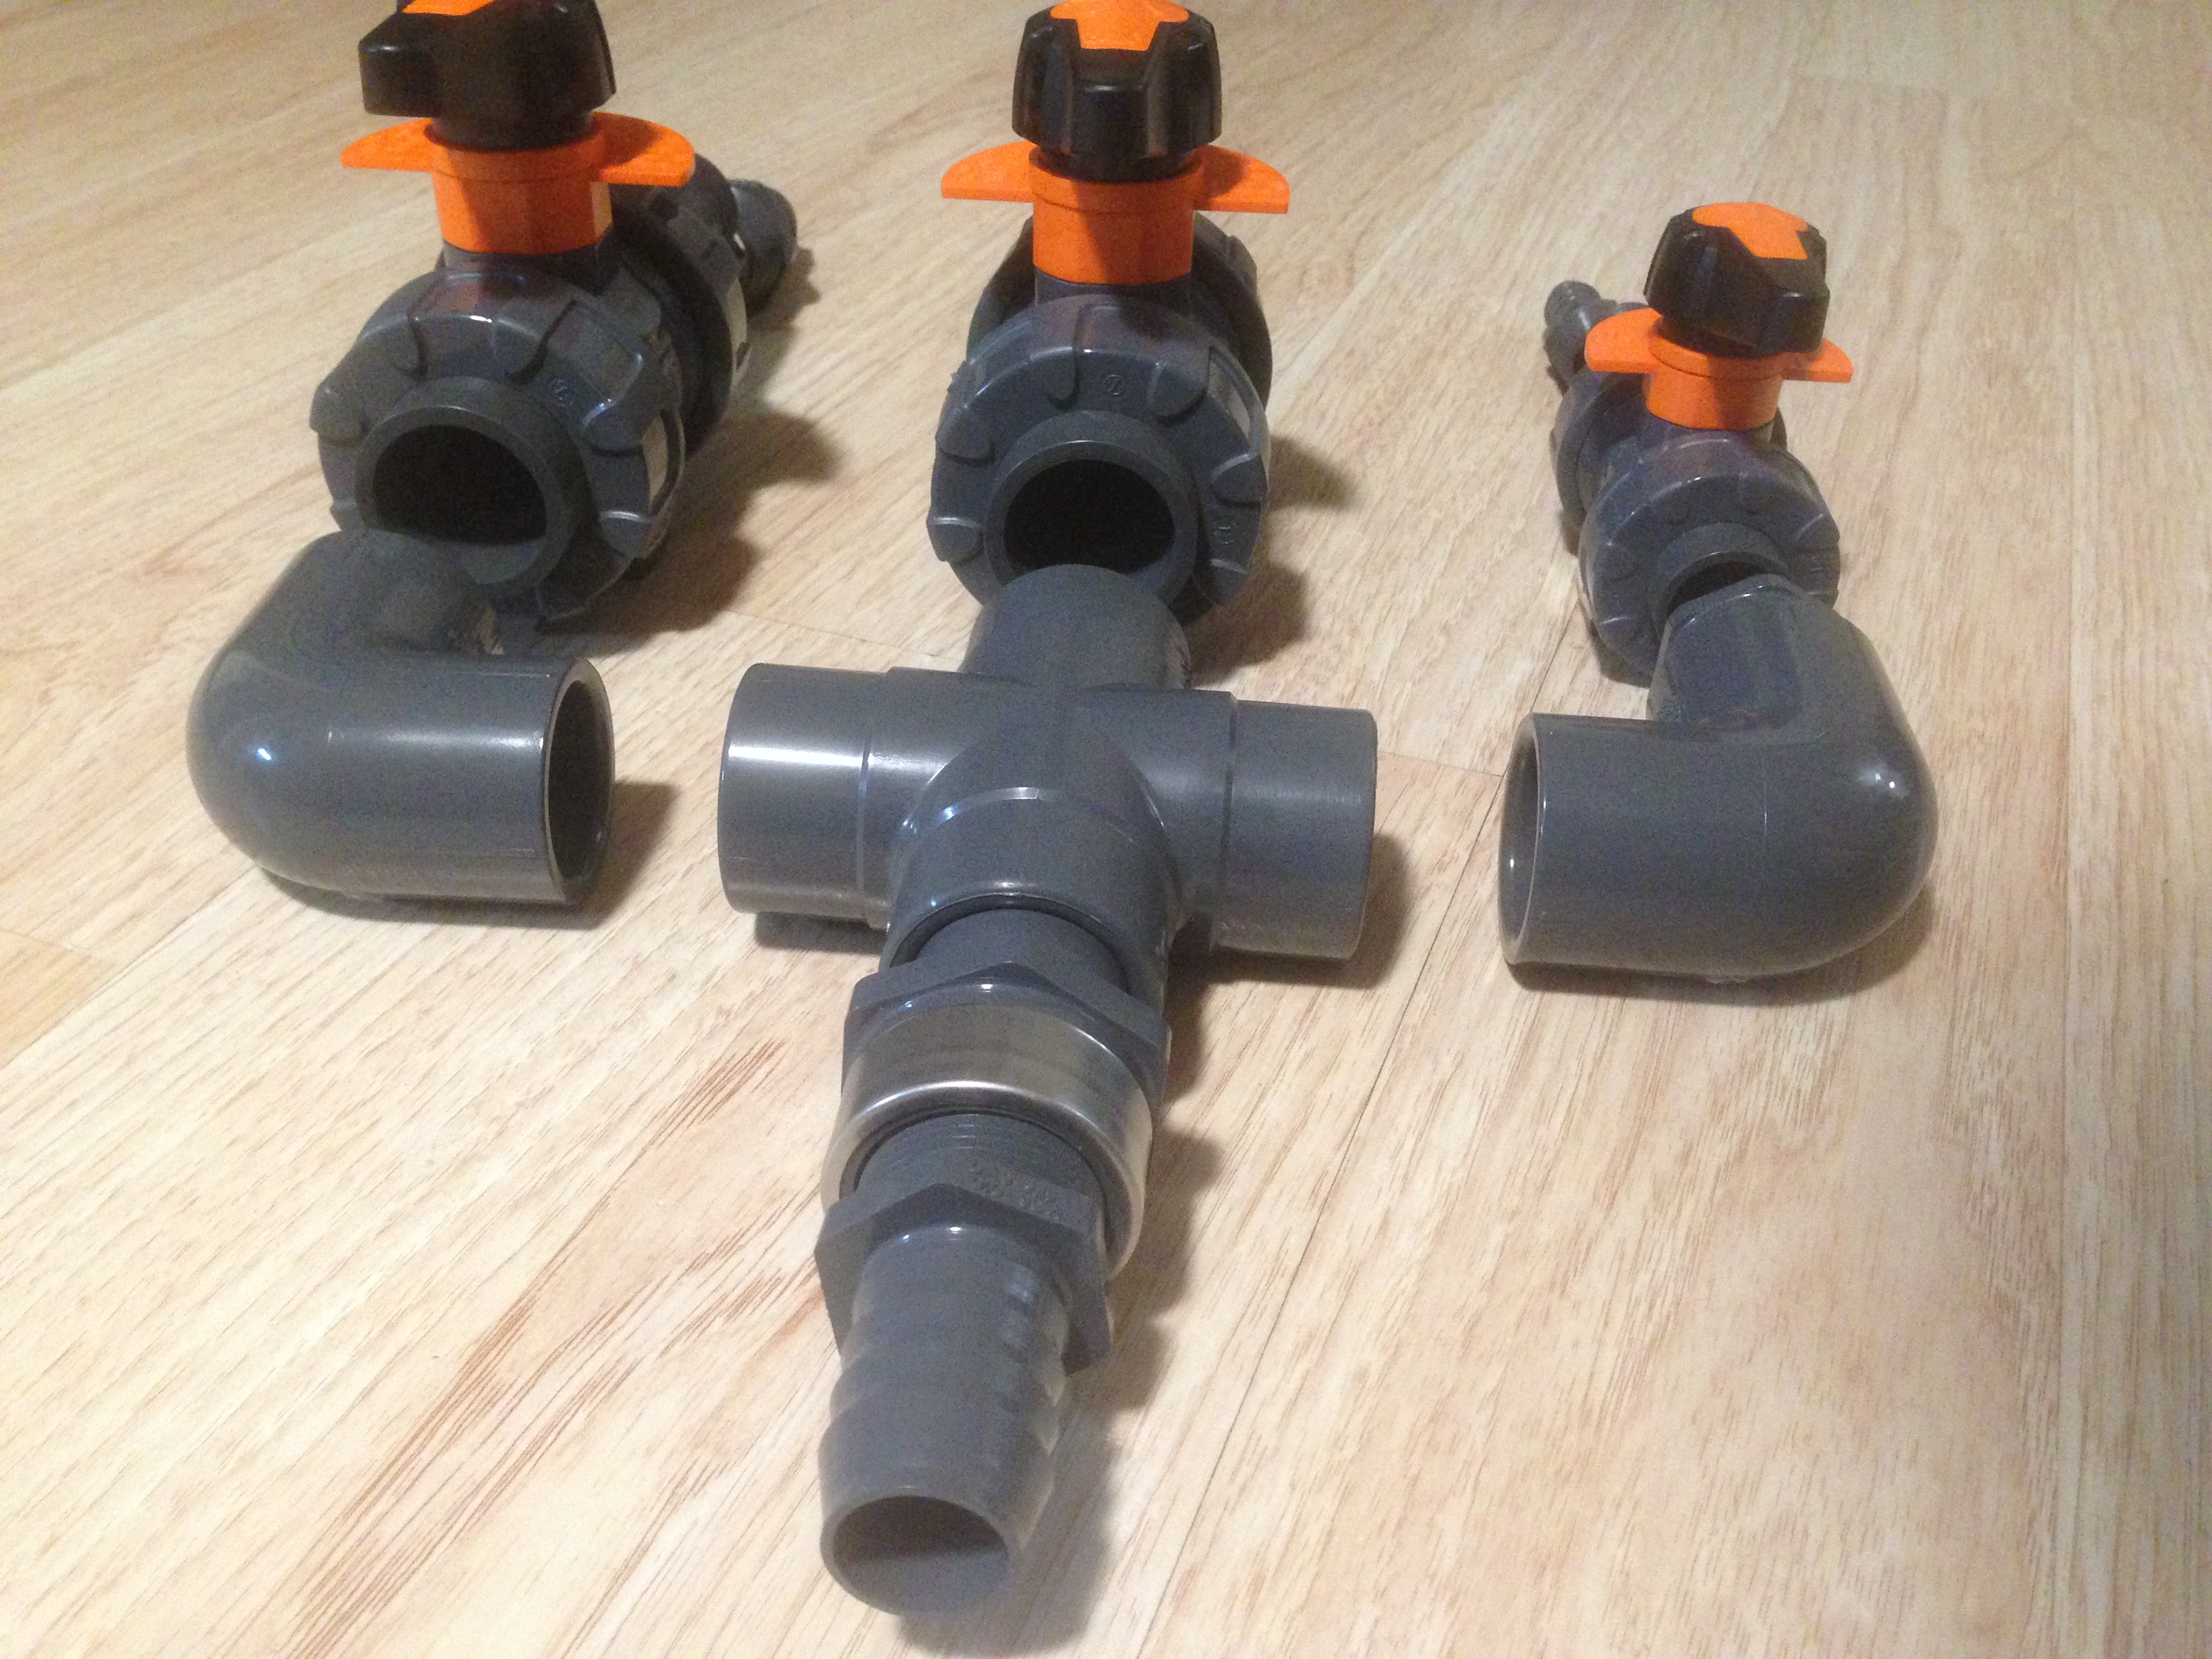
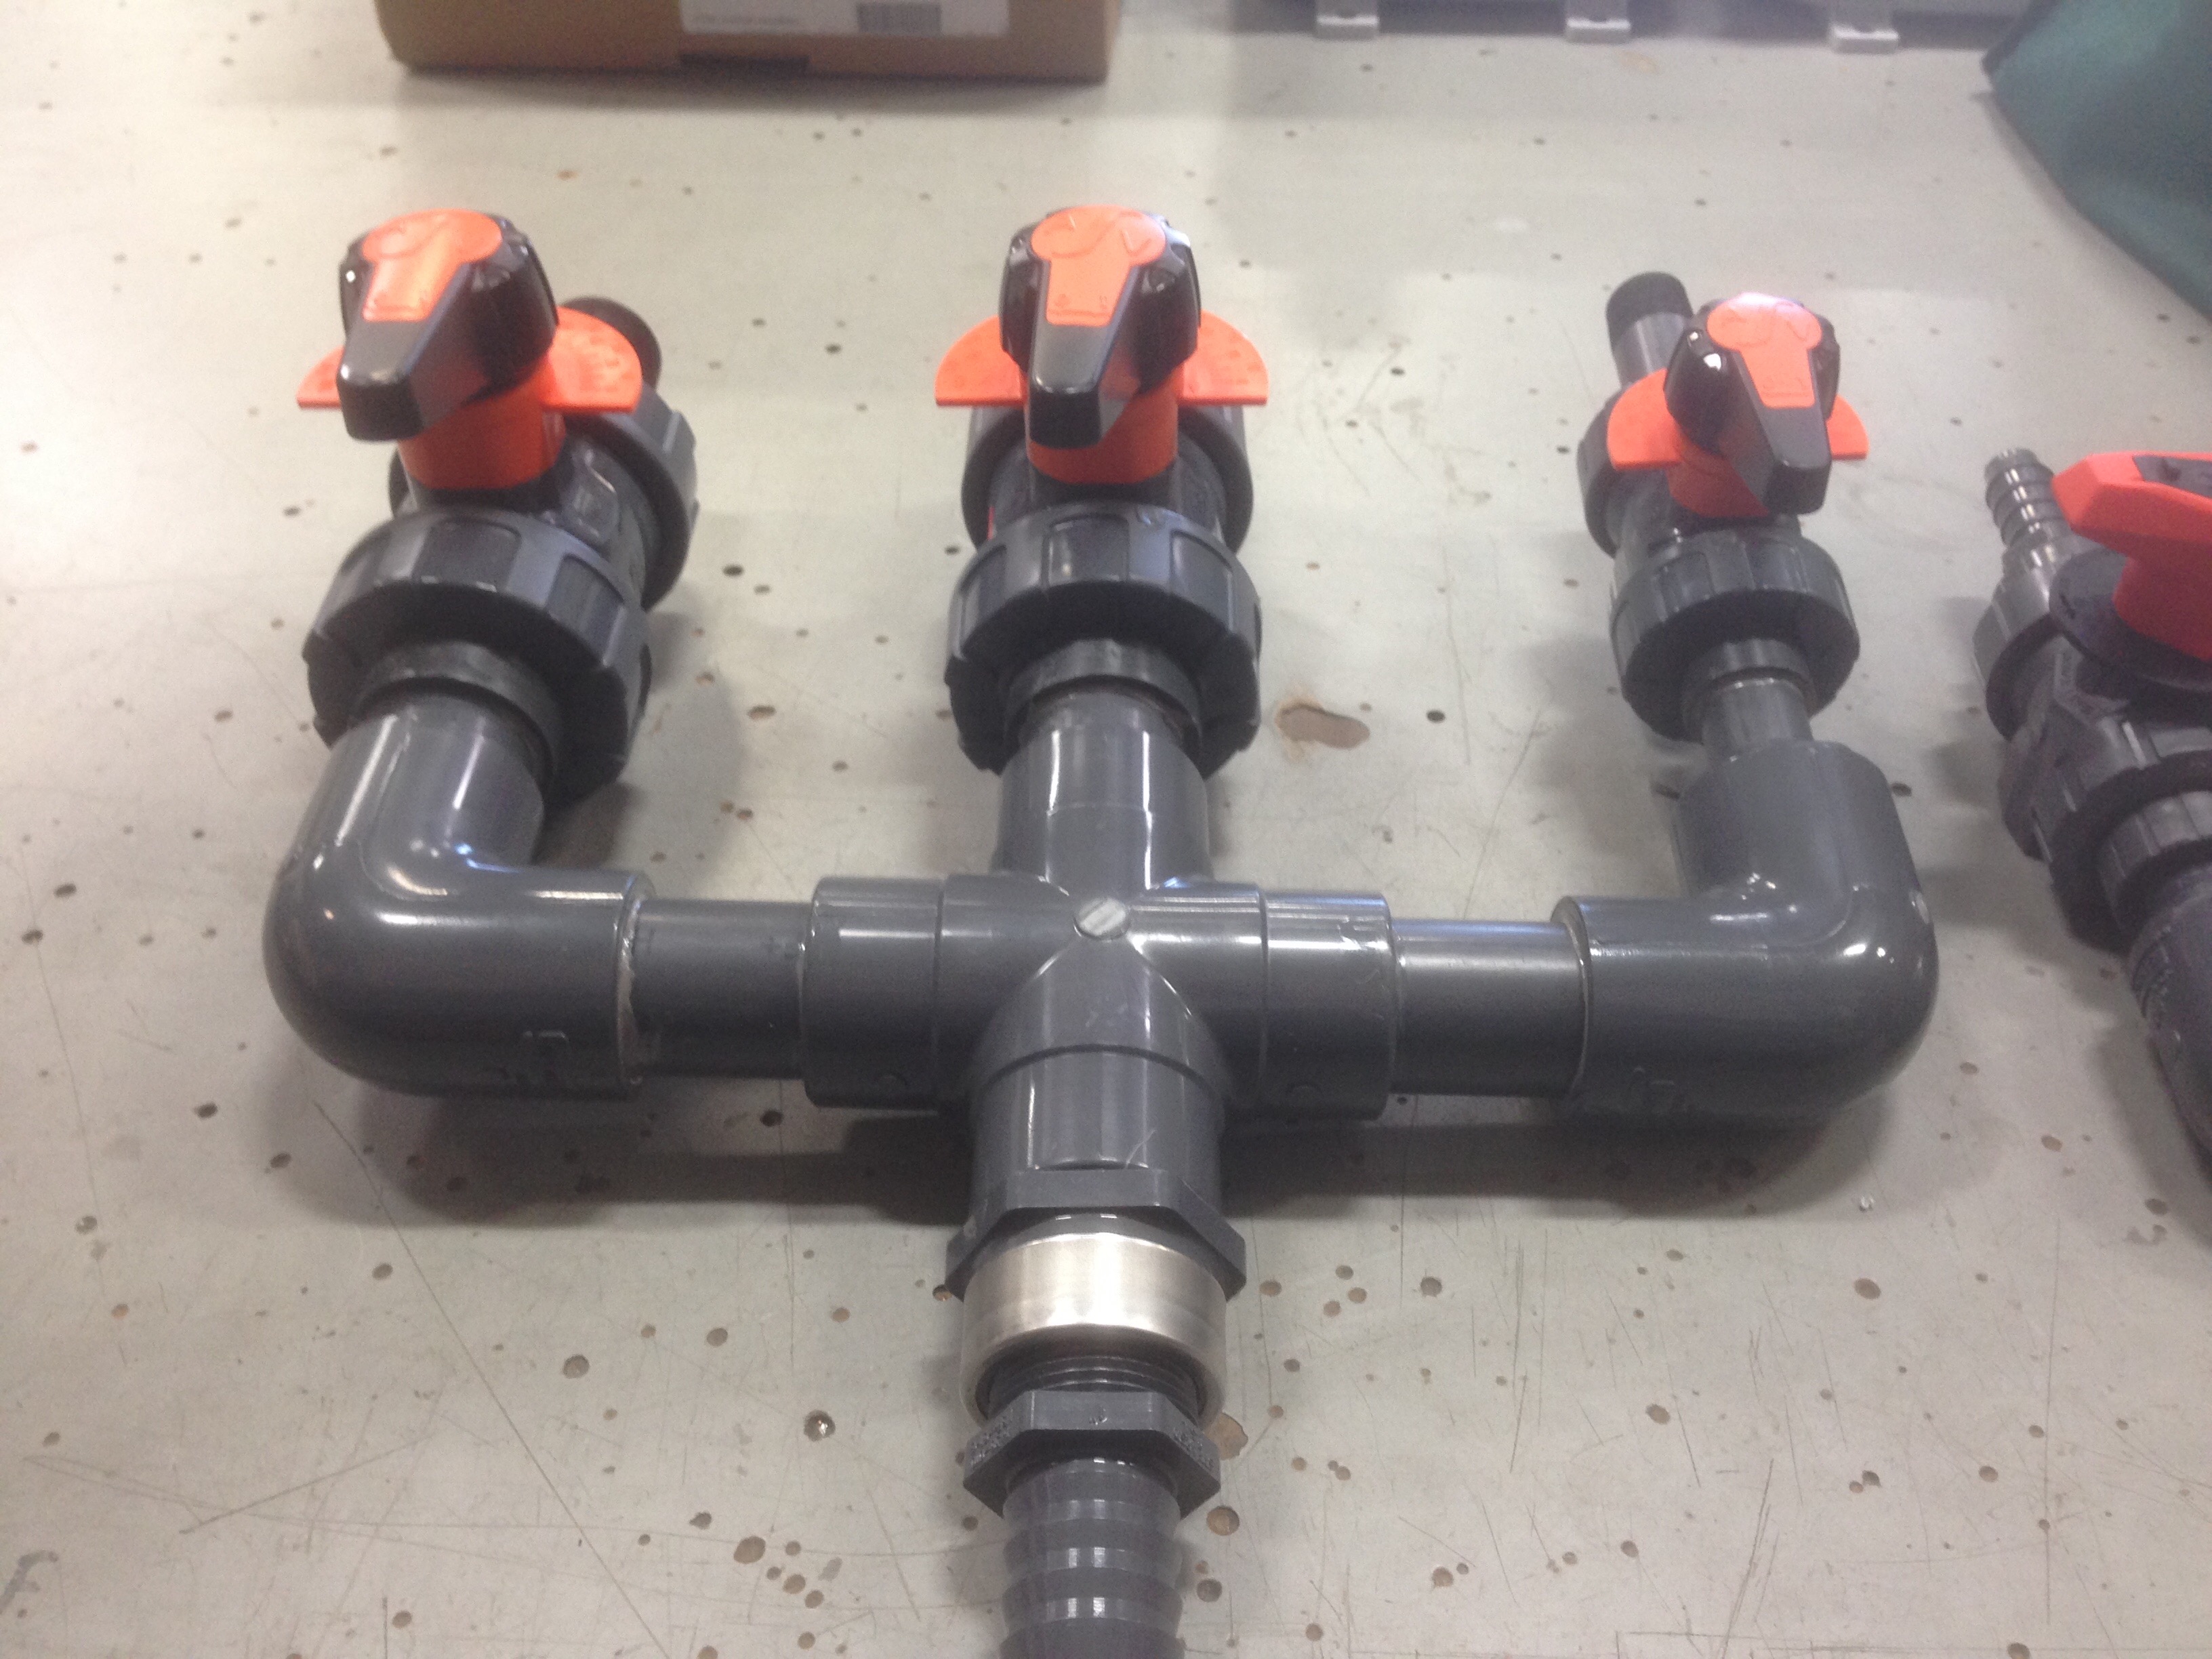
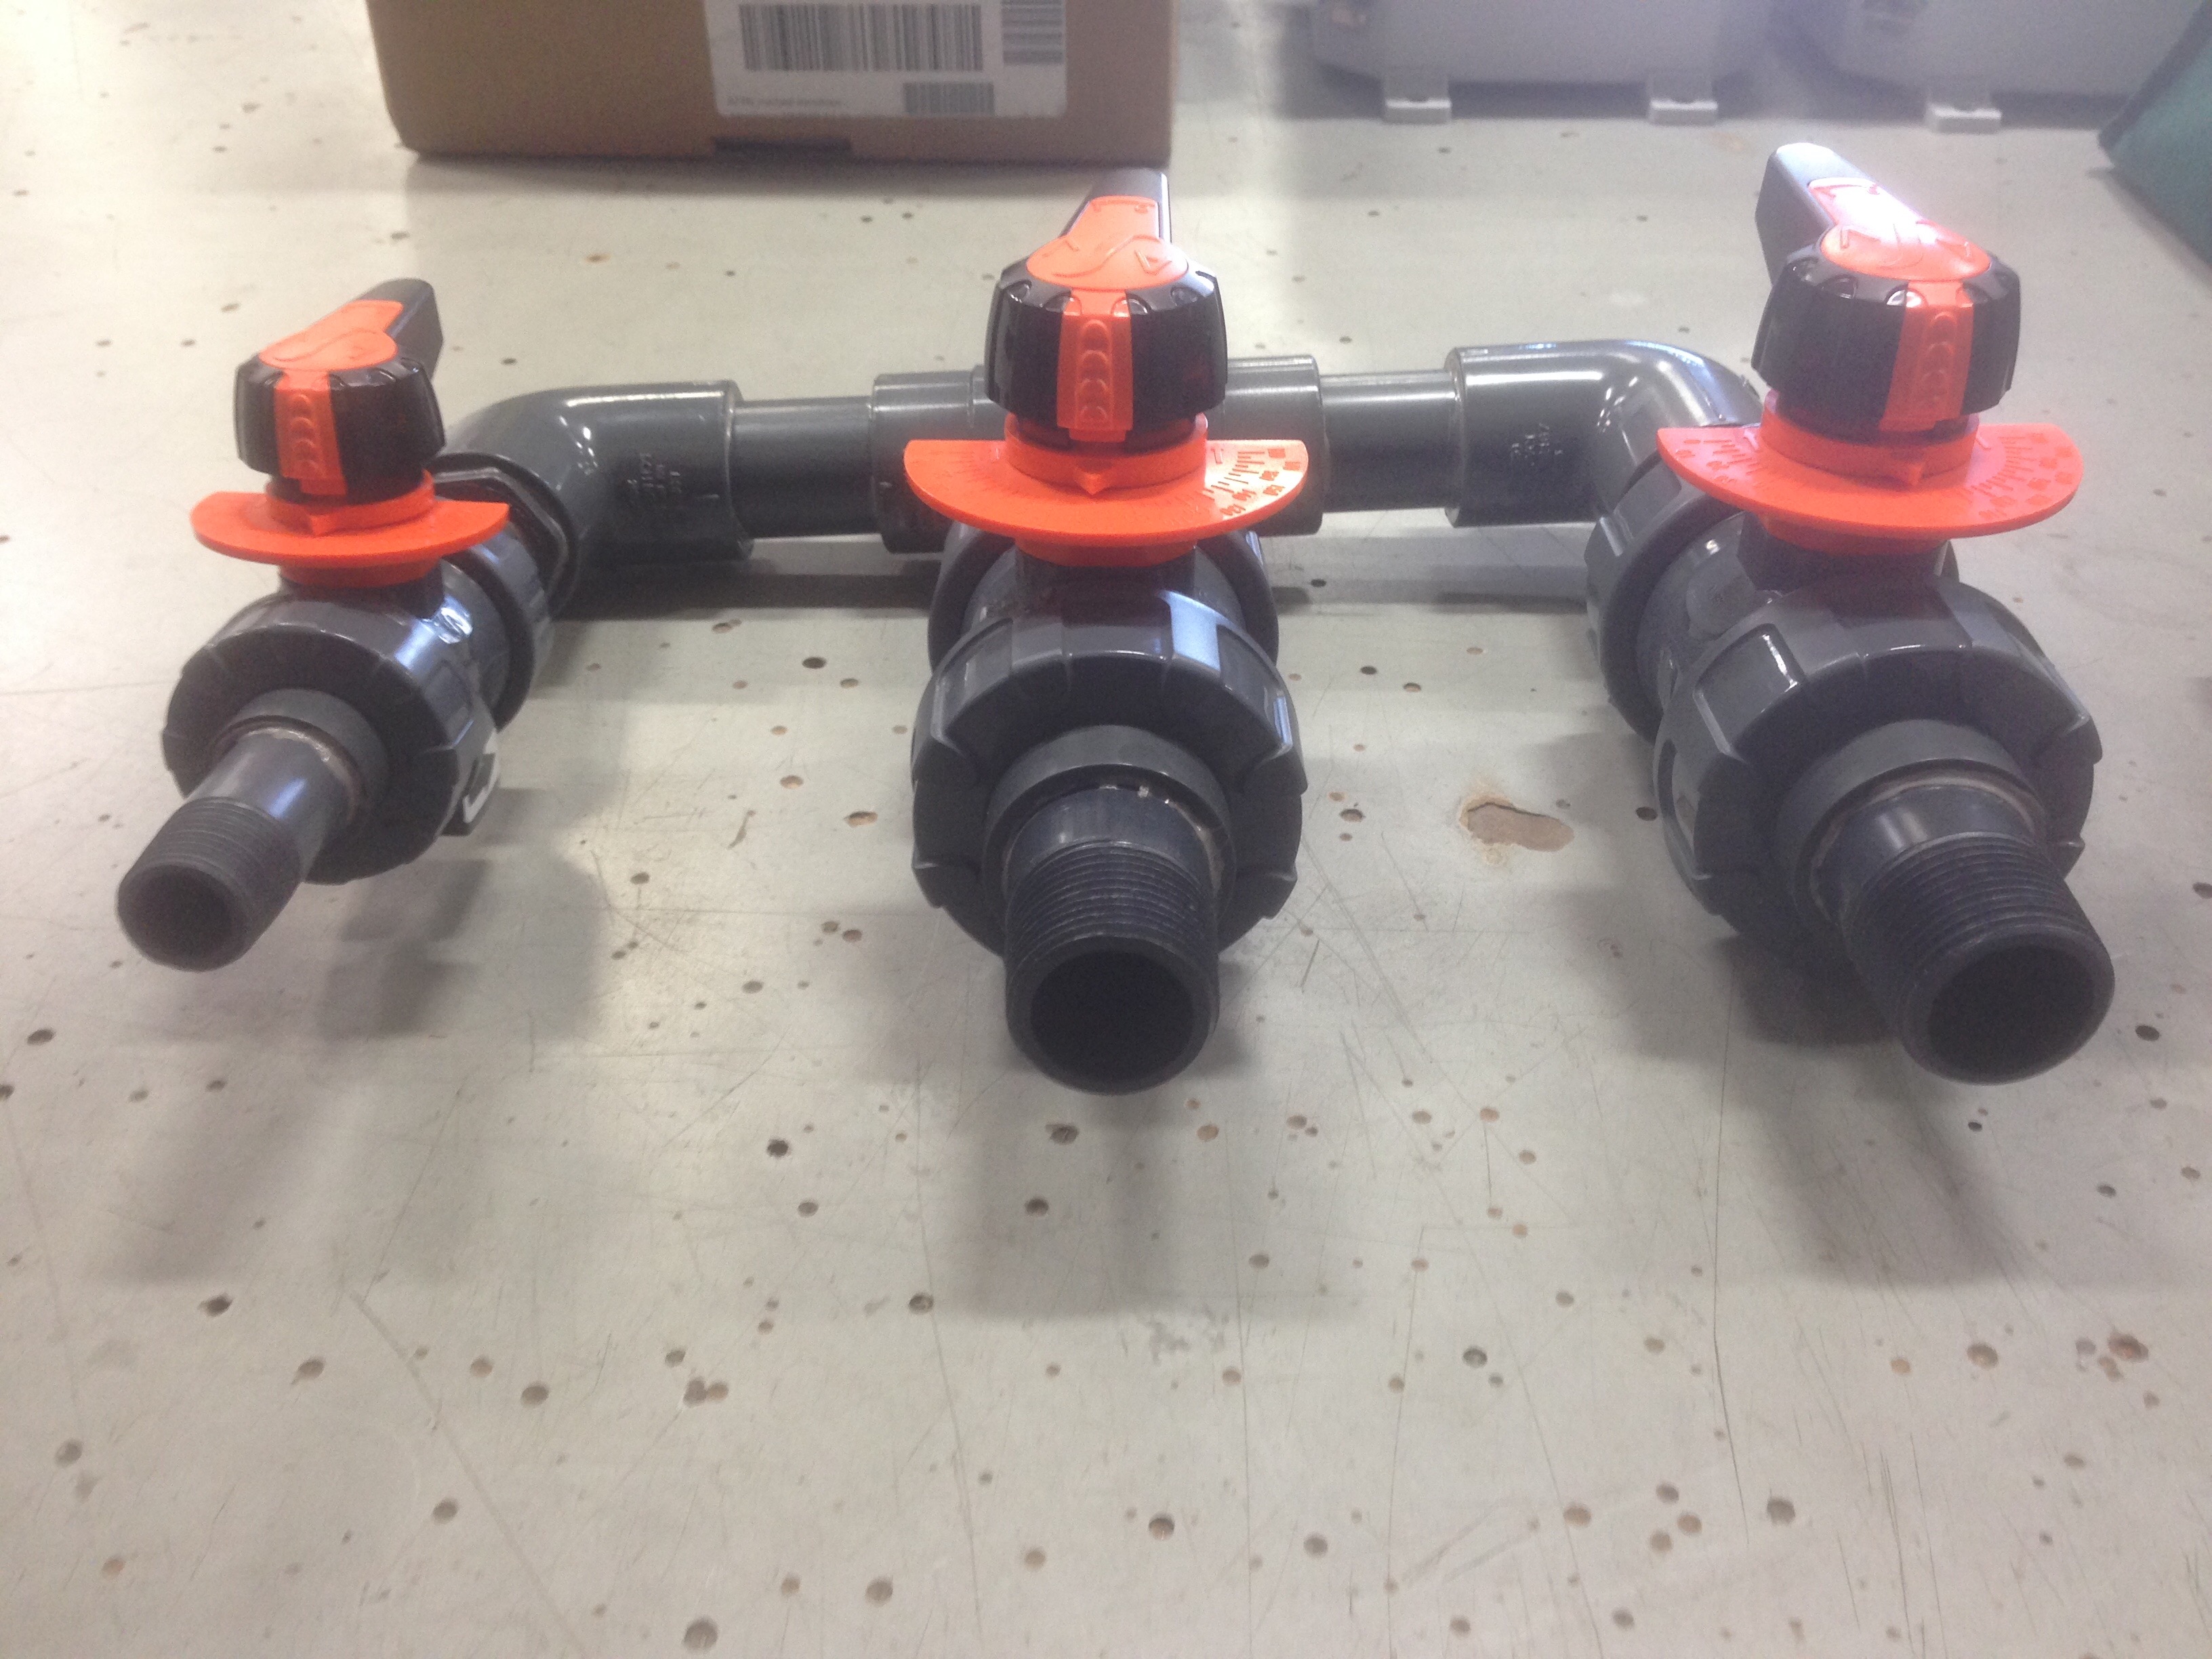
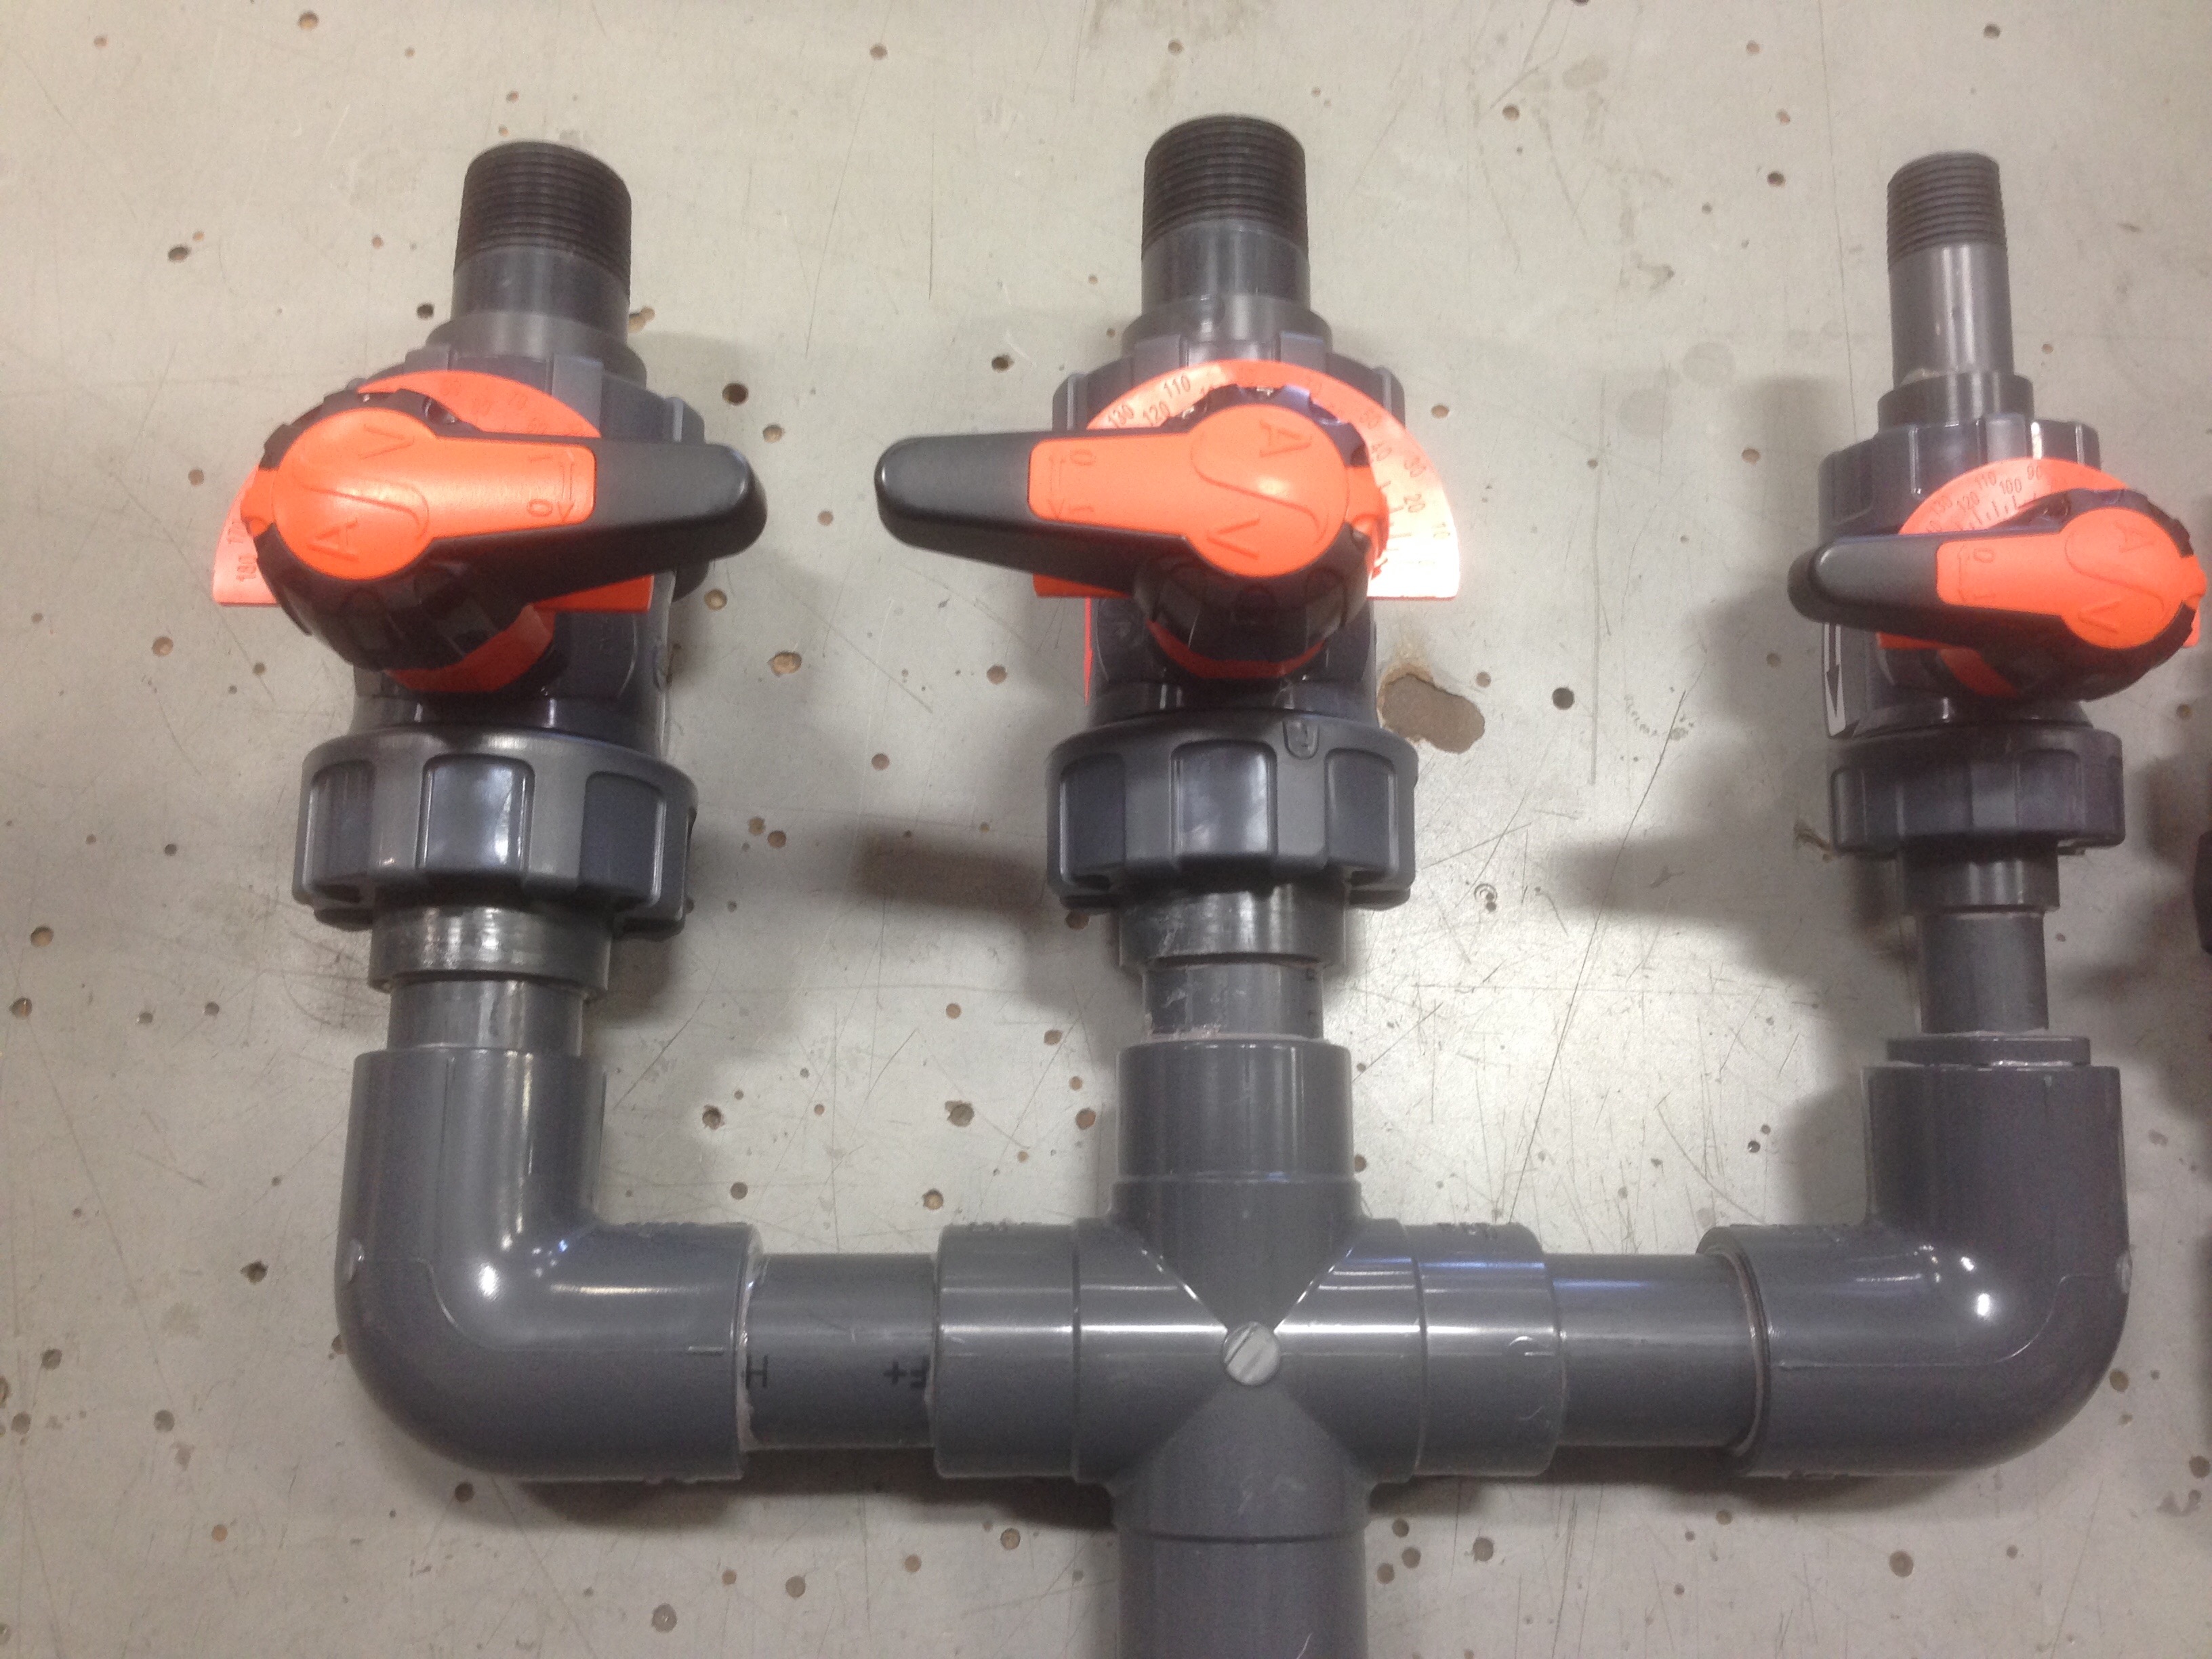
Basically the full assembly before shipping. Will get hose barb connections still. You can see the size differences between the 1" manifold vs the 3/4" manifold and the 1" valves vs the 1/2" valves. Again, the owner is putting on his own check valves for the time being, so that will add some height to the setup, plus hose barbs top and bottom. Threaded connections though so hose barbs on the inlets and outlets can be swapped out for camlock fittings or reduced hose barbs or whatever is desired.
Because the 1/2" metering valve is on the same manifold as the 1" valves, the mounting feet are higher. If mounting this setup to a plate or wall or board or something flat, this could be addressed by inserting washers until things even out. The threaded mounting holes are 10/32 bolt holes.
I think the gluing could be a little cleaner, but this was my first time gluing fittings. The shop guys at work showed me how, so it’s done right, but I probably just need a little practice to keep it cleaner and straighter.
What do you guys think?

7 Likes
Nice!
I have been bouncing ideas around with jzbreeland through PM for a bit with this, and he was kind enough to let me buy his first model. I went with the 1" partly because it’s the largest, and partly because i didnt want to wait 8 more weeks for the 3/4" to be available.
If anyone read my testing wood chemicals thread, you can see that i try to be pretty detailed and methodical when it comes to testing stuff, so i am looking forward to working with this product. Hopefully we can answer the questions a lot of us have had about flow and performance between the different sized versions.
Feel free to give any input on testing methods, or things you would like to see tested. I have a booster and a 12V.
4 Likes
Hey guys this thread absolutely awesome… This may be a stupid question, but I’m gonna go out on a hook here and ask jzbreeland if you could post a parts lists pretty please 
1 Like
@getherdone, very brave! I’m actually surprised no one else has asked yet. I feel like that can be a sensitive subject sometimes.
Here’s what I’ll say: I do plan to sell the final design as a complete packaged product. I’ve sold one so far, and another person expects to order one next week, and it’s not even finalized yet. I’m still trying a few variations and altering some fittings and stuff like that. I’ve spent a lot of energy and time researching, watching videos, talking to others, talking to fellow engineers, looking at 3D drawings concepts, calling manufacturers, calling distributors, trying to engineer a better setup myself with better quality components that will perform better and also end up being more affordable and user serviceable.
But there are no secrets lol. Even if I didn’t share the parts list, you could buy one and just read the part numbers yourself. So of course I’ll share the list of components. 
I’ve been keeping a file of all necessary components and their pricing. I’ll post that up tomorrow (it’s on my work laptop). Prepare for sticker shock. 
7 Likes
Trying to keep up with the thread… im late to the game but looks like a lot of time and work into this project.
I do. How is that related?
1 Like
That’s not what your post said a minute ago lol. It said “Do you still have the Prius to tow with?”
I’m confused lol.
I PMed you. My apologies man.